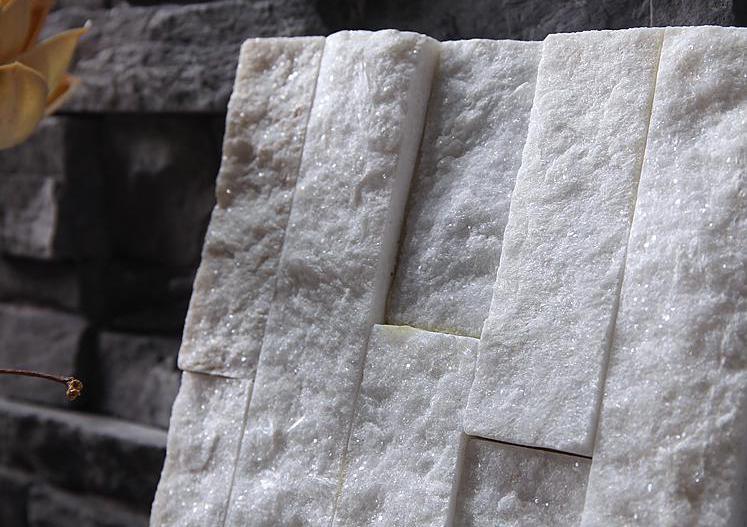
Lose Steine, unansehnliche Risse und sich verschlechternder Mörtel - diese häufigen Probleme können schnell elegante gestapelte Steinmauerpaneele in einen Schandfleck verwandeln, der den Wert Ihres Zuhauses verringert. Unabhängig davon, ob Sie geringe Schäden oder erhebliche strukturelle Bedenken festgestellt haben, verhindert die Bekämpfung dieser Probleme umgehend umfangreichere und kostspieligere Reparaturen auf der Straße.
Im Gegensatz zu herkömmlichen Wänden,, gestapelte Steinwandplatten Erfordern Sie spezifische Reparaturtechniken und -materialien, um ihre charakteristische Textur und Aussehen aufrechtzuerhalten. Dieser umfassende Leitfaden unterteilt den Reparaturprozess in überschaubare Schritte und hilft Ihnen dabei, die Schönheit und Integrität Ihrer Steinmauer wiederherzustellen. Von der Beurteilung von Schäden und der Auswahl der richtigen Klebstoffe bis hin zu passenden Farben und dem Austausch von zerbrochenen Teilen werden wir alles abdecken, was Hausbesitzer und Auftragnehmer für eine benötigen Felsfest DIY -Reparatur, die Kosten, Stabilität und visuelle Anziehungskraft ausgleichen.
-
 China neue Farben Quarzit gestapelte Steinplatten
 -
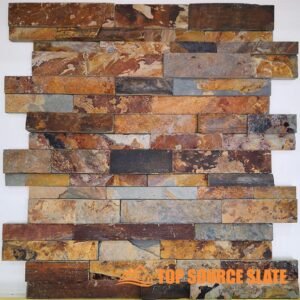 Grobe rostige Schiefertafel aus gestapelten Steinen, 6 Zoll x 24 Zoll.
 -
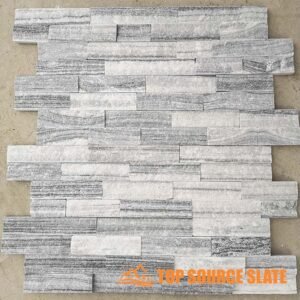 Rohe Grundplatte aus gestapeltem Stein in Alaska-Grau, 6 Zoll x 24 Zoll.
 -
 Gestapelte Steinplatte aus rauem Sandstein, 6 Zoll x 24 Zoll.
 -
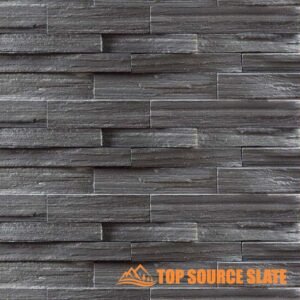 Rohe Hauptbuchplatte aus natürlichem schwarzem Schiefer, 6 Zoll x 24 Zoll.
 -
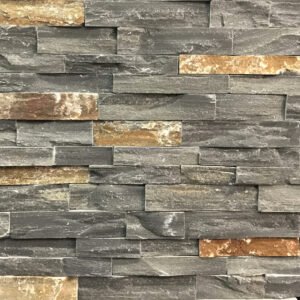 Sierra Blue Ledger Panel 6 Zoll x 24 Zoll Naturstein Quarzit
 -
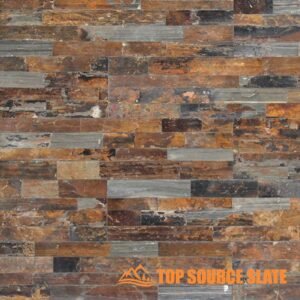 Natursteinplatten aus kalifornischem Goldschiefer – 6 x 24
 -
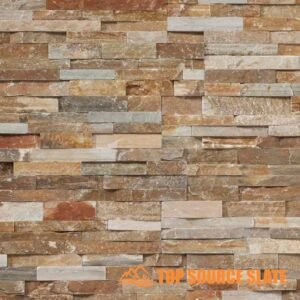 Goldenes Ernte-Schiefertafel-Hauptbuch – 6 x 24
 -
 Hochwertige Außenwandverkleidung aus grauem Schichtstein
 -
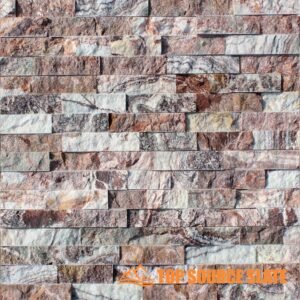 Produkte für Natursteinwände im Innen- und Außenbereich
 -
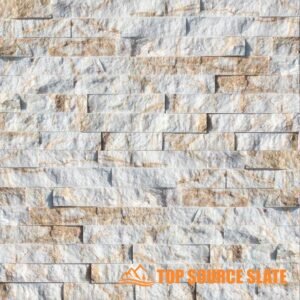 Chinesische Fabrik-Außenwandverkleidung aus Naturstein
 -
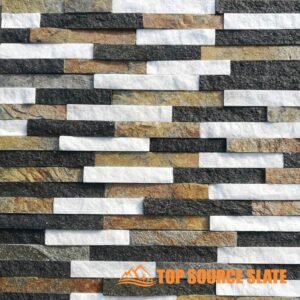 Heißer Verkauf Mix Quarz Naturwand Steinverkleidung
Bewertung von Schäden und Vorbereitung auf die Reparatur
Wenn Ihre schöne Steinmauer anfängt, Anzeichen von Verschleiß zu zeigen, ist eine frühzeitige Bewertung für eine effektive Restaurierung von entscheidender Bedeutung. Beschädigungen an identifizieren gestapelte Steinwandplatten hilft schnell, zu verhindern, dass aus kleinen Problemen große Kopfschmerzen werden. Lassen Sie uns durch den Prozess der Schadensbeurteilung und der richtigen Vorbereitung für Reparaturen gehen, die Ihren Wänden ein neues Aussehen verleihen “so gut wie neu”.
Richtige Beurteilung von gestapelte Steinwandplatten vor der Reparatur spart Zeit und Geld, indem zugrunde liegende Probleme identifiziert werden, die bei Nichtbehebung zu wiederholten Schäden führen können.
Schadensarten identifizieren
Unterschiedliche Schadensarten erfordern spezifische Reparaturansätze. Beginnen Sie mit der Untersuchung Ihrer Steinmauer bei guter Beleuchtung, vorzugsweise bei Tageslicht. Führen Sie Ihre Hand über die Oberfläche, um nach losen Teilen zu suchen, die möglicherweise nicht sofort sichtbar sind.
Risse weisen häufig auf Verschiebungen oder Setzungen in der darunter liegenden Struktur hin. Kleine Haarrisse könnten kosmetischer Natur sein, während größere Brüche auf strukturelle Probleme hinweisen könnten. Suchen Sie nach Mustern in den Rissen, die die Ursache aufdecken könnten.
Lose Steine werden meist durch fehlerhaften Kleber oder Mörtel verursacht. Markieren Sie diese Bereiche mit Malerband, um sicherzustellen, dass Sie während der Reparaturphase keine Stelle übersehen. Achten Sie besonders auf Kanten und Ecken, an denen häufig Schäden auftreten.
Verfärbungen können auf Wasserschäden, Schimmelbildung oder Ausbleichen durch die Sonne hinweisen. Weiße pulverförmige Rückstände (Ausblühungen) deuten darauf hin, dass Wasser durch den Stein oder das Trägermaterial dringt und vor Beginn der Schönheitsreparaturen behoben werden muss.
Grundlegende Werkzeuge und Materialien
| Werkzeug/Material | Zweck | Geschätzte Kosten | Haltbarkeitsbewertung | Erforderliches Fähigkeitsniveau |
|---|---|---|---|---|
| Gummihammer | Sanfte Steinanpassung | $ 15-25 | 5-7 Jahre | Anfänger |
| Steinkleber | Lose Steine sichern | 20-35 $ | 10-15 Jahre | Dazwischenliegend |
| Drahtbürste | Schmutz reinigen | 8-12 $ | 2-3 Jahre | Anfänger |
| Schutzbrille | Augenschutz | 10 bis 20 US-Dollar | 3-5 Jahre | Anfänger |
| Meißel-Set | Steinformung | 25-40 $ | 10+ Jahre | Fortschrittlich |
| pH-neutraler Reiniger | Oberflächenvorbereitung | 12-18 $ | 1 Jahr (Haltbarkeit) | Anfänger |
Für Klebstoffe empfiehlt Top Source Slate professionellen, polymermodifizierten, dünnflüssigen Mörtel für Naturprodukte Steinfurnier Reparaturprojekte. Dies sorgt im Vergleich zu herkömmlichen Konstruktionsklebstoffen für eine höhere Klebefestigkeit.
Reinigen des beschädigten Bereichs
Vor jeder Steinwandreparatur ist eine gründliche Reinigung unerlässlich. Entfernen Sie alle Ablagerungen, Staub und Reste des alten Klebers mit einer Drahtbürste zur groben Reinigung und anschließend mit einer weichen Bürste für feinere Partikel.
Bei hartnäckigen Rückständen einen pH-neutralen Steinreiniger aufsprühen und vor dem Schrubben 10–15 Minuten einwirken lassen. Vermeiden Sie säurehaltige Reinigungsmittel, die Natursteinoberflächen angreifen und langfristig schädigen können gestapelte Steinwandplatten.
Nach dem Schrubben gründlich mit klarem Wasser abspülen und die Stelle vollständig trocknen lassen. Abhängig von den Bedingungen kann dies 24–48 Stunden dauern. Das Arbeiten mit einer trockenen Oberfläche gewährleistet eine gute Haftung der Reparaturmaterialien.
Sicherheitsvorkehrungen
Tragen Sie beim Entfernen oder Reinigen von Steinen immer eine Schutzbrille. Kleine Fragmente können schwere Augenverletzungen verursachen. Strapazierfähige Handschuhe schützen vor scharfen Kanten und verhindern Hautirritationen durch Reinigungslösungen.
Achten Sie beim Arbeiten mit Kleb- und Dichtstoffen auf ausreichende Belüftung, um das Einatmen von Dämpfen zu vermeiden. Überprüfen Sie bei der Reparatur von Außenwänden die Wettervorhersage, um Arbeiten bei Regen oder extremen Temperaturen zu vermeiden, die die Aushärtung des Klebstoffs beeinträchtigen könnten.
Bei umfangreichen Reparaturen, insbesondere an tragenden Wänden, konsultieren Sie vorab einen Statiker. Was wie ein einfacher kosmetischer Schaden aussieht, könnte auf tiefere strukturelle Probleme hinweisen, die professionelle Aufmerksamkeit erfordern.
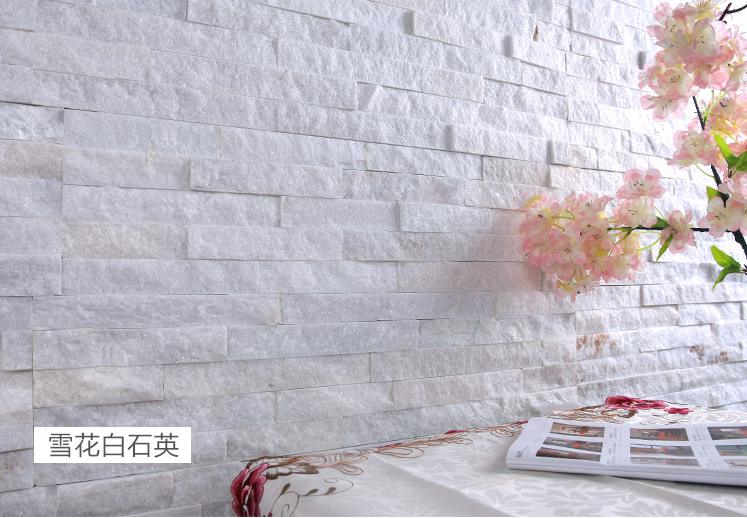
Schritt-für-Schritt-Reparaturtechniken und Wartung
Wiederherstellung beschädigt gestapelte Steinwandplatten muss nicht einschüchternd sein. Mit dem richtigen Ansatz und den richtigen Werkzeugen können Sie Ihre Steinoberflächen revitalisieren und ihre Schönheit über Jahre hinweg bewahren. Unabhängig davon, ob Sie es mit losen Steinen oder einem vollständigen Austausch zu tun haben, führt Sie dieser Leitfaden durch bewährte Reparaturtechniken “ins Schwarze treffen” jedes Mal.
Regelmäßige Wartung und zeitnahe Reparaturen gestapelter Steinwandpaneele können deren Lebensdauer um 15 bis 20 Jahre verlängern, wodurch sowohl die Ästhetik als auch die strukturelle Integrität erhalten bleiben und gleichzeitig kostspielige Ersetzungen vermieden werden.
Lose Steine sichern
Beginnen Sie mit der gründlichen Reinigung der Stelle, an der sich Steine gelöst haben. Entfernen Sie alle Kleberreste mit einer Drahtbürste oder einem Spachtel, um eine saubere Klebefläche zu schaffen. Um optimale Ergebnisse zu erzielen, befeuchten Sie sowohl die Wand als auch die Rückseite des Steins leicht, bevor Sie den Kleber auftragen.
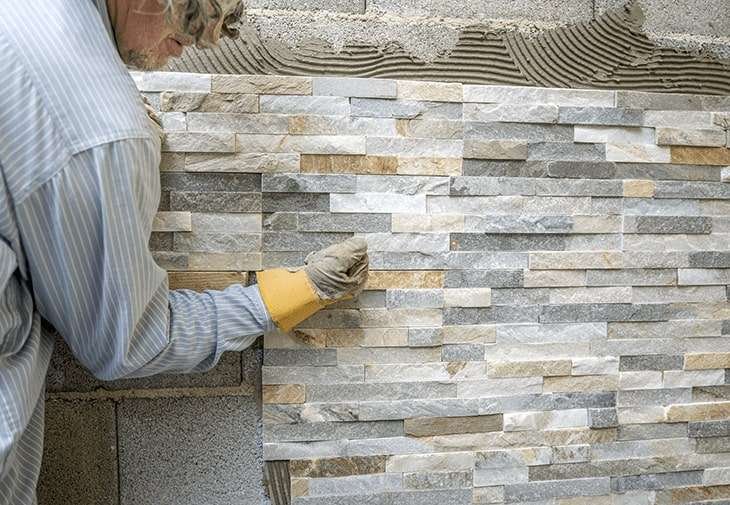
Tragen Sie einen hochwertigen polymermodifizierten Dünnbettmörtel in einer dicken Schicht auf die Rückseite des Steins auf. Erstellen Sie mit einer Zahnkelle Grate, um den Oberflächenkontakt zu erhöhen. Drücken Sie den Stein fest an seinen Platz und bewegen Sie ihn leicht hin und her, um eine vollständige Haftung und korrekte Ausrichtung mit den umgebenden Steinen sicherzustellen.
Verwenden Sie Malerband oder provisorische Stützen, um den Stein in Position zu halten, während der Kleber aushärtet. Die meisten professionellen Klebstoffe benötigen 24 bis 48 Stunden, um vollständig auszuhärten. Dies variiert jedoch je nach Produkt und Umgebungsbedingungen.
Beschädigte Steine ersetzen
| Ersatzmethode | Am besten für | Erforderliche Werkzeuge | Schwierigkeitsgrad | Zeitinvestition |
|---|---|---|---|---|
| Exakt passender Ersatz | Sichtbare Bereiche | Nasssäge, Meißel, Kleber | Fortschrittlich | 3-4 Stunden |
| Ähnlicher Steinersatz | Große Wände mit abwechslungsreichen Mustern | Handsäge, klebend | Dazwischenliegend | 2-3 Stunden |
| Verbundreparatur | Kleine Chips oder Risse | Steinepoxidharz, Pigmente | Anfänger | 1-2 Stunden |
| Abschnittsersetzung | Mehrere beschädigte Steine | Kreissäge, Kleber, Fugenmörtel | Experte | 5-8 Stunden |
| Farbgemischte Reparatur | Verwitterte oder verblasste Bereiche | Steinbeize, Versiegelung, Pinsel | Dazwischenliegend | 2-3 Stunden plus Trocknung |
Beim Ersetzen beschädigter Steine gestapelte SteinwandplattenEntfernen Sie die Bruchstücke vorsichtig mit einem Meißel und einem Hammer. Arbeiten Sie von der Mitte nach außen, um eine Beschädigung benachbarter Steine zu vermeiden. Reinigen Sie den freiliegenden Bereich gründlich, um eine ordnungsgemäße Haftung des Ersatzsteins zu gewährleisten.
Für eine präzise Passform messen Sie den Platz aus und schneiden Sie einen Ersatzstein zu, der etwas größer als nötig ist. Schneiden Sie die Kanten nach und nach ab, bis es perfekt passt. Die meisten DIY-Reparaturprojekte für Steinmauern profitieren von der Verwendung einer Nasssäge für saubere, präzise Schnitte, die Staub minimieren.
Farbanpassungstechniken
Um eine nahtlose Oberfläche zu erreichen, ist häufig eine Farbabstimmung erforderlich, insbesondere bei der Verwendung von Ersatzsteinen. Naturstein Auf hellere Steine können Beize oder Pigmente auf Mineralbasis aufgetragen werden, um sie abzudunkeln. Um optimale Ergebnisse zu erzielen, testen Sie Ihre Farbmischung an einem Ersatzstück, bevor Sie es auf Ihre Wand auftragen.
Ein weiterer effektiver Ansatz ist die strategische Platzierung. Positionieren Sie Ersatzsteine an weniger auffälligen Stellen oder erstellen Sie absichtliche Mustervariationen, die die Unterschiede gewollt erscheinen lassen. Top Source Slate bietet passende Steine, die speziell für die Integration in bestehende Installationen entwickelt wurden.
Für Steinverkleidung Bei Systemreparaturen, bei denen keine perfekte Übereinstimmung möglich ist, sollten Sie die Verwendung von Steinen mit komplementären Eigenschaften anstelle identischer Steine in Betracht ziehen. Die natürliche Variation des Steins trägt tatsächlich dazu bei, dass neue Stücke mit der Zeit natürlicher miteinander verschmelzen.
Regelmäßige Reinigung und Wartung
Prävention ist die kostengünstigste Reparaturstrategie. Reinigen Sie Ihr gestapelte Steinwandplatten Zweimal jährlich mit einer weichen Bürste und mildem, pH-neutralem Steinreiniger. Vermeiden Sie Hochdruckreiniger an Innenwänden oder empfindlichen Steinsorten, die unter hohem Druck erodieren könnten.
Überprüfen Sie die Wände regelmäßig auf Anzeichen von Schäden. Suchen Sie nach Ausblühungen (weißes Pulver), die auf das Eindringen von Wasser hindeuten, und beseitigen Sie Feuchtigkeitsquellen sofort. Tragen Sie alle 2-3 Jahre eine hochwertige Tiefenversiegelung auf, um vor Wasserschäden und Flecken zu schützen.
Sorgen Sie bei Außenwänden für eine ordnungsgemäße Entwässerung rund um den Sockel, um eine Wasseransammlung zu verhindern. Schneiden Sie die Vegetation so ab, dass ein Abstand von mindestens 30 cm eingehalten wird. Dadurch wird die Feuchtigkeitsspeicherung verringert und verhindert, dass Pflanzenwurzeln die Wandstruktur beeinträchtigen.
Abschluss
Aus meinen Jahren bei Top-Source-Schiefer, das habe ich beim Wiederherstellen gelernt gestapelter Stein Dabei geht es nicht nur darum, eine Wand zu reparieren, sondern auch darum, den Charakter und den Wert Ihres Zuhauses zu bewahren. Das Beheben dieser Risse und losen Steine mag entmutigend erscheinen, aber mit der richtigen Vorgehensweise ist es völlig machbar.
Ich habe immer daran geglaubt, die Dinge gleich beim ersten Mal richtig zu machen, und das gilt insbesondere für Stein. Sich die Zeit zu nehmen, den Schaden zu beurteilen, sorgfältig vorzubereiten und hochwertige Materialien auszuwählen, wird sich auf lange Sicht auszahlen. Schließlich wollen wir eine dauerhafte Reparatur und nicht nur eine vorübergehende Lösung.
Letztendlich geht es bei der Restaurierung Ihrer Steinmauern darum, die Schönheit und Integrität Ihres Raums zu bewahren. Mit etwas Fingerspitzengefühl und den richtigen Techniken werden Ihre Wände im Handumdrehen erstklassig aussehen.

