Les surfaces inégales, les pierres changeantes et les problèmes de drainage transforment-ils vos rêves de jardin en une réalité frustrante? De nombreux propriétaires et paysagisseurs sont confrontés à ces défis lors de la lutte contre l'installation aléatoire en pierre, souvent en raison de la préparation négligée ou des techniques incorrectes.
This step-by-step guide addresses those pitfalls head-on, ensuring a seamless and durable installation. Drawing from over 15 years of experience in the stone industry, we at Top Source Slate will walk you through essential preparation, precise placement, and smart maintenance. With insights to avoid common mistakes, you’ll transform your garden into a stunning, functional space that stands the test of time. And with our fast, consistent supply chains, you can rest assured your project will stay on track with premium stone delivered right when you need it.
Preparing Your Garden for Perfect Random Loose Stone Installation
Ready to give your garden a fresh, natural look with a random loose stone installation? Getting the site ready is key. Think of it like prepping a canvas before painting – a solid foundation makes all the difference. This guide will walk you through the essential steps to ensure your loose stone landscaping project looks wicked awesome and lasts for years.
“Proper site preparation is crucial for a successful random loose stone installation, ensuring stability and preventing future issues like settling or weed growth.”
-
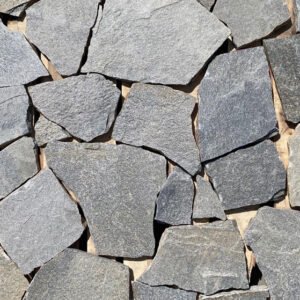 Revêtement mural en pierre lâche aléatoire de quartzite gris à face fendue naturelle
 -
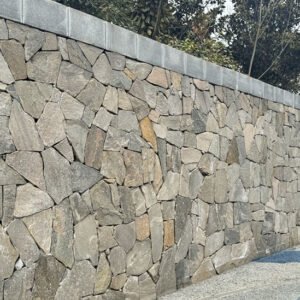 Tuiles irrégulières aléatoires de panneau en pierre de quartzite naturel pour le revêtement de mur
 -
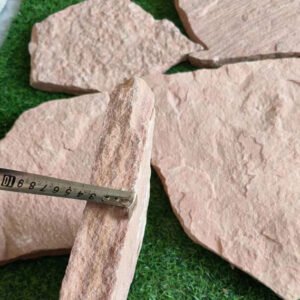 Revêtement en pierre lâche aléatoire en gros de grès rose
 -
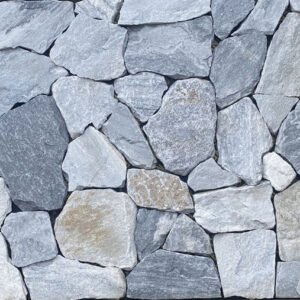 Tuile de pierre lâche aléatoire de quartzite bleue en gros pour le revêtement mural
 -
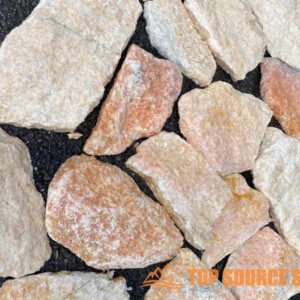 Pierre naturelle aléatoire en vrac pour revêtement mural intérieur et extérieur
 -
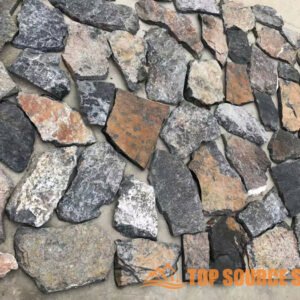 Décoration extérieure aléatoire de revêtement de mur de placage en pierre lâche en pierre naturelle
 -
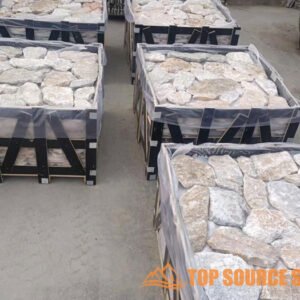 Placage de revêtement en pierre lâche aléatoire irrégulier naturel
 -
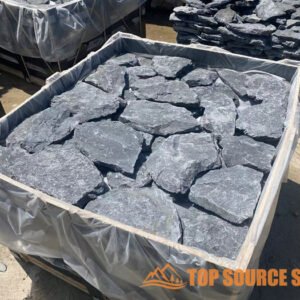 La Chine approvisionnement d'usine en plein air naturel aléatoire carreaux de revêtement mural en pierre lâche
 -
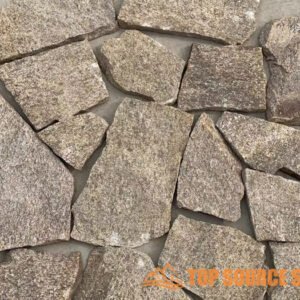 Revêtement mural en pierre lâche aléatoire extérieur naturel, prix d'usine
 -
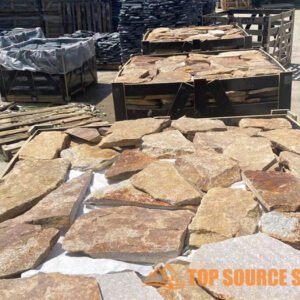 Revêtement mural extérieur en pierre lâche aléatoire brut jaune
 -
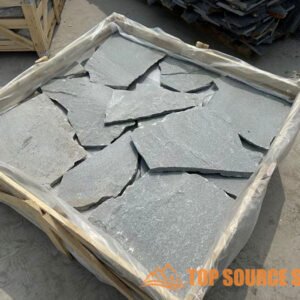 Panneau de revêtement mural en pierre lâche aléatoire naturel pour intérieur et extérieur
 -
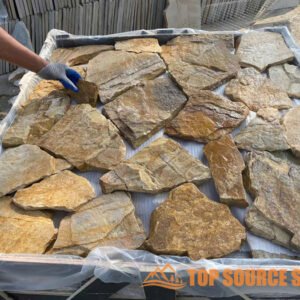 Revêtement mural en pierre naturelle lâche pour la décoration murale
Clearing Debris and Assessing the Site
First things first, clear out all the clutter. Remove any existing vegetation, rocks, or old landscaping materials. A clean slate lets you accurately assess the ground beneath. Look for any potential problems like drainage issues or uneven surfaces. Addressing these early on can save you headaches later. This is a vital part of DIY loose stone installation.
Leveling the Ground for Even Stone Placement
Uneven ground can lead to shifting stones and an unstable surface. Use a shovel and rake to level the area as much as possible. For larger areas, consider renting a plate compactor to ensure a firm, even base. This step ensures that your random loose stones will sit evenly and look their best. Make sure the area is free of large dips or rises that could cause problems down the road.
Installing a Sturdy Base: Gravel, Sand, and Weed Barriers
A solid base is essential for preventing weeds and ensuring proper drainage. Start with a layer of gravel to provide a stable foundation. Next, add a layer of sand to create a smooth surface for the stones. Finally, install a weed barrier fabric to prevent unwanted plants from growing through your loose stone landscaping. This layered approach creates a durable and weed-free surface.
Tools You’ll Need for Effective Preparation
Having the right tools on hand makes the job much easier. You’ll need a shovel, rake, wheelbarrow, measuring tape, and a level. A plate compactor can be helpful for larger areas. Don’t forget work gloves to protect your hands. Gathering these tools before you start ensures a smooth and efficient preparation process. Proper tools are essential for random loose stone installation. If you need base materials, contact Top Source Slate, whose fast 20-30 day lead times ensure projects stay on schedule.
Erreurs courantes à éviter
One of the biggest mistakes people make is not properly compacting the base layers. This can lead to settling and an uneven surface over time. Another common error is skipping the weed barrier, which can result in a garden overrun with weeds. Insufficient drainage preparation can also lead to water accumulation and damage. Avoid these pitfalls by taking your time and following each step carefully.
Maintenance Tips After Installation
After your random loose stone installation is complete, regular maintenance will keep it looking its best. Periodically rake the stones to keep them evenly distributed. Remove any weeds that manage to grow through the barrier. Check for any signs of settling and add more base material as needed. With proper care, your loose stone landscaping will provide years of beauty and enjoyment.
Choosing the right base materials is as crucial as selecting the stones themselves. High-quality gravel, sand, and weed barriers will ensure a stable, long-lasting installation. Also, don’t forget to source your stones from reliable suppliers. Coco from Top Source Slate is here to help you select the best stones at the best price. With over 15 years of experience, Coco ensures every project benefits your bottom line.
By following these steps, you’ll be well on your way to a beautiful and durable random loose stone garden. Remember, the key is in the preparation! Overlooking these important prep steps in your DIY loose stone installation might lead to costly errors down the road.
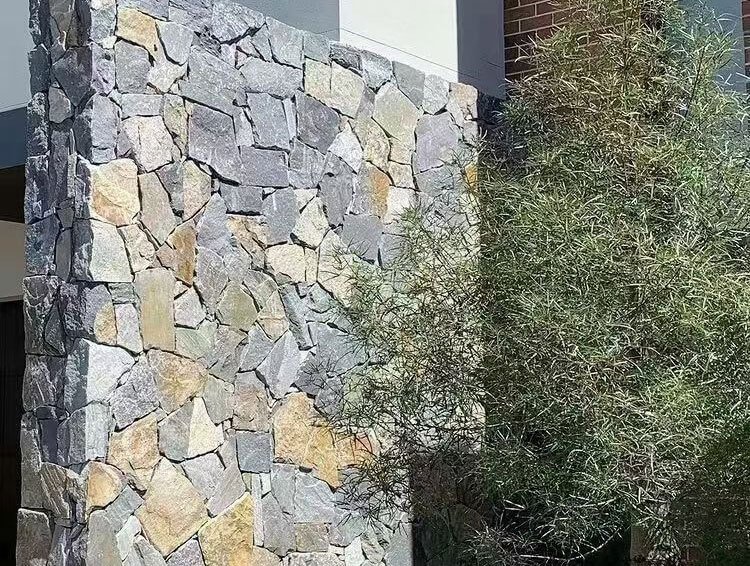
Installing Random Loose Stone: Techniques and Best Practices for a Stunning Garden
So, you’re ready to add some natural charm to your garden with a random loose stone installation? Excellent choice! But let’s not just toss those stones down and hope for the best. This guide is packed with techniques and best practices to ensure your project looks fantastic and stands the test of time. We’ll cover everything from selecting the right stones to avoiding common mistakes. Get ready to transform your garden into a stone-cold masterpiece!
“Mastering random loose stone installation involves careful stone selection, strategic placement, and proper compaction to achieve both aesthetic appeal and long-term stability.”
Choosing the Right Stone: Size, Shape, and Quality Considerations
First up, picking your stones. Size matters – a mix of small, medium, and large stones creates a more natural, visually appealing look. Shape is also important. Look for stones with varying shapes and textures. Avoid anything too uniform, as that defeats the “aléatoire” aesthetic. And of course, quality is key. Choose stones that are durable, weather-resistant, and free from cracks or flaws. Top Source Slate’s premium stone offerings provide consistent color and structural integrity. This is important for natural stone landscaping.
Mastering Random Placement for a Natural Look
The secret to a great random loose stone installation is… well, randomness! Don’t fall into the trap of creating patterns or symmetrical arrangements. Instead, focus on distributing the stones in a way that feels organic and natural. Step back frequently to assess the overall look and make adjustments as needed. Think about how stones naturally settle in nature – that’s the vibe you’re aiming for. It shouldn’t look too uniform; it has to look, well, random!
Compacting Stones for Stability and Longevity
Once you’re happy with the placement, it’s time to compact the stones. This helps to settle them into the base material and create a more stable surface. Use a hand tamper or plate compactor to gently press the stones into place. Be careful not to over-compact, as this can damage the stones or create an unnatural look. Compacting ensures that your hard work will last for years to come. Properly compacted stones make for a durable garden stone technique.
Troubleshooting Common Installation Challenges
Even with careful planning, you might run into a few snags along the way. One common issue is stones shifting or settling over time. This can be easily fixed by adding more base material or adjusting the placement of the stones. Another challenge is weed growth. Be sure to use a high-quality weed barrier fabric to prevent unwanted plants from popping up. With a little patience and know-how, you can overcome any installation challenge.
Ensuring Proper Drainage
Proper drainage is crucial for the longevity of your random loose stone installation. Without adequate drainage, water can accumulate beneath the stones, leading to instability and potential damage. Before you begin the installation, assess the site’s drainage and take steps to improve it if necessary. This might involve installing drainage pipes or creating a slight slope to encourage water runoff.
The Importance of Base Material
The base material you use is just as important as the stones themselves. A well-prepared base provides a stable foundation for the stones, prevents weed growth, and promotes proper drainage. Start with a layer of gravel to provide a solid base, followed by a layer of sand to create a smooth surface for the stones. A proper base can extend the life of your garden.
Material Cost Estimates for Random Loose Stone Installation
| Matériel | Unit | Coût moyen | Notes | Supplier |
|---|---|---|---|---|
| Gravel Base | Cubic Yard | $30-$50 | Class 5 or crushed stone | Local Quarry |
| Sand | Cubic Yard | $20-$40 | Play sand or paver sand | Home Depot |
| Weed Barrier Fabric | Square Foot | $0.10-$0.20 | Heavy-duty landscape fabric | Lowe’s |
| Pierre lâche | Ton | $100-$300 | Varies by stone type and quality | Top Source Ardoise |
| Labor (Optional) | Hour | $50-$100 | Professional landscaping services | Local Contractors |
Remember, a successful random loose stone installation is all about attention to detail. Take your time, follow these techniques, and don’t be afraid to experiment. And if you’re looking for high-quality stones with consistent color and structural integrity, be sure to check out Top Source Slate. Coco and her team will ensure you’re completely satisfied. With their customization options, they can meet any landscaping need, giving you personalized service.
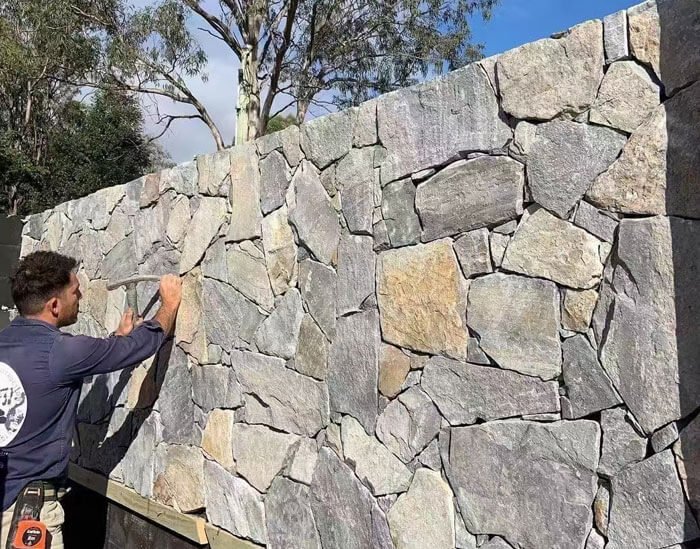
Maintaining Your Loose Stone Garden Surface: Tips for Long-Lasting Beauty
You’ve invested time and effort into your random loose stone installation, and now it’s time to keep it looking spiffy! Proper maintenance is crucial for preserving its beauty and functionality for years to come. This guide provides practical tips to address long-term care and common issues, ensuring your loose stone landscaping remains a stunning feature of your garden.
“Regular maintenance of a loose stone surface involves simple cleaning, re-leveling, and proactive measures to control drainage and weed growth, ensuring its long-term appeal.”
Routine Cleaning: Sweeping and Rinsing Techniques
Regular cleaning is the first line of defense against dirt and debris. Sweeping with a stiff broom helps remove leaves, twigs, and other organic matter. Rinsing with a garden hose can wash away finer particles and keep the stones looking fresh. For stubborn stains, consider using a mild detergent and a scrub brush. Avoid harsh chemicals or pressure washers, as these can damage the stones or disrupt the base material. Simple sweeping will maintain your patio installation tips.
Re-Leveling Stones to Prevent Shifting
Over time, stones may shift or settle, creating an uneven surface. Periodically inspect your loose stone installation and re-level any stones that have become displaced. Use a shovel or trowel to lift the stone, add or remove base material as needed, and then firmly set the stone back in place. Compacting the surrounding area will help prevent future shifting. This will help keep the space looking good as new.
Addressing Drainage and Weed Growth
Proper drainage is essential for preventing water accumulation and potential damage. Ensure that water can freely flow through the stones and away from the base. Clear any debris that may be blocking drainage pathways. Weed growth can be a persistent problem, but regular weeding and the use of a weed barrier fabric can help keep it under control. Consider applying a pre-emergent herbicide to prevent weed seeds from germinating. A solid base material is key for the random loose stone installation.
When to Refresh or Replace Stones
Even with proper maintenance, stones may eventually become worn or damaged. If you notice cracks, chips, or discoloration, it may be time to refresh or replace the affected stones. Sourcing new stones from a reliable supplier like Top Source Slate ensures a consistent look and quality. Their durable stones reduce maintenance frequency and their reliable supply chain supports timely replacements or expansions. This enhances the value of partnering with trusted suppliers.
Preventative Measures for Longevity
Taking proactive steps can significantly extend the lifespan of your loose stone surface. Avoid using de-icing salts in the winter, as these can damage the stones. Protect the surface from heavy loads or sharp objects that could cause cracking or chipping. Regularly inspect the area for any signs of damage or deterioration and address them promptly.
Choosing the Right Cleaning Products
Selecting the right cleaning products is crucial for maintaining the beauty of your loose stone surface without causing damage. Avoid using acidic or abrasive cleaners, as these can etch or scratch the stones. Opt for neutral pH cleaners specifically designed for natural stone. Always test the cleaner in an inconspicuous area first to ensure it doesn’t cause any discoloration or damage.
Maintenance Schedule for Loose Stone Surfaces
| Tâche | Fréquence | Tools/Materials | Notes | Estimated Time |
|---|---|---|---|---|
| Sweeping | Weekly | Stiff broom | Remove leaves, twigs, and debris | 15 minutes |
| Rinsing | Mensuel | Garden hose | Wash away dirt and grime | 20 minutes |
| Re-leveling Stones | Trimestriel | Shovel, trowel, base material | Address shifting or settling | 30-60 minutes |
| Weed Control | As Needed | Hand trowel, herbicide | Remove weeds promptly | 15-30 minutes |
| Inspection | Semi-Annually | N/A | Check for damage and drainage issues | 10 minutes |
By following these maintenance tips, you can ensure that your random loose stone installation remains a beautiful and functional feature of your garden for years to come. Remember, a little regular care goes a long way! Coco from Top Source Slate knows how important it is to choose quality stones and thanks to their reliable supply chain you can ensure you don’t have to worry about replacements, or worry when you want to expand your installation!
Conclusion
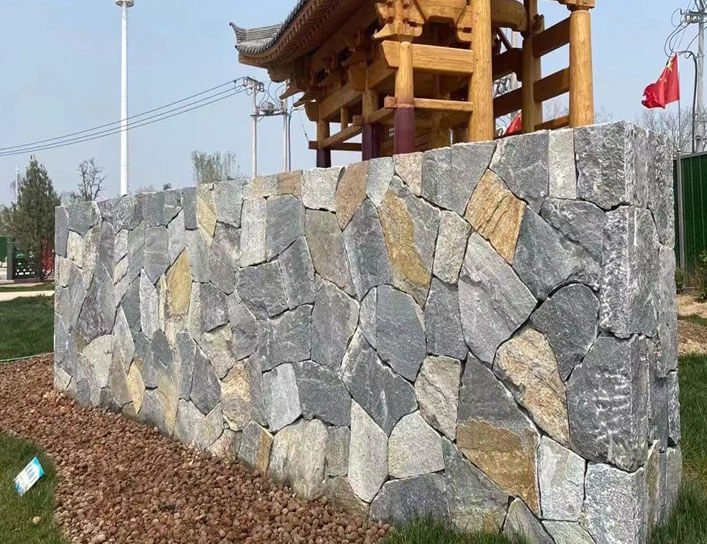
From my years here at Top Source Slate, I’ve learned that installing random loose stone is all about doing it right the first time. It’s not just about tossing stones; it’s about crafting a space that lasts and looks great. Getting the prep work right and choosing quality stones is key to avoiding headaches down the road.
My goal has always been to help clients maximize value without cutting corners on quality. That’s why focusing on proper techniques and reliable materials is so important. We want your project to not only look amazing but also stand the test of time.
Investing a bit more upfront in quality materials and careful installation is, in my opinion, a slam dunk. With the right approach, you’ll create a garden that not only enhances your space but also increases your property’s value. It’s a win-win!
Liens externes
- Conseils d’installation pour un revêtement en pierre lâche aléatoire
- Enhance Spaces With Euroa Random Limestone Cladding
- Alpine Random Walling – Stone101 Supplier
- Transform Your Outdoor Space with Dry Stack Stone
- Installation Guide for Random Rubble Stone Cladding
- How to Build a Loose-Material Patio
- Loose-Laid Stone Patio: A DIY Guide
- Common Mistakes to Avoid with Random Rubble Stone Cladding


