How to Build a Dry Stack Stone Wall

how to build a dry stack st

目次

Building a dry stack stone wall is a project that blends craftsmanship with functional design. This type of wall is constructed without mortar, relying on the precise placement of stones to create a sturdy structure. This guide will walk you through the process step by step, incorporating critical details to ensure your wall is both durable and visually appealing.

Planning and Preparation

Proper planning is crucial for a successful dry stack stone wall project. Begin by calculating the total square footage of your wall. Measure the length and height, taking into account any slopes or irregularities in the terrain. These measurements will help you estimate the amount of stone and other materials you’ll need​.

Materials and Tools

You’ll need several tools and materials:

  • ツール: Shovels, rock hammer, small sledgehammer, chisel, string line, level, gloves, safety goggles, trowel, rubber mallet, and a mixing drill with a mortar paddle​
  • Materials: Dry stack stones, gravel for the foundation and backfill, perforated drain pipe (if necessary), and modified mortar or adhesive if additional stability is needed​

Dry Stack Stone Selection

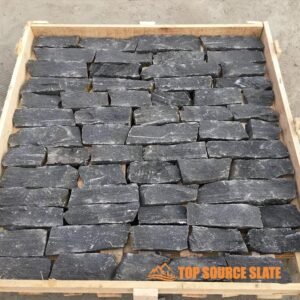
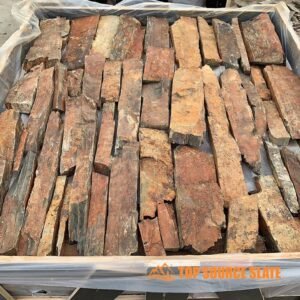
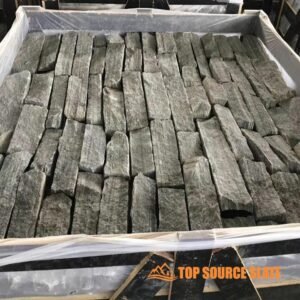
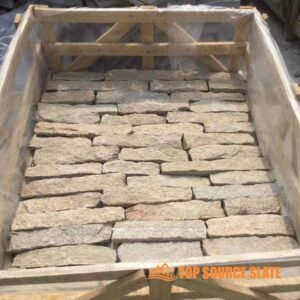
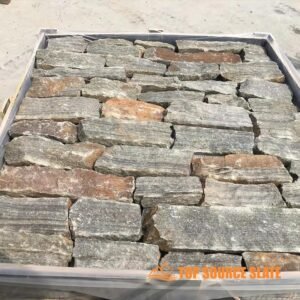
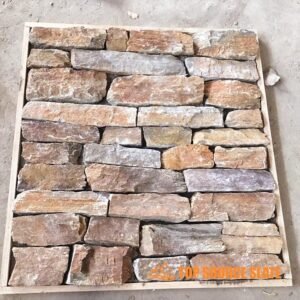
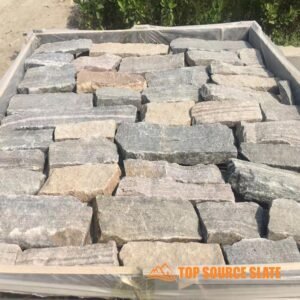
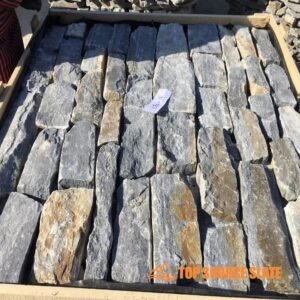
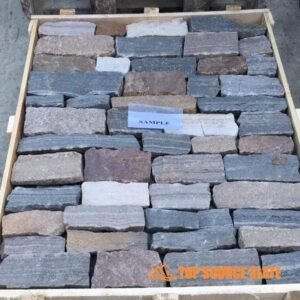
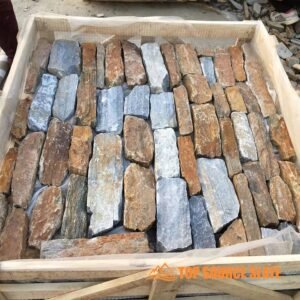
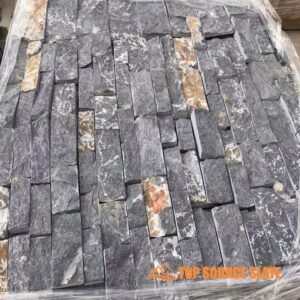
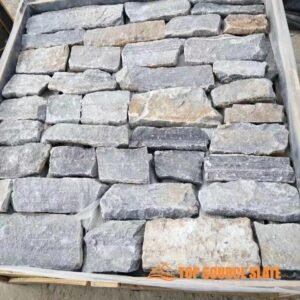
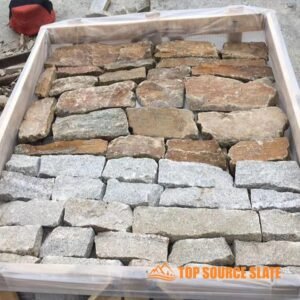
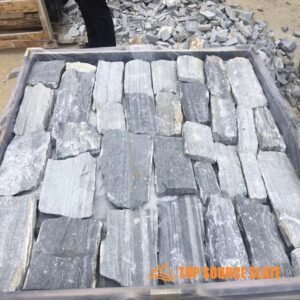
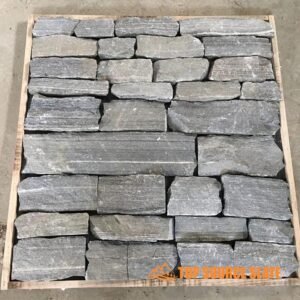
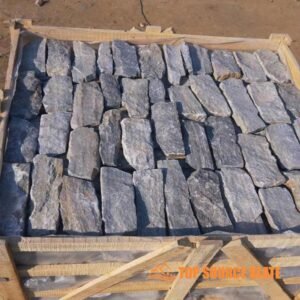
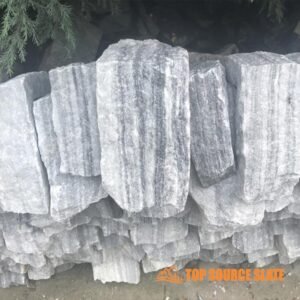
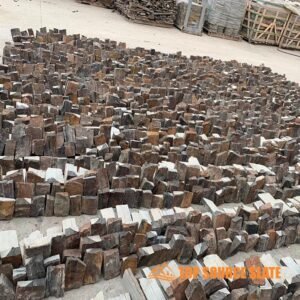
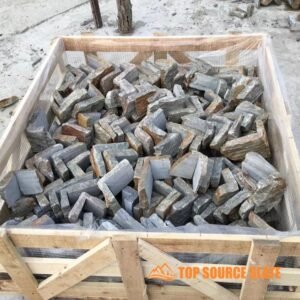
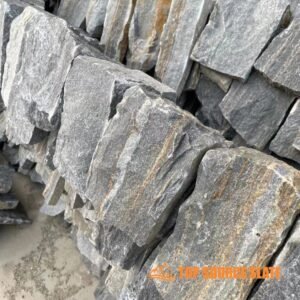
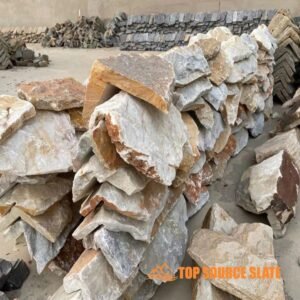
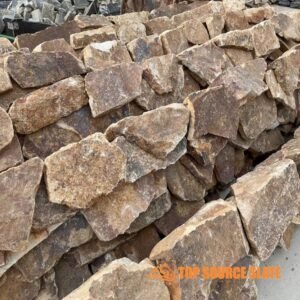
Choose dry stack stones that are flat on the top and bottom for easier stacking. Stones that are blocky or more uniform in shape will speed up the building process. Irregular stones can be used for a more rustic appearance, but they require more skill and time to fit together properly​

Preparing the Foundation

The foundation is the most critical part of your dry stack stone wall. Begin by digging a trench along the length of the wall, approximately 4 to 8 inches deep. The trench should be wide enough to accommodate the largest stones. Fill the trench with compacted gravel, which will serve as a stable base and help with drainage​

Drainage Considerations

If the wall is located in an area prone to heavy rain or poor drainage, it’s essential to install a drainage system. Place a perforated drain pipe at the base, wrap it in a filter cloth, and cover it with additional gravel. This setup will guide water away from the wall, reducing the risk of erosion and instability.

Laying the First Course

The first course of dry stack stone veneer is the foundation upon which the entire wall is built. Place the largest, flattest stones directly on the compacted gravel base. Ensure each stone is level and securely in place, as the stability of the entire wall depends on this first layer​.

Using Adhesive or Mortar

For added stability, especially in walls that are tall or exposed to harsh weather conditions, consider using a modified mortar or adhesive. Spread the mortar with a notched trowel, creating a full bed under each stone to lock them in place while maintaining the appearance of a dry stack stone wall.

Stacking the Stones

The stacking phase is where the true artistry of building a dry stack stone wall comes to life. Each stone must be carefully selected, shaped, and placed to ensure stability, proper fit, and aesthetic appeal. In this step, you’ll refine your technique as you progress from the first course to the top of the wall. Follow these detailed guidelines to ensure a well-constructed and visually cohesive wall.

Positioning Dry Stack Stones for Stability

When stacking the stones, it’s essential to prioritize stability. Always place each stone so it is securely seated on the stones below it. For every new stone, use the following techniques:

  • Wiggling for Placement: After placing each stone, give it a slight wiggle to ensure it settles firmly onto the stones below. This helps to eliminate any air gaps and creates a more secure bond, even without mortar​.
  • Testing Stability: Check each stone for movement. If it wobbles, either reposition it or adjust the stones underneath to create a more stable base. You can also use smaller stones as shims to fill gaps beneath larger stones.

Breaking the Joints

One of the key principles when stacking stones is to avoid lining up vertical joints from one course to the next. This technique, known asbreaking the joints,increases the wall’s stability and strength. Here’s how:

  • Offset Each Stone: Each stone should overlap the joint between the dry stack stones directly below it. This method distributes the load more evenly across the wall and prevents weak spots from forming​.
  • Vary Stone Sizes: Use a combination of large and small stones to achieve the desired offset pattern. Large stones act as stabilizing anchors, while smaller stones fill gaps and create a more intricate design

Leaning the Wall Back (Batter)

To enhance the structural integrity of your dry stack stone wall, lean it slightly back into the embankment or hillside, known as creating abatter.This is especially important for retaining walls:

  • Angle of the Lean: For every foot of height, the wall should lean back about 2 inches into the embankment. This lean helps counteract the pressure from the soil behind the wall, preventing it from toppling forward.
  • Consistency: Use a string line and level to check the wall’s batter regularly as you build. This ensures a consistent lean and prevents sections of the wall from being overly vertical, which could lead to instability.

Dead-man Stones for Reinforcement

To further enhance the wall’s strength, periodically insertdead-manstones. These are longer stones that extend from the face of the wall into the embankment behind it.

  • Dead-man Stone Placement: Every few feet, place a long stone that extends deep into the earth behind the wall. These stones act as anchors, tying the wall into the embankment, and help distribute the weight of the wall.
  • Frequency: Depending on the wall’s size, place dead-man stones every 3 to 5 feet horizontally and vertically. These stones are critical for taller walls and those retaining significant amounts of soil.

Shaping Dry Stacked Stones for a Tighter Fit

While stacking the stones, you’ll occasionally need to shape them for a tighter fit. The goal is to create a smooth, interlocking wall surface with as few gaps as possible.

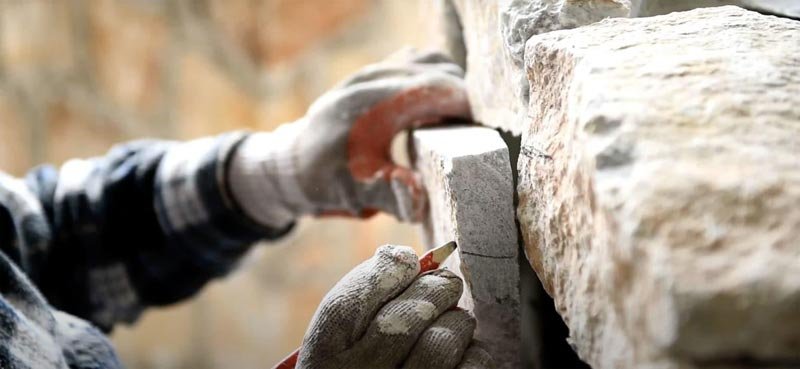
  • Using a Chisel and Hammer: For dry stack stones that don’t fit perfectly, use a rock hammer and chisel to chip away excess material. Take small pieces off at a time to avoid cracking the stone.
  • Filling Gaps: Use smaller stones or stone chips to fill in gaps between larger stones. This not only tightens the structure but also enhances the wall’s aesthetic appeal​.

Layering the Backfill

As you build the wall, it’s important to backfill with gravel at regular intervals. Backfilling serves multiple purposes, including providing additional support for the wall and improving drainage.

  • Backfill Every Few Courses: After laying a few courses of dry stack stone, add a layer of gravel behind the wall. The gravel should extend a few inches behind the stones and be compacted to provide support.
  • Drainage Function: The gravel also helps water drain through the wall rather than accumulating behind it, which could increase pressure and cause the wall to lean or collapse​.

Dealing with Irregular Stones

If you’re using irregular stones, you’ll need to be more strategic with placement. The aim is to achieve a balance between aesthetics and stability:

  • Random Pattern for Natural Look: Arrange dry stacked stones in a way that avoids creating long, unbroken horizontal or vertical lines. This will give your wall a more natural appearance while maintaining its strength.
  • Mixing Sizes and Shapes: Use a variety of stone sizes and shapes to create visual interest and reduce the need for extensive cutting. Larger stones can anchor the wall, while smaller stones fill in gaps and add texture.

Maintaining Consistent Height

While stacking, regularly check the height of the wall with a string line or level. Keeping each course level ensures that the wall is visually appealing and structurally sound.

  • String Line for Accuracy: Stretch a string line along the length of the wall at the desired height for each course. Use this as a guide to ensure the dry stack stones are laid evenly​.
  • Adjusting with Shims: If a stone sits too low, use smaller stones or shims underneath to raise it to the correct height​.

Finishing the Top Course

The final course of stones, known as the capstone, provides both a finished look and additional stability. Choose larger, flatter stones for the top course to lock everything in place.

  • Capstone Placement: Set the capstones securely, ensuring they sit flat and are tightly fitted. This helps to bind the wall together and prevents dry stack stones from shifting over time​.
  • Optional Mortar for Capstones: While the rest of the wall is dry-stacked, you can choose to mortar the capstones for added security, particularly if the wall is exposed to heavy foot traffic or weather.

By carefully following these steps, you’ll ensure that your dry stack stone wall is both beautiful and durable, standing the test of time while adding timeless charm to your landscape.

related to:

Stacked Stone: 完全購入ガイド【更新】

あなたの家に使用する天然石積み上げパネルの選び方

積み石・棚石の設置方法

積み石暖炉の設置方法

Handling Corners and Special Features

Handling corners and incorporating special features such as windows, utility boxes, or light fixtures are crucial aspects of building a dry stack stone wall. Corners require precise planning and careful stone placement to maintain the wall’s structural integrity and aesthetic appeal. Likewise, working around special features demands creativity and precision to ensure seamless integration with the wall. Here’s how to tackle these challenges effectively.

Building Corners

Dry stacked stone corners are a critical part of the wall’s structure. Poorly constructed corners can compromise the stability of the entire wall, so it’s essential to approach them with care.

Starting with Corners

  • Foundation First: Begin by establishing a solid foundation at the corners, just as you would for the rest of the wall. Ensure the first layer of stones is level and securely set. The stability of the corner depends on how well the foundation stones are placed​.
  • L-Shaped Stones: If available, use L-shaped corner stones specifically designed for dry stack walls. These stones wrap around the corner, providing a seamless and strong connection between the two intersecting walls.
  • Alternating Courses: When placing stones at the corner, alternate the direction of the overlap with each course. For example, in one course, have the stones on the left wall overlap the corner, and in the next course, have the stones on the right wall overlap. This alternating pattern, known as “bonding,” increases the corner’s strength by interlocking the stones.

積み石パネルコーナーの設置方法

Maintaining Structural Integrity

  • Avoid Vertical Joints: As with the rest of the wall, avoid lining up vertical joints directly over each other at the dry stack stone corner. Offset the joints in each course to create a more stable and interlocked structure.
  • Use Larger Stones: Whenever possible, use larger stones at the corners. These stones are more stable and provide a stronger anchor point for the rest of the wall​.
  • Checking for Level: Regularly check that the corner remains level both horizontally and vertically as you build up the wall. Use a string line or level to ensure accuracy, adjusting stones as needed.

Incorporating Special Features

Special features like windows, doors, utility boxes, and light fixtures add complexity to your project. Properly integrating these elements into the wall requires careful planning and precision cutting.

Windows and Doors

  • Framing the Opening: When building around windows or doors, start by framing the opening with stones. Use dry stack stones that are as large as possible to provide a stable frame. These stones will bear the load of the wall above the opening​.
  • Cutting Stones to Fit: Measure the space around the window or door carefully. Cut stones to fit snugly against the frame, ensuring no gaps are left that could weaken the structure. Use a masonry saw or angle grinder to achieve precise cuts​.
  • Lintels: Consider using a stone lintel (a horizontal stone placed over the top of the window or door) to support the stones above the opening. The lintel should extend at least 6 inches beyond the opening on each side to distribute the load effectively​.

Utility Boxes and Light Fixtures

  • Measuring and Marking: Accurately measure and mark the positions of utility boxes, light fixtures, or other obstructions on the dry stack stones that will surround them. Precision is key to ensuring these features fit seamlessly into the wall​.
  • Cutting Openings: Use an angle grinder or masonry saw to cut openings in the stones for these features. It’s often easier to make several small cuts rather than trying to remove a large piece at once. This approach helps prevent the stone from cracking or breaking.
  • Tight Fitting: Ensure that the stones around the precise fit. This careful fitting ensures that the utility boxes or fixtures are securely embedded in the wall and that the overall look remains cohesive and professional.

Installing Drainage (If Needed)

For retaining walls or walls in areas with heavy rainfall, proper drainage is crucial. After laying the first few courses of stone, install a drainage pipe wrapped in filter cloth behind the wall. This pipe should slope slightly to allow water to drain away from the wall. Cover the pipe with drain rock and continue building the wall as normal.

Capping the Wall

The capstone is the finishing touch on your dry stack stone wall. It serves both a functional and aesthetic purpose, helping to lock the stones below in place and giving the wall a polished appearance. Choose stones that are slightly larger or of a contrasting color for a distinctive look. Use a level or string line to ensure the capstones are even and aligned​.

Post-Installation: Sealing and Maintenance

Once your wall is complete, consider sealing the stones, especially if it is an exterior wall. Sealing helps protect the stones from moisture, stains, and efflorescence. Apply a high-quality penetrating sealer according to the manufacturer’s instructions. Sealed stone is easier to maintain, and the sealer can help repel stains.

Ongoing Maintenance

Regular maintenance is key to ensuring the longevity of your dry stack stone wall. Inspect the wall periodically for signs of settling or stone displacement, and make adjustments as needed. For exterior walls, occasional cleaning with water and a soft brush will help maintain their appearance. Avoid using harsh chemicals or high-pressure washing, as these can damage the stone.

Special Considerations for Different Substrates

Installing Over Open Stud Walls: When installing dry stack stone veneer over open stud walls, ensure the framework is structurally sound and capable of supporting the weight of the stone. Use cement board that is at least 1/2 inch thick, or a combination of wood sheathing, metal lath, and a scratch coat.

Installing Over Concrete, Block, or Brick: Ensure the surface is clean and free of any foreign agents. This may require sandblasting or water blasting. If the surface is uneven, apply a thick bed mortar mix to even out inconsistencies before laying the stones​.

Installing Over Steel: Clean the surface of any contaminants, such as rust, dirt, or oils. If possible, tack weld a wire lath onto the steel before applying a thick bed mortar mix. Alternatively, stones can be adhered directly to a clean steel substrate using an epoxy-based adhesive​.

Conclusion

Building a dry stack stone wall is a rewarding project that combines artistry with engineering. By following these detailed steps and considering the specific requirements of your site, you can create a wall that is both beautiful and durable. Whether you’re constructing an interior dry stack stone wall for a cozy fireplace or an exterior dry stack stone garden wall, this guide will help you achieve a professional result that will stand the test of time.

トップソーススレート excels in all these areas, making us the best accomplice in your stone cladding wishes, whether you’re working on outside house stone cladding or an indoor characteristic wall. Contact us today to learn more about how we will help your next assignment.

で共有する フェイスブック
で共有する ツイッター
で共有する リンクイン
で共有する グーグル
で共有する ワッツアップ

簡単な見積もりを取得する

当社は常に高品質でコスト効率の高い製品を追求しています。正確な見積もりを得るために今すぐお問い合わせください。

信頼できる積み石メーカーをお探しですか?

簡単な見積もりを依頼する

あなたは私たちにとってとても大切な人です、 お時間を割いてご連絡いただきありがとうございます。 24 時間以内にご連絡いたします。良い1日を!

オープンチャット
こんにちは👋、ようこそ、何でも聞いてください🎉
こんにちは👋!私たちのサイトへようこそ🎉
サポートが必要な場合は、このメッセージに返信してください。オンラインですぐに対応させていただきます。