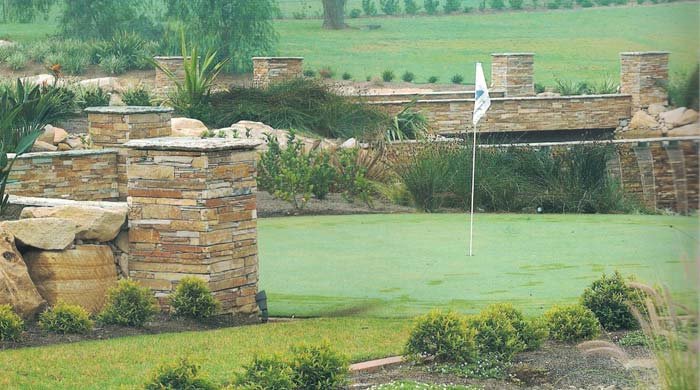
積み重ねられた石の柱 屋外スペースの建築的な美しさを高める時代を超越した頑丈な外観を提供してください。私道の側面、ポーチのフレーム、または目を引くディテールを庭に追加することを目指している場合でも、これらの柱を自分で作成することは、適切な材料とテクニックで達成可能です。このガイドでは、何年も続き、見事に見える積み重ねられた石の柱を構築するための手順を説明します。
積み重ねられた石の柱の紹介
積み石柱は、天然石または人工石のベニヤで作られた垂直構造です。これらは、造園プロジェクトのサポートを提供したり、スタンドアロンの機能として機能しながら、装飾的なタッチを提供します。美しい玄関のステートメントとして機能するだけでなく、フェンス、門、ポーチに構造上の優雅さを加えます。耐久性で知られるこれらのコラムは、過酷な天候や経年劣化に耐えることができるため、機能と美観の両方に長期的な投資となります。
-
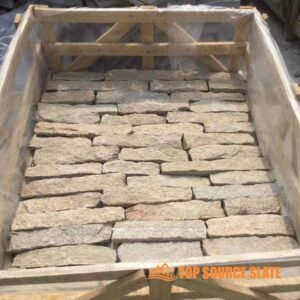
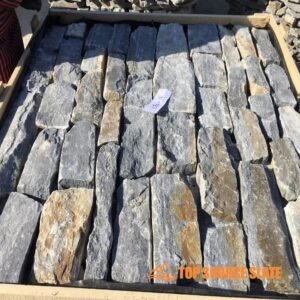
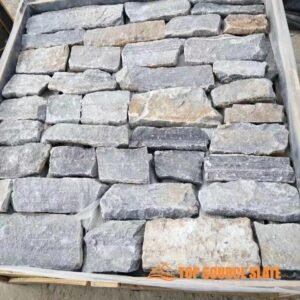
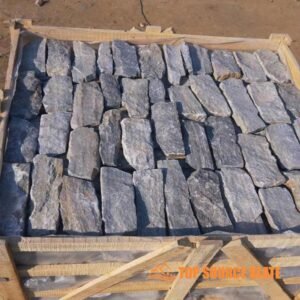
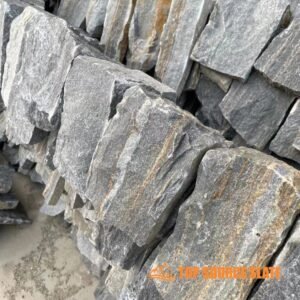
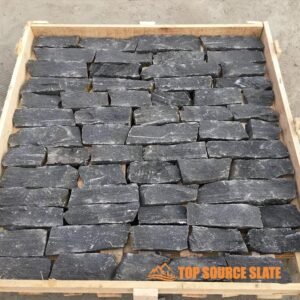 卸売黒色珪岩ドライスタックランダムクラッディング
 -
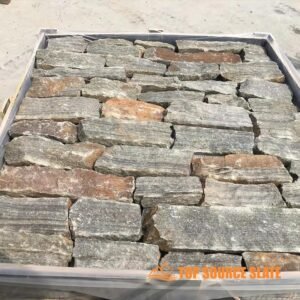
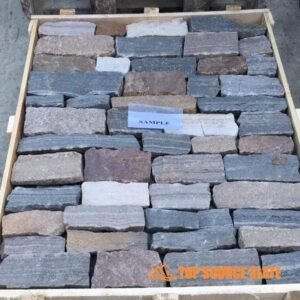
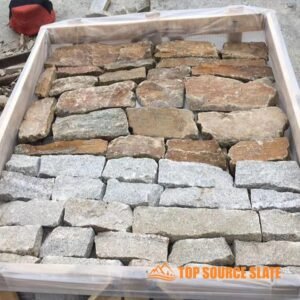
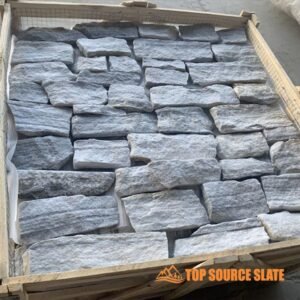
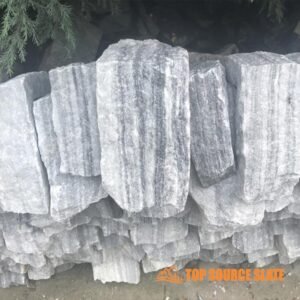
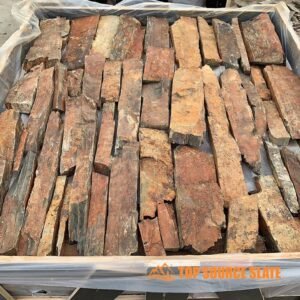 最高品質の乾式スタック石壁クラッディング
 -
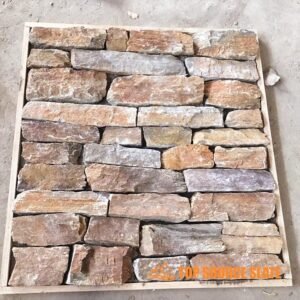
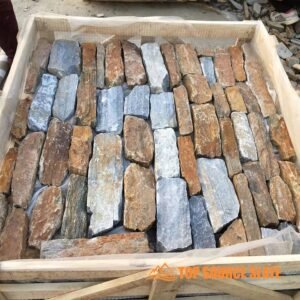
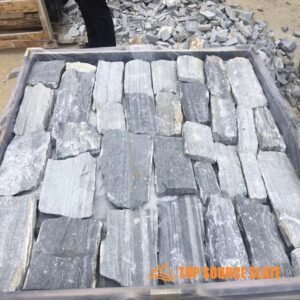
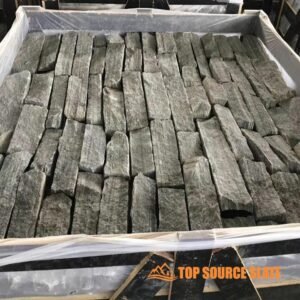 工場直販の安いルースストーンウォールクラッディング
 -
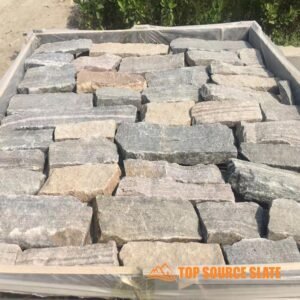
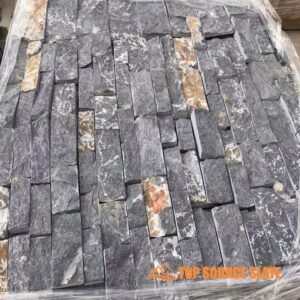
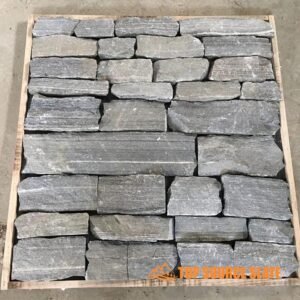
 工場直送のランダムな天然石の壁のクラッディング
 -
 屋外装飾ルースドライスタックレッジ石クラッディング
 -
 中国サプライヤー不規則な壁被覆石ベニヤ
 -
 中国メーカーの外装天然ルースストーンウォールクラッディング
 -
 中国メーカールースレッジストーン天然石ベニヤ
 -
 中国ベンダーの屋外乾式スタック石造りの暖炉
 -
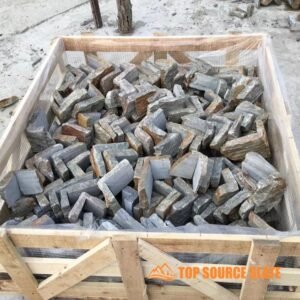
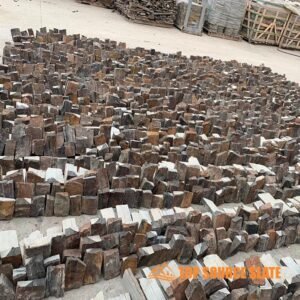
 中国の輸出業者は、乾燥した積み重ね石を緩めます
 -
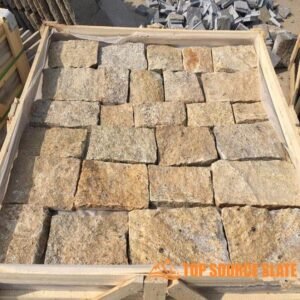
 中国の卸売ドライスタックストーンハウスエクステリア
 -
 中国卸売乾式積み重ね天然石ベニヤ
 -
 中国メーカーの乾燥スタックストーンクラッディング
 -
 内部および外部ドライスタックストーンタイル
 -
 壁の覆い用の内部と外部の緑のゆるい石
 -
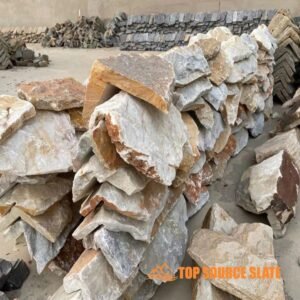
 自然なルースストーンを特徴とする壁被覆ストリップ
 -
 外壁の家のためのゆるいベニアの石
 -
 フィーチャーウォール用の乾式石壁クラッディング
 -
 ルースストーンクラッディングコーナー
 -
 乾いた石の壁の覆い角
 -
 不規則な壁被覆石ベニヤコーナー
 -
 緩い石壁被覆コーナー
 -
 乾いた積み石コーナー
 -
 空積み石垣コーナー
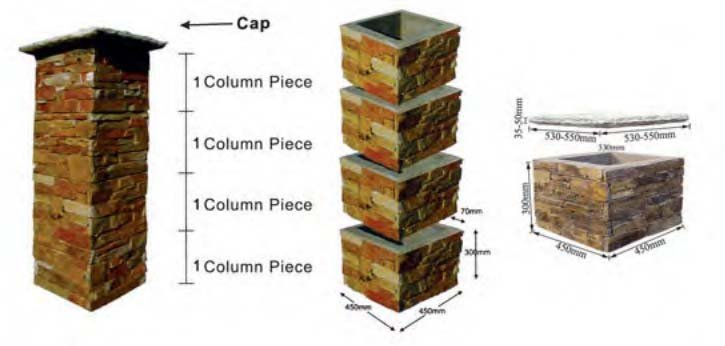
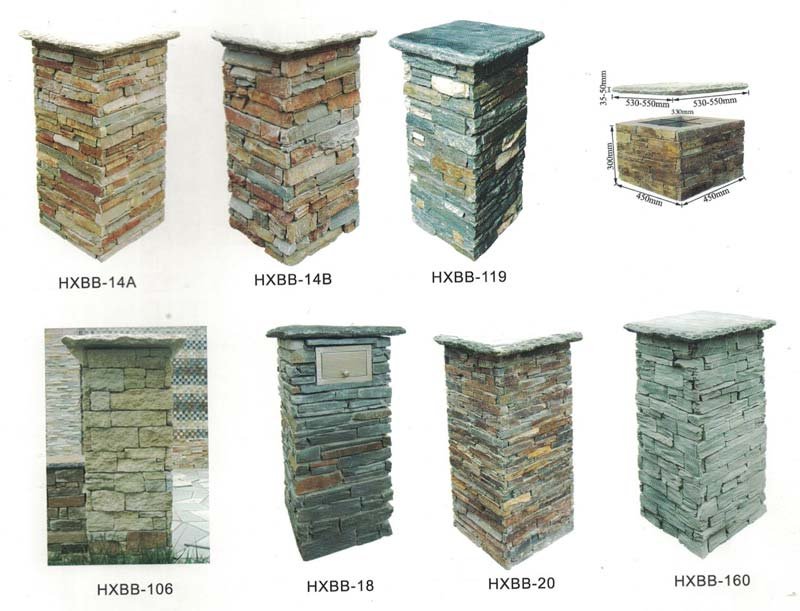
屋外の積み石柱は、多くの場合、設置に費用がかかり、メンテナンスが困難です。当社の積み上げ石柱を使用すると、より手頃な価格で、手間を省いて同じ外観を実現できます。
- サイズ: 通常のサイズは 450*450*300 ミリメートル (カスタマイズされたサイズが利用可能です)
- 用途:郵便ポストを柱に差し込むことができます。
- 簡単なインストールと時間の節約。
積み石柱に必要な材料
プロジェクトを開始する前に、建設プロセスをスムーズに進めるために必要な材料をすべて集めてください。必要なものは次のとおりです。
- 石のベニヤまたはブロック: 選ぶ 自然の積み石、希望の美観に合う製造ベニヤ、またはブロック。
- コンクリート基材:しっかりした基礎を作るのに欠かせません。
- モルタルまたは景観用接着剤:石をしっかりと固定します。
- 鉄筋(オプション): 追加の構造サポート用。
- キャップストーン: 柱の上部を仕上げます。
- ツール:シャベル、水準器、こて、ゴム槌、手押し車、安全具(手袋、ゴーグル)。
選択する 高品質 カラムの寿命と安定性を確保するには、材料が非常に重要です。たとえば、製造されたベニヤは、多くの場合、軽量で加工が容易ですが、見た目は天然石のように見えます。
サイトの準備と基礎のセットアップ
積み上げた石柱の寿命と安定性を確保するには、適切な現場の準備と基礎工事が重要です。ここでは、サイトを準備して強力な基盤を築く方法について詳しく説明します。
ステップ 1: サイトを選択し、レイアウトを計画する
まず、石柱を建てる場所を特定します。機能と美しさの両方を考慮してください。一般的な場所には、私道の端、小道沿い、またはポーチや庭の門のアクセント柱などがあります。場所を選択したら:
- 列の位置をマークします: 杭、ひも、またはスプレー ペイントを使用して、各柱を配置する場所の輪郭を描きます。複数の柱を構築する場合は、配置が対称的で適切に位置合わせされていることを確認してください。
- 地域の建築基準法を確認する: 一部の地域では、特に耐荷重性のある柱やフェンスや門に接続されている柱の場合、許可が必要な場合や、柱の高さと構造に関するガイドラインが定められている場合があります。プロジェクトを開始する前に、準拠していることを確認してください。
ステップ 2: 基礎を掘る
特に凍結融解サイクルや土壌の変動がある地域では、石柱を長期間にわたって直立して安全に保つには、強力な基礎が重要です。やるべきことは次のとおりです。
- 基礎のサイズを決める: ほとんどの標準的な石柱の場合、少なくとも穴を掘る必要があります。 幅24インチ そして 深さ6~8インチ。ただし、柱の高さが 4 フィートを超える場合は、穴を開けることを検討してください。 より深く、より広く (最大深さ 12 インチ、幅 30 インチ) により安定性が向上します。
- 基礎を砂利で埋めます:穴を掘ったら、それを埋めます。 6インチの圧縮砂利 または砕石。タンパーを使用して砂利を圧縮します。この層は、安定した浸透性のベースを提供し、排水を助け、カラムが不均一に沈降するのを防ぎます。
ステップ 3: コンクリート基礎を流し込む
コンクリート基礎は、柱に頑丈で耐久性のある基礎を提供します。次の手順に従います。
- コンクリートを混ぜる: 手押し車またはコンクリートミキサーで、メーカーの指示に従ってコンクリート混合物を水と混ぜ合わせます。滑らかで使いやすい粘度になるまでかき混ぜます。
- コンクリートを流し込む: 混合コンクリートを穴の中に約30%になるまで慎重に注入します。 地面から2~3インチ下。こてを使用してコンクリートの上部を滑らかにし、水平であることを確認します。
- 鉄筋を挿入します(オプション): より高い柱を構築している場合、または追加の構造サポートが必要な柱を構築している場合は、 鋼鉄筋棒 濡れたコンクリートの中へ。鉄筋は柱を補強し、重い荷重や動きに対する耐性を高めます。
- コンクリートを硬化させましょう: コンクリートが固まるまで放置します。 24~48時間 (天候が特に涼しい場合や湿気が多い場合はさらに長くなります)。この硬化時間は、強力な基礎を形成するために不可欠です。
石柱構造物の構築
基礎が硬化したら、実際の石柱を建てます。柱が構造的に健全であり、見た目も魅力的であることを保証するには、精度と忍耐力が不可欠です。
ステップ 1: 最初の石のコースを置く
最初のレイヤーから始めるか、 “コース、” 石の。この最初の層は、柱の残りの部分の基礎を設定するため、最も重要です。その方法は次のとおりです。
- 基礎石を置きます: 柱のデザインに応じて、石を正方形または長方形の形に配置することから始めます。石材のベニヤまたはブロックを使用する場合は、石材が水平で、角が適切に揃っていることを確認してください。
- 水平度をチェックする: 各石を配置した後、 水準器 水平であることを確認します。必要に応じて、少量のモルタルを追加または削除して調整します。最初の層が水平でない場合、作業を続けると柱が傾いたり、崩れたりします。
- モルタルや接着剤を使用する:薄く伸ばします。 モルタル 石の間に挟んでそれらを固定します。こてを使用して、石が接触する表面全体にモルタルを均等に広げます。プレカットされた石材ベニヤを使用している場合は、景観用接着剤を使用すると石をより早く固定できます。
ステップ 2: 石を積み続ける
最初のコースを配置したら、後続のレイヤーの積み重ねを開始します。適切な配置を確保する方法は次のとおりです。
- 関節をずらす: 安定性を高め、より自然な外観を得るには、石の間の垂直の接合部をずらして配置します。構造が弱くなる可能性があるため、ジョイントを直接重ねて配置しないでください。
- 各層の間にモルタルを塗布します: 各コース間に一定量のモルタルを広げて石を接着します。こてを使用してモルタルを接合部に押し込み、余分な部分を滑らかにします。モルタルを塗りすぎると、石の間に見苦しい膨らみが生じる可能性があるので避けてください。
- 鉛直をチェックする: 数レイヤーごとに完了したら、 レベルと鉛直線 柱が垂直方向にまっすぐであることを確認します。石を軽く叩いて調整します。 ゴム槌 必要に応じて。柱が一定の高さに達すると、位置がずれていると修正するのが困難になるため、鉛直を継続的にチェックすることが重要です。
ステップ 3: 安定性を高めるための補強 (オプション)
柱が門、フェンス、その他の構造物を支える場合、またはより高い柱を建てる場合は、構造の補強が必要になる場合があります。
- 鉄筋補強: 入れる 垂直鉄筋棒 強度を高めるために柱の芯に挿入します。これらのロッドは、コンクリート基礎から柱の高さまで伸びる必要があります。これは、柱のコアをコンクリートで埋める予定がある場合に特に便利です。
- コンクリートコア(オプション):さらに強度を高めるために、注ぐことができます コンクリート 組み立てるときに柱のコアの内側に入れます。この方法は通常、耐荷重アプリケーションで使用されます。コンクリートがコアを自由に流れることができるように、石の間にいくつかの開いた接合部を残すようにしてください。
ステップ 4: キャップストーンと仕上げ
キャップストーンは、柱を構築する最後のステップです。洗練されたプロフェッショナルな外観を提供し、水による損傷からカラムを保護します。
- 適切なキャップストーンを選択する: スタックストーンのスタイルに一致または補完するキャップストーンを選択します。それらは、柱の上部全体をカバーし、端をわずかに超えて広がるのに十分な大きさである必要があります。
- キャップストーンを適用する:強いものを使用してください 景観接着剤 またはモルタルを使用してキャップストーンを所定の位置に固定します。しっかりと押し込み、水平器を使用して、位置が揃っていることを確認します。
- 石を封印する: 石を風化から保護するには、塗料を塗布します。 ストーンシーラー モルタルが完全に硬化したら。これにより、石が吸水、汚れ、凍結融解サイクルから保護されます。
キャップストーンで柱を仕上げる
柱の最後の仕上げは、装飾と機能の両方の目的を果たすキャップストーンの追加です。キャップストーンは、きれいで完成した外観を提供し、柱を天候による損傷から保護します。追加方法は次のとおりです。
ステップ 1: キャップストーンを配置する
柱の上にキャップストーンを置きます。ぴったりとフィットし、構造物と均等に位置が揃っていることを確認してください。必要に応じて、石材用のこぎりを使用して石を適切なサイズに切断します。
ステップ 2: キャップストーンを固定する
使用 モルタルまたは景観用接着剤 キャップストーンを固定します。接着剤を隙間やムラのないように均一に塗布してください。石を所定の位置にしっかりと押し込みます。
ステップ 3: 石を封印する
石柱をさらに保護するには、次のような方法を検討してください。 シーラー 湿気や汚れから守ってくれます。氷点下の地域に住んでいる場合、石が凍結すると水が浸透してひび割れが発生する可能性があるため、この手順は非常に重要です。
安定性と寿命を確保するためのヒント
石を積み上げた柱を建てるには、細部まで細心の注意を払う必要がありますが、次のヒントを参考にすれば、柱を何年も長持ちさせることができます。
- レベルを上げながら: 各レイヤーのレベル調整を常に確認してください。柱が完成すると、曲がった構造を修正するのは困難です。
- 必要に応じて補強する: 柱にかなりの重量がかかる場合、または高さが 4 フィートを超える建物の場合は、構造を鉄筋で補強するか、柱をコンクリートで埋めることを検討してください。
- 定期メンテナンス: 石柱は耐久性がありますが、亀裂や石の緩みがないか定期的にチェックすることをお勧めします。小さな問題が大きな問題になる前に修復します。
- 石を封印する: シーラントを塗布すると、天候による磨耗や汚れから石を保護し、カラムの寿命を延ばします。
結論
建物 積み上げられた石柱 は、敷地の縁石の魅力を高め、構造上の優雅さを追加するやりがいのある DIY プロジェクトです。次の手順に従って使用すると、 高品質の素材を使用すると、今後何年も丈夫で見栄えのする、美しく長持ちする柱を作成できます。私道の側面に設置する場合でも、庭にアクセントを追加する場合でも、壮大なエントランスを作成する場合でも、石柱はクラシックで耐久性のあるソリューションを提供します。
これらの手順を完了すると、独自の積み石柱プロジェクトを開始する準備が整います。頑張って、屋外スペースの変化を楽しんでください!
トップソーススレート これらすべての領域で優れているため、家の外で覆われているか屋内の特徴的な壁に取り組んでいるかどうかにかかわらず、私たちはあなたの石のクラッディングの願いの中で最高の共犯者になります。 今日お問い合わせください 次の課題をどのように支援するかについて詳しく知るため。
