Sealing natural stone is essential to protect the surface from stains, moisture, and erosion, especially in outdoor or high-traffic areas. Here’s a comprehensive guide on effectively sealing your stone and maintaining its longevity.
-
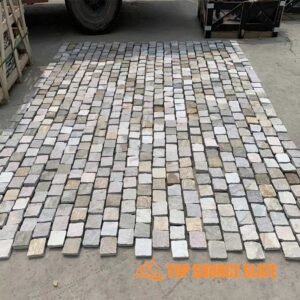
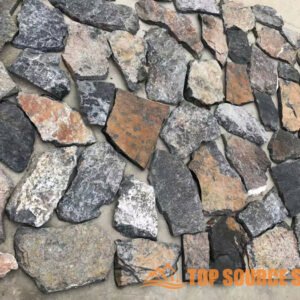
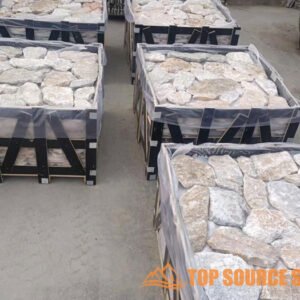
Beige quartzite crazy pattern paving flagstone from China
-
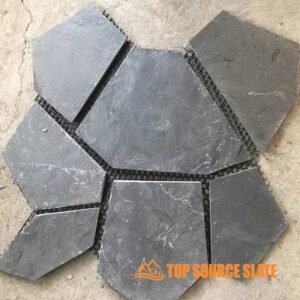
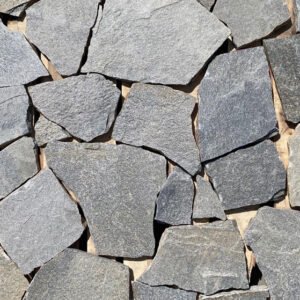
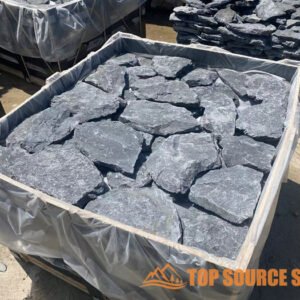
Black slate irregular random crazy paving flagstone
-
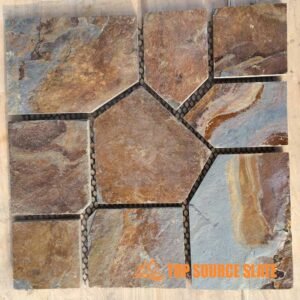
Natural stone crazy paving irregular slate flagstone for landscape
-
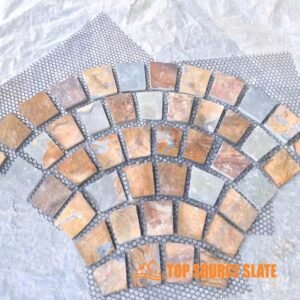
Chinese multicolor slate flagstone flooring mat mesh stone
-
Slate crazy irregular flagstones mesh walkway paver
-
Irregular slate backed net flag paving stone
-
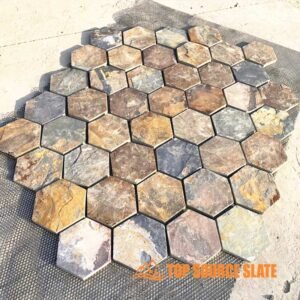
Natural rusty stone meshed flag walkway stone
-
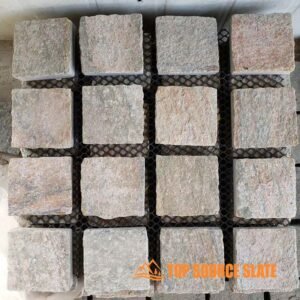
Square stone floor tiles driveway paving stone
-
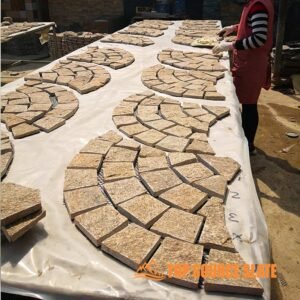
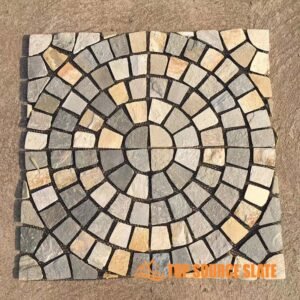
Circular shape flagstone paving stone mat mesh tile on net
-
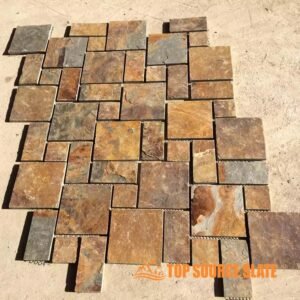
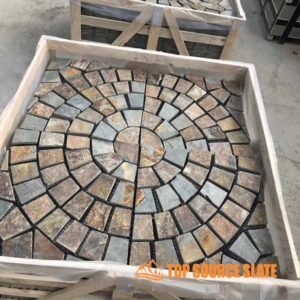
Natural Rusty Meshed Paving Stone Flags Pieces
-
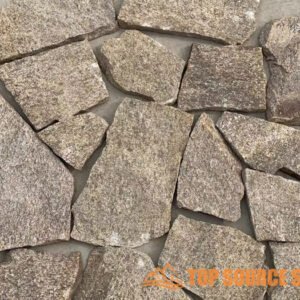
Natural split face grey quartzite random loose stone wall cladding
-
Natural Quartzite Random Irregular Stone Panel Tiles For Wall Cladding
-
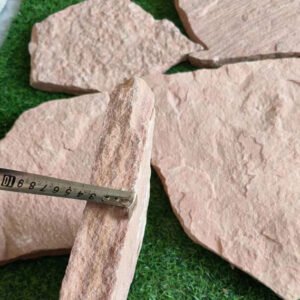
Wholesales Pink Sandstone Random Loose Stone Cladding
-
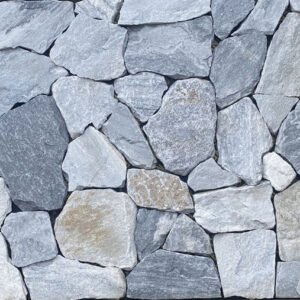
Wholesales Blue Quartzite Random Loose Stone Tile for wall cladding
-
Natural random loose stone for interior and exterior wall cladding
-
Random Exterior Natural Stone Loose Stone Veneer Wall Cladding Decoration
-
Natural Irregular Random Loose Stone Cladding Veneer
-
China Factory Supply Outdoor Natural Random Loose Stone Wall Cladding Tiles
-
Factory Price Natural Exterior Random Loose Stone Wall Cladding
-
Exterior Yellow Rough Random Loose Stone Wall Cladding
1. Why Sealing Natural Stone is Essential
Natural stone, although durable, is porous and susceptible to water absorption, staining, and weather-related damage. Sealing helps block moisture, oils, and other contaminants from penetrating the stone’s surface, preserving its appearance and structural integrity. Without sealing, stone used in outdoor settings like patios or indoor kitchens can quickly degrade due to exposure to the elements or spills.
2. Choosing the Right Sealer for Your Stone
When sealing natural stone, selecting the appropriate type of sealer is crucial. Different stone types have unique porosities and characteristics, making some sealers more effective than others. Here’s a more detailed breakdown:
- Penetrating Sealers (Impregnating Sealers): These sealers soak into the stone without altering its surface appearance. They form a barrier just below the surface, repelling water, oils, and stains while still allowing the stone to breathe. This type is ideal for porous stones like limestone, travertine, and sandstone. Penetrating sealers are also UV-stable, making them suitable for outdoor use. They’re especially recommended for honed or matte finishes where a glossy surface is not desired.
- Surface Sealers (Topical Sealers): These create a protective layer on the stone’s surface, providing both protection and aesthetic enhancement. Surface sealers can leave a glossy or matte finish, depending on the product. They’re commonly used for polished stones like granite or marble, enhancing the color and sheen while adding protection. However, surface sealers tend to wear off faster than penetrating sealers, especially in high-traffic areas, requiring more frequent reapplication.
- Enhancing Sealers: These are a subset of penetrating sealers that not only protect the stone but also enhance its color, making it appear richer and deeper. They are popular for stones like slate and flagstone, which benefit from the enhanced color that the sealer provides.
- Water-Based vs. Solvent-Based Sealers: Water-based sealers are eco-friendly, less toxic, and easier to apply, but may not penetrate as deeply as solvent-based options. Solvent-based sealers, while more powerful in penetration and longevity, tend to have a stronger odor and require more careful handling during application.
How to Build a Dry Stack Stone Wall
How to Install a Flagstone Patio?
How to Lay Crazy Paving: A Step-by-Step Guide
3. Preparation: Cleaning the Natural Stone
Proper preparation is key to ensuring the sealer bonds effectively with the stone surface. Here’s a more in-depth guide on how to properly clean the stone before sealing:
- Clear Loose Debris: Sweep or vacuum the stone to remove dust, dirt, and any loose materials that could interfere with sealing. In outdoor areas, use a leaf blower or hose to clear larger debris.
- Deep Cleaning:
- For outdoor stones, consider using a pressure washer to remove ingrained dirt or moss. However, be careful not to damage softer stones like limestone or sandstone.
- Indoors, use a pH-neutral stone cleaner to avoid damaging the stone’s surface. Avoid acidic cleaners such as vinegar, as these can etch certain stones like marble and travertine.
- Spot Treatment for Stains: Stains can become sealed into the stone if not addressed prior to sealing. Use a poultice to lift oil-based or organic stains (such as from leaves or coffee) from the stone. Allow the poultice to dry completely before wiping it away.
- Efflorescence Removal: In outdoor or damp environments, efflorescence (white mineral deposits) may form on the stone. Use an efflorescence cleaner or water and a brush to scrub it off before sealing.
- Drying: Once cleaned, the stone must be allowed to dry completely. Moisture trapped beneath the sealer can lead to hazy finishes or even mold growth. Depending on the stone type and environment, this may take 24-48 hours.
4. How to Apply Sealer on Natural Stone
Sealing natural stone is a multi-step process that requires careful preparation and attention to detail to ensure the sealer penetrates the surface and offers long-lasting protection. Here’s a more in-depth guide on how to apply sealer to natural stone effectively:
Step 1: Gather Materials
Before you begin, make sure you have the right tools and materials on hand:
- Stone Sealer: Ensure you have chosen the correct type of sealer for your stone (penetrating or surface, water-based or solvent-based).
- Application Tools: Depending on the surface area, you will need a paintbrush、 roller、 sprayer, or foam applicator pad. A sprayer is ideal for larger areas, while a brush or roller offers more control on smaller, intricate surfaces.
- Protective Gear: Wear gloves, safety goggles, and a mask to protect yourself from fumes, especially if you are working with solvent-based sealers. Ventilate indoor areas well.
Step 2: Prepare the Natural Stone
Before sealing, the stone surface must be completely clean and dry:
- Cleaning: Use a stone cleaner specifically designed for natural stones to remove dust, dirt, and stains. Avoid acidic cleaners like vinegar, as they can damage the stone. For stubborn stains, apply a poultice.
- Drying: Let the stone dry for 24 to 48 hours. Any moisture left in the stone can become trapped beneath the sealer, leading to hazing, efflorescence, or discoloration. This step is especially critical for porous stones like limestone and sandstone.
Step 3: Test the Sealer on a Small Area
Before applying the sealer to the entire surface, test it on a small, inconspicuous area to ensure it provides the desired finish and doesn’t alter the stone’s natural color. Some sealers may darken the stone or add a sheen, so it’s important to see the result on a small patch before proceeding.
Step 4: Apply the Sealer
Once the stone is clean, dry, and prepped, you’re ready to start sealing:
- Start with the Edges: Use a paintbrush to apply sealer to the edges and corners of the stone. This ensures that areas prone to moisture intrusion, like joints and corners, are fully protected.
- Apply the First Coat:
- Brush or Roller Application: Use a paintbrush or roller to apply a generous coat of sealer to the stone’s surface. Apply it evenly and thoroughly to ensure that the stone’s pores are filled. Move in a consistent direction to avoid streaks.
- Sprayer Application: If using a sprayer, hold it 6-12 inches from the surface and move in overlapping strokes for even coverage. Sprayers are ideal for large areas like stone walls or patios.
- Allow the Sealer to Penetrate: Let the sealer sit for 10-15 minutes (or according to the manufacturer’s instructions). During this time, the stone will absorb the sealer. Pay attention to the absorption rate, as highly porous stones may require more sealer.
- Wipe Away Excess Sealer: After the waiting period, use a clean, dry cloth to wipe off any excess sealer. Excess sealer left on the surface can dry to a sticky or cloudy finish, so ensure that the stone is not oversaturated.
Step 5: Apply Additional Coats
Depending on the porosity of the stone and the sealer being used, you may need to apply additional coats. Here’s how:
- Check for Absorption: If the stone has absorbed the sealer well, and the surface looks dry, proceed with a second coat. If the stone still feels damp or sticky, wait longer before adding another layer.
- Second and Subsequent Coats: Apply the second coat using the same method, ensuring even coverage. Let each coat penetrate and dry according to the manufacturer’s guidelines. Some stones, like sandstone and limestone, may require three or more coats, while 花崗岩 and marble typically need only one or two.
Step 6: Buff the Surface (Optional)
If the sealer leaves a glossy or sticky residue, or if you’re looking to enhance the stone’s shine, use a soft cloth or buffer to gently buff the surface after the final coat has dried. This step ensures a smooth finish and can enhance the natural luster of polished stones like granite and marble.
Step 7: Let the Sealer Cure
Once the application is complete, allow the sealer to cure fully:
- Initial Drying: The surface will usually be dry to the touch within 1-4 hours, but avoid walking or placing objects on it during this period.
- Full Curing: Most sealers take 24-72 hours to cure fully. During this time, protect the surface from moisture, dirt, and heavy traffic. For outdoor projects, be mindful of rain or extreme temperatures, as these can affect the curing process
How to Build a Dry Stack Stone Wall
How to remove exterior stone cladding
5. Drying and Curing
Drying and curing are critical to ensure the sealer forms a durable barrier. Follow these tips:
- Initial Drying: Most sealers will dry to the touch within 1-4 hours. However, the area should remain free of foot traffic or moisture during this period.
- Full Curing: Complete curing can take anywhere from 24-72 hours, depending on the sealer used. During this time, the stone must be kept dry. For outdoor stones, check the weather forecast and avoid sealing before rain is expected.
- Protect During Curing: Cover the stone with plastic sheeting or tarps if necessary, especially for outdoor projects exposed to the elements.
6. Maintaining Sealed Natural Stone
Sealing is not permanent, and regular maintenance is required to keep the stone protected:
- Resealing: How often you need to reseal depends on the location and use. Outdoor stones exposed to weather and foot traffic should be resealed every 1-2 years, while indoor surfaces like countertops can go 3-5 years between resealing.
- Cleaning: For everyday cleaning, use a pH-neutral stone cleaner to maintain the sealer’s effectiveness. Avoid abrasive cleaners or acidic substances like vinegar, which can degrade the sealer over time.
- Routine Inspection: Check for signs that the stone needs resealing, such as water no longer beading on the surface or staining becoming more common.
7。 Common Mistakes to Avoid
There are a few common pitfalls when sealing natural stone:
- Over-Sealing: Applying too much sealer or applying it too often can result in a hazy or sticky finish. If you notice this, buff the surface with a clean cloth to remove excess sealer. Over-sealing can also prevent the stone from breathing, which can trap moisture inside and lead to damage.
- Using the Wrong Sealer: Each stone type has different needs. For example, using a surface sealer on highly porous stone can result in uneven application, while using a penetrating sealer on polished stone may not penetrate properly.
- Sealing Before Stone is Dry: Sealing damp stone can trap moisture beneath the surface, leading to mold, efflorescence, or cloudy finishes.
- Skipping Cleaning: Failing to clean the stone properly before sealing can trap dirt, oils, or stains underneath the sealer, making them permanent.
By following these detailed steps, you can ensure your natural stone remains protected and maintains its beauty for years to come. Proper sealing will safeguard your investment, whether indoors or out, and provide a long-lasting, polished look to your stone surfaces.
8. Conclusion: Long-Term Benefits of Sealing
Sealing natural stone is a necessary step to protect your investment and maintain its visual appeal. Whether you’re sealing a new installation or maintaining an existing surface, following these steps will help ensure your stone stays protected from stains, moisture, and wear over the years. By choosing the right sealer and following proper application techniques, you’ll enhance both the durability and appearance of your stone surfaces.
探しているならstacked stone manufacturers and suppliers, we recommend checking our products.
We have more than 15 years of export experience and offer samples before order placement. To get a customized quote,Contact Us Now!