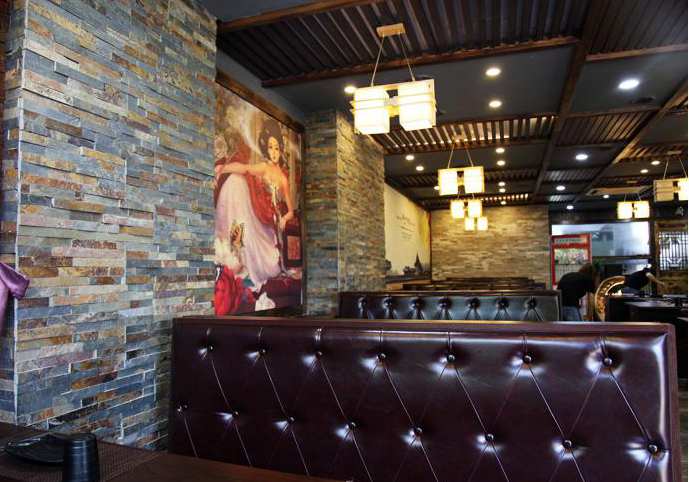
インストールが不十分です 積み上げられた石 アマチュアだけでなく、高価なコールバック、損傷した評判、無駄な材料につながる可能性があります。ストーンベニアの設置のほぼ40%が、最初の1年以内に目に見えるギャップまたはアライメントの問題を発生させ、請負業者に数千人の修理と紹介を失いました。
真にシームレスな積み重ねられた石の設置を達成するには、基本的な石積みスキル以上のものが必要です。多くのインストーラーが見落とす精度のテクニックが必要です。適切な基質準備から接着剤の正確な適用まで、各ステップは最終的な外観に大きく影響します。この包括的なガイドは、分離するプロのグレードのテクニックを提供します ライドオアディー 平凡な試みからの質の高いインストールは、真の職人技を紹介し、時の試練を紹介する結果を提供するのに役立ちます。
-
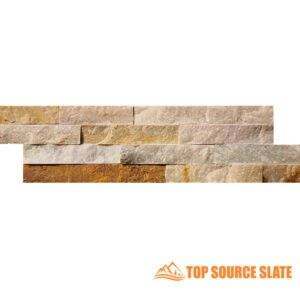 オイスタークォーツ割面モザイクタイル 360x100mm
 -
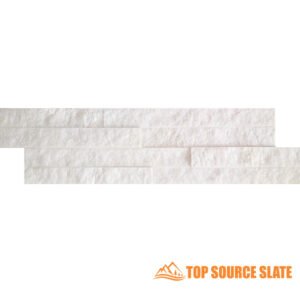 スパークルアイスホワイトのスプリットフェイスモザイクタイル
 -
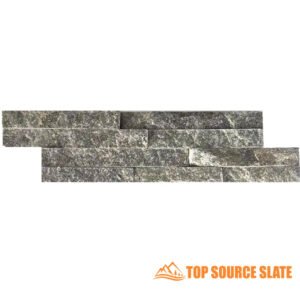
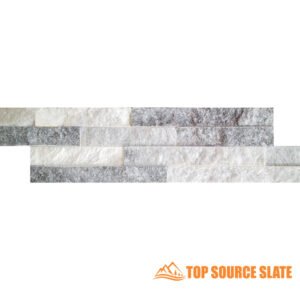 スパークルアイスグレーのスプリットフェイスモザイクタイル
 -
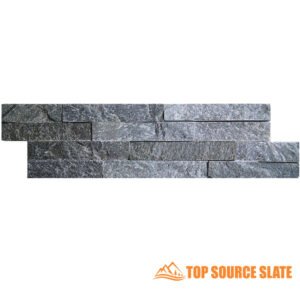
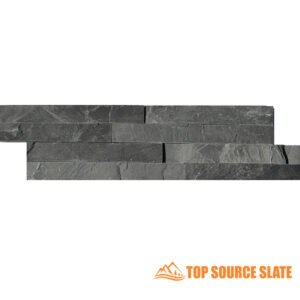 スプリットフェイスタイル ブラックスレートクラッディング 360x100mm
 -
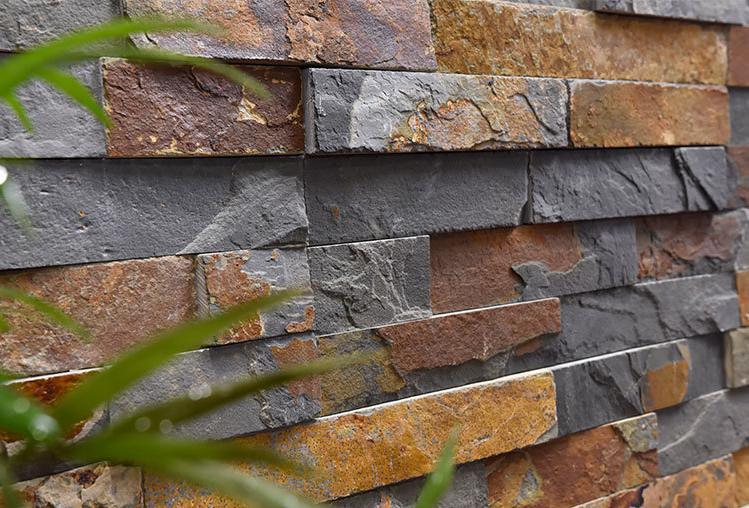
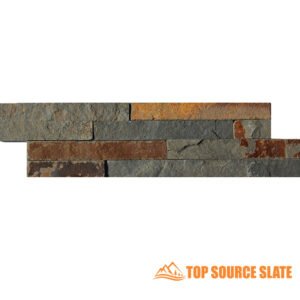 分割面マルチカラー錆びたスレート天然石クラッディング
 -
 卸売スプリットフェイスブロンズスパークルクォーツ機能壁タイル
 -
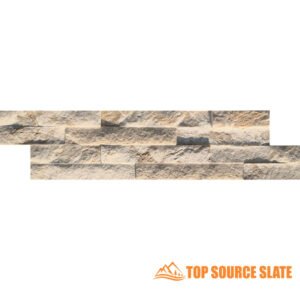
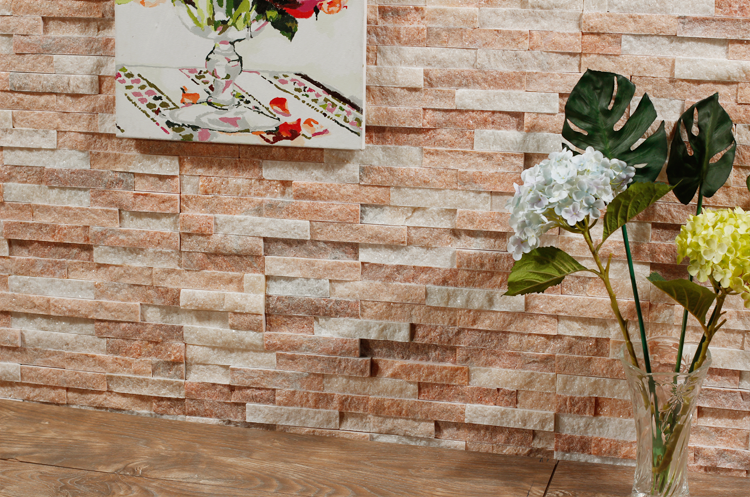
 中国メーカー珪岩クリーム分割面タイル 10x36cm
 -
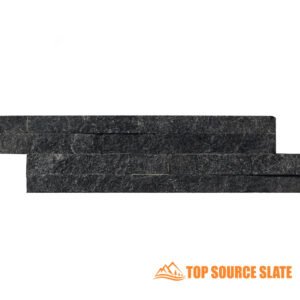 中国メーカーの黒珪岩ミニスプリットフェイスタイル
 -
 中国工場緑珪岩分割面モザイク壁タイル
 -
 中国工場ロイヤルホワイト分割面台帳パネル
 -
 専門製造ロティアグレーレンガ分割面モザイクタイル10*36cm
 -
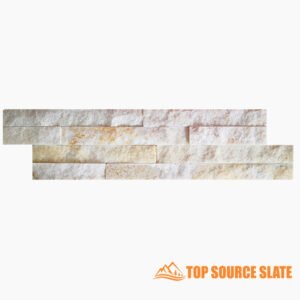
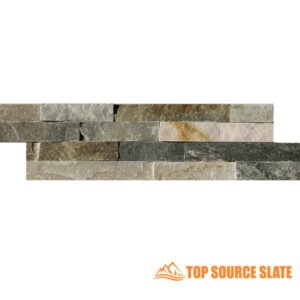 中国製造カキ裂割面珪岩モザイク タイル
インストール前の習得:シームレスな積み重ねられた石プロジェクトの計画
あなたを取得します 積み重ねられた石の取り付け 右は、最初のパネルが上がるずっと前に始まります。適切な計画はそれらを防ぎます “ルーキーの間違い” それは経験豊富な請負業者さえも悩ませることができます。 15年以上にわたって業界で、私は徹底的な準備がアマチュアに見えるインスタレーションとプロの傑作との違いをどのようにするかを見てきました。
の包括的なプリインストール計画 積み重ねられた石のプロジェクト 石細工の最終的な審美的品質と寿命を大幅に改善しながら、設置時間を最大30%短縮します。
基板の評価:構造的完全性の確保
成功の基盤 積み重ねられた石の取り付け 適切に準備された基板です。まず、損傷、水分の問題、または構造的な弱点の兆候について、壁の表面を徹底的に調べることから始めます。外部アプリケーションの場合、地元の建築基準に従って基板が防水されていることを確認してください。
接着を損なう可能性のあるゆるい塗料、壁紙、または破片を取り除きます。乾式壁アプリケーションの場合、壁がかなりの重量をサポートできることを確認します(1平方フィートあたり約12〜15ポンド)。 DryWall Over DryWallを設置するときは、適切な固定方法を使用して、石が安全なままで長期的なままであることを確認します。
コンクリートまたは石積みの基板の場合、1/8インチを超える亀裂を修復し、進行する前に化合物を完全に治すようにします。レベル基板が重要です – 10フィートあたり1/4インチを超えるバリエーションは、設置が始まる前に修正が必要です。
正確な測定技術:材料のニーズの計算
正確な測定は成功するために不可欠です 積み重ねられた石の取り付け。壁が完全に正方形になることはめったにないため、複数の点で各壁の高さと幅を測定します。削減、破損、将来の修理を考慮して、面積計算に10%を追加します。
コーナーを測定するときは、特殊なコーナーピースが必要なため、個別に計算します。外側の角の線形足ごとに、通常、約2つのコーナーピースが必要です。目に見えるカットを最小限に抑えるためにレイアウトを計画すると、より自然でシームレスな外観が生まれます。
積み重ねられた石プロジェクト計画の比較
| 計画要素 | DIYアプローチ | 専門的な方法 | 時間投資 | 結果への影響 |
|---|---|---|---|---|
| 基板評価 | 基本的な目視検査 | 水分試験 & 構造分析 | 2〜4時間 | 高い(将来の障害を防ぐ) |
| 材料の計算 | 壁の面積 + 5% | 壁面積 +パターン分析で10〜15% | 1〜2時間 | 中程度(不足を防ぐ) |
| レイアウト計画 | 基本的なスケッチ | パターンのバリエーションを備えたデジタルレンダリング | 3〜6時間 | 高(美学を最適化) |
| ツールの準備 | 基本的な切削工具 | ウェットソー、特殊な石積みのツール | 1〜2時間 | 中程度(効率を向上させる) |
| モックアップテスト | めったに実行されません | さまざまなモルタルを使用した小さなセクションの設置 | 4-8時間 | 非常に高い(テクニックを確認) |
ツールとマテリアルチェックリスト:必須の備品を収集します
成功 積み重ねられた石の取り付け 開始する前に適切なツールを用意する必要があります。重要なツールには、ダイヤモンドブレード、ノッチ付きこて(1/2インチ)、マージンこち、レベル、巻尺、安全装置、混合バケツを備えた高品質の濡れたこぎりが含まれます。
材料については、石の設置用に特異的に処方されたポリマー修飾シンセットモルタルを選択します。プロジェクトにグラウトが必要な場合は、石の色に密接に一致するサンディンググラウトを選択してください。インストール後の保護、特にキッチンやバスルームの用途向けにシーラーを用意してください。
設計上の考慮事項:審美的な魅力のための驚異的なテクニック
あなたの視覚的影響 積み重ねられた石の取り付け レイアウト計画に大きく依存します。列間の垂直ジョイントをずらして、自然でランダムなパターンを作成します。不要な注意を引く明白なパターンや連続的な垂直線を作成しないでください。
永続的な設置前に、床でドライレイアウトを実行して、さまざまな配置を試してください。さまざまなボックスの石を混ぜて、プロジェクト全体で色の一貫性を確保します。あなたのこのステップ 積み重ねられた石の設置プロセス 材料バッチ間の視覚的に耳障りな遷移を防ぐことができます。
コーナーを計画するときは、製造されたコーナーピースを使用するか、マイターカットフィールドストーンを使用するかを決定します。より労働集約的なものですが、マイターカットは、多くの場合、視認性の高いエリアでより洗練された外観を生み出します。トップソースストーンのコンサルティングサービスは、特定のプロジェクト要件に最適なアプローチを決定するのに役立ちます。

完璧なアライメントの達成:完璧な縫い目のための重要なテクニック
誤った縫い目ほど速く美しい石の壁の外観を台無しにするものはありません。数千平方フィートの設置後 ストーンベニア、積み重ねられた石の設置で完全なアラインメントを達成することは、セットアップ、アプリケーション、および切断技術の精度に低下することがわかりました。これらの要素が連携すると、クライアントがプレミアムレートを支払う意思があるシームレスでプロの仕上げを作成します。
適切なアライメント手法中 積み上げられた石 インストールは、目に見える縫い目を排除しながら、インストール時間を最大40%削減でき、その結果、顧客満足度が大幅に高くなり、コールバックが少なくなります。
元帳委員会のインストール:レベルの基礎を設定します
あなたを始めてください 積み重ねられた石の取り付け 一時的な元帳ボードを確保して、完全にレベルの出発点を提供することにより。レーザーレベルを使用して、床から少なくとも1つの列の高さを配置する設置エリアに沿って直線をマークします。基板に適切なアンカーを使用して、このラインに沿ってまっすぐな1×2または2×4ボードを安全に固定します。
元帳ボードは重要な基準点として機能し、最初の行が完全にレベルになるようにします。これは、を防ぎます “ドミノ効果” 上向きに作業するときに、最初の行のわずかな不整合が増幅されます。大きな壁の場合は、測定間隔で追加の元帳ボードを設置して、進行中にアラインメントを維持することを検討してください。
接着剤が完全に硬化してから、環境条件やメーカーの仕様にもよりますが、通常は 24 ~ 48 時間後にのみレジャーボードを取り外してください。残されたギャップは、 台帳には慎重にカットした石片を記入できます パターンの完全性を維持するため。
最適な接着剤塗布:ズレ防止
正確な位置合わせ調整を可能にしながら、パネルの滑りを防止するには、適切な接着剤塗布技術が非常に重要です。 1/2 インチのノッチ付きこてを使用して修正シンセット モルタルを塗布し、各パネルよりわずかに大きい領域に一貫した尾根を作成します。
積み石用途の接着性能比較
| 粘着タイプ | 作業時間(分) | 初期掴み強度 | 最終接着強度 (PSI) | 柔軟性の評価 | 耐湿性 |
|---|---|---|---|---|---|
| 標準シンセット | 20-30 | 低い | 150-250 | 最小限 | 適度 |
| ポリマー改質シンセット | 30-40 | 中くらい | 300-450 | 良い | 高い |
| プレミアム モディファイド シンセット | 40-60 | 高い | 450-600 | 素晴らしい | 優れた |
| エポキシ系接着剤 | 60-90 | 非常に高い | 1000以上 | 限定 | 素晴らしい |
| 建築用接着剤 | 10-15 | 非常に高い | 350-500 | 適度 | 変数 |
さらに、それぞれの裏面に接着剤の薄い層を塗布します。 石のパネル (バックバタリング) により 100% の被覆率を確保し、結合を弱める可能性のあるエアポケットを排除します。この二重塗布方法により、接着力が大幅に向上し、正確な位置合わせ調整を行うのに十分な作業時間が得られます。
精密な切断方法: ぴったりとフィットする接合部の作成
目に見えない縫い目を実現 積み重ねられた石のベニヤ 取り付けには正確な切断技術が必要です。常に、特別に設計された連続リムダイヤモンドブレードを備えた高品質のウェットソーを使用してください。 天然石。カットする前に、石の表と裏の両方にカットラインをマークして、正確な直線カットを行います。
出口やコーナーの周りの複雑なカットには、 “スコアとスナップ” チッピングを発生させずにきれいにブレークするための技術。カットラインに沿って石に複数回切り込みを入れ、石がきれいに分離するまで徐々に圧力を高めます。目に見える表面の欠けを最小限に抑えるために、常に仕上げ面を上にして石をカットしてください。
千鳥配置と間隔: 自然なパターンの作成
プロフェッショナルな見た目の秘密 積み上げられた石 取り付けはジョイントを適切にずらして配置することにあります。行間の垂直方向の継ぎ目を揃えないでください。これにより、人工的な格子状の外観が作成されます。代わりに、各垂直ジョイントを隣接する列のジョイントから少なくとも 2 ~ 3 インチオフセットすることを目指してください。 天然石 工事。
複数のパネルを設置する場合は、定期的に一歩下がって、離れたところからパターンを評価してください。このより広い視点は、近くで作業しているときには明らかではない可能性のある、意図しないパターンや配置を特定するのに役立ちます。自然でランダムな外観を維持するには、接着剤が固まる前にレイアウトを適宜調整してください。
施工後の優れた仕上げ: 美しさを長く保つための仕上げ
多くの設置業者は、 最後のパネルで積み石の設置が完了 確保されています。石材業界で 15 年間働いた後、アマチュアの仕事とプロの職人技を真に分けるのは設置後のプロセスであることを学びました。これらの仕上げステップは、即座に見た目の魅力を高めるだけでなく、石材の美しさを何十年にもわたって維持することを保証します。
設置後の仕上げ技術を適切に実行すると、製品の寿命を延ばすことができます。 積み上げられた石のインスタレーション 元の美的品質を維持し、高価な修理を防ぎながら、最長 15 年間寿命を延ばします。
ギャップと欠陥への対処: シームレスな修復の技術
細心の注意を払って取り付けたとしても、石の間に小さな隙間や欠陥が現れる場合があります。接着剤がまだ硬化している間に、取り付け後 24 ~ 48 時間以内にこれらに対処してください。統一感のある外観にするには、石の主な色調と一致するモルタル混合物を使用します。早期の乾燥を防ぐために、一度に少量ずつ混合してください。
モルタルを正確に配置するために、小さな先端開口部を備えたグラウトバッグを使用してモルタルを塗布します。隙間を完全に埋めますが、石の表面に余分な汚れがつかないようにしてください。自然な仕上がりにするには、モルタルを石の表面と同じ高さではなく、少し下に押し付けて、立体感を高める微妙な影を作り出します。
ヘアラインクラックには、特別に配合された同色のシリコンコーキングを使用してください。 石が提供する 視覚的に目立たないまま柔軟性を保ちます。これは、温度変化によって膨張や収縮が生じる屋外用途では特に重要です。
余分なモルタルの洗浄: 永久的な汚れの防止
速やかに洗浄することで、目に見える石の表面にモルタルや接着剤が永久に付着するのを防ぎます。隙間を埋めた後、モルタルが半乾燥状態になった30〜60分後に掃除を始めてください。乾いた硬い毛のブラシを使用して、上から下に円を描くように動かしながら、最初に浮遊粒子を取り除きます。
石材表面の洗浄方法の効果比較
| 洗浄方法 | 有効性評価 | 石へのリスク | 適用タイミング | 労働集約度 |
|---|---|---|---|---|
| ドライブラッシング | 75% | 非常に低い | 塗布後30〜60分 | 適度 |
| 湿らせたスポンジの洗浄 | 85% | 低い | 塗ってから1~2時間後 | 高い |
| マイルドビネガーソリューション | 90% | 適度 | 申請後 24 時間以上 | 適度 |
| 業務用ストーンクリーナー | 95% | 低~中程度 | 適用後48時間以上 | 低い |
| 高圧洗浄 | 98% | 高い | 申請後7日以上 | 低い |
頑固な残留物については、スポンジを軽く湿らせ(浸さないで)、影響のある部分をそっと拭きます。表面をエッチングする可能性があるため、石灰岩や大理石には酸性洗剤を使用しないでください。花崗岩や珪岩の特に難しい汚れの場合は、完全に硬化した後 (通常は 7 ~ 10 日)、特別に配合されたストーンクリーナーを塗布できます。
保護のためのシーリング: 自然の美しさを保つ
シールはあなたのものを保護するために不可欠です 積み上げられた石 湿気の侵入、汚れ、環境による損傷を防ぎます。シーラーを塗布する前に、取り付けが完全に硬化するまで 7 ~ 14 日間待ちます。水をかけて表面をテストします。すぐに黒ずむ場合は、石を封印する準備ができています。
石の種類に合わせて特別に配合された浸透性シーラー (局所シーラーではない) を選択してください。これらのシーラーにより、石は “息をする” 保護を提供しながら。均一にカバーするために低圧ポンプ スプレーを使用して塗布し、乾く前に糸くずの出ない布で余分な部分を拭き取ります。
ほとんどの屋内設置では 3 ~ 5 年ごとに再シールが必要ですが、屋外設置では暴露条件に応じて 1 ~ 2 年ごとに再塗布が必要になる場合があります。トップソースストーンは外装用にシロキサンベースのシーラーを推奨しています アプリケーション 優れた耐紫外線性と長寿命のため。
メンテナンスのヒント: 美しさを持続させるために
定期的なメンテナンスにより汚れの蓄積を防ぎ、製品の寿命を延ばします。 積み上げられた石 インストール。日常的な掃除には、柔らかいブラシアタッチメントを使用して掃除機をかけるか、乾いたマイクロファイバークロスを使用してください。シーラーを剥がしたり、石の表面を損傷したりする可能性のある強力な化学薬品は避けてください。
特にワインや柑橘類のジュースなどの酸性物質の場合は、汚れを防ぐためにすぐに対処してください。定期的に徹底的に掃除する場合は、家庭用万能製品ではなく、pH 中性の石クリーナーを使用してください。摩耗パターンと露出に基づいて、推奨される間隔で再シールします。
結論
石材ビジネスに長年携わってきた私は、成功するには 積み上げられた石 インスタレーションは単に石を壁に貼り付けるだけではありません。綿密な計画、正確な実行、そして見落とされがちな最後の仕上げがすべての違いを生みます。
トップ ソース ストーンでは、こうした設置を毎日見ていますが、基板の準備から封止まで、時間をかけて正しく行うことが大きな成果をもたらすことがわかります。信じてください。頭痛の種を避けることができ、プロフェッショナルに見える、何年も続く結果が得られます。
したがって、あなたがベテランのプロであろうと、初心者であろうと、高品質の職人技とは次のようなものであることを忘れないでください。 “それはどこにありますか。” 適切なテクニックを使えば、シームレスな 積み上げられた石 インストールは完全に実現可能です。プロジェクトを向上させたい場合は、細部に焦点を当ててください。努力する価値はあります。
