Forsegle naturstein er viktig for å beskytte overflaten mot flekker, fuktighet og erosjon, spesielt i utendørs eller høyt trafikkområder. Her er en omfattende guide om effektivt å forsegle steinen din og opprettholde dens levetid.
-
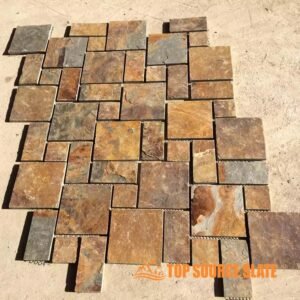
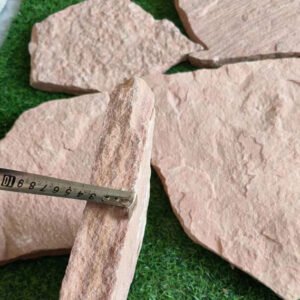
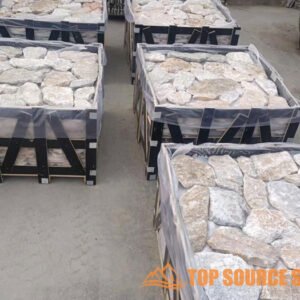
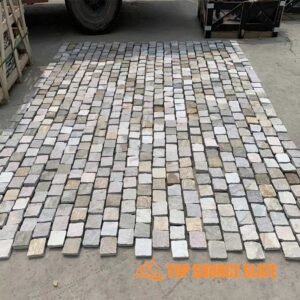 Beige belegningsstein fra Kina med sprø mønster av kvartsitt
 -
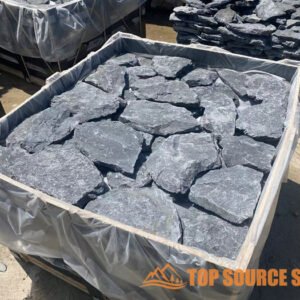
 Svart skifer uregelmessig tilfeldig gal belegningsstein
 -
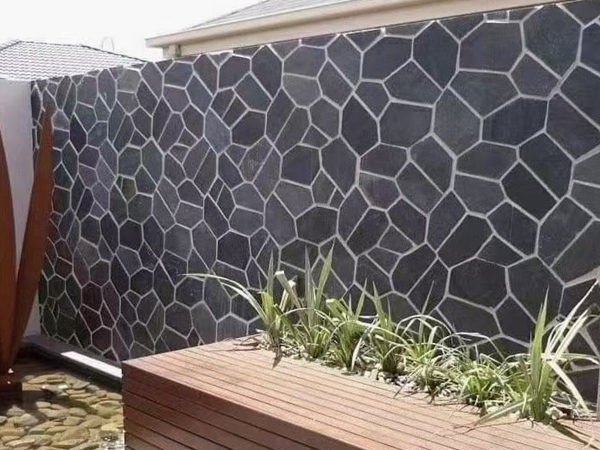
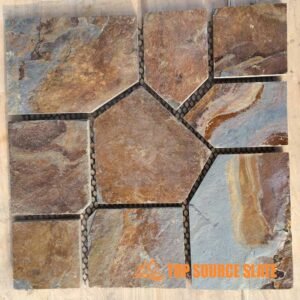
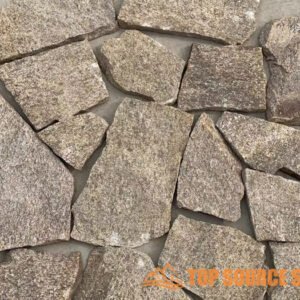
 Naturstein crazy belegning uregelmessig skiferheller for landskap
 -
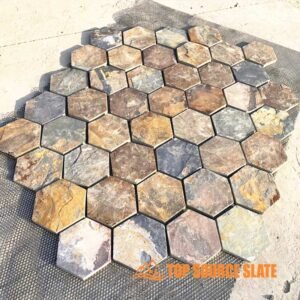
 Kinesisk flerfarget skiferstein gulvmatte nettingstein
 -
 Skifer sprø uregelmessige skifer mesh gangbro utlegger
 -
 Uregelmessig skiferstøttet nettflagg belegningsstein
 -
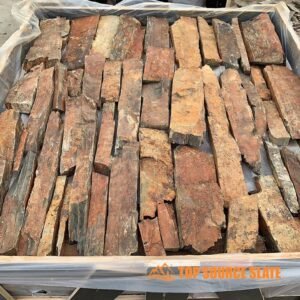
 Naturlig rusten stein nettet flagg gangvei stein
 -
 Firkantede steingulvfliser innkjørsel belegningsstein
 -
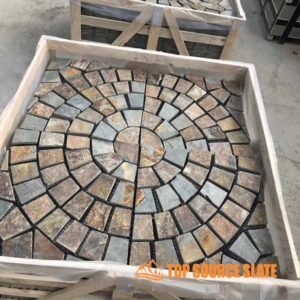
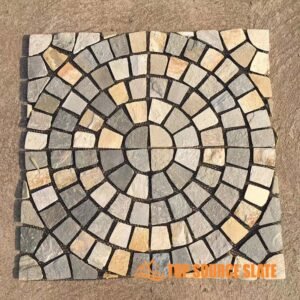 Sirkulær form belegningsstein matt nettingflis på nett
 -
 Naturlig rusten meshed belegningsstein Flagg stykker
-
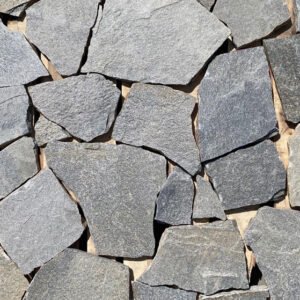 Naturlig delt ansikt grå kvartsitt tilfeldig løs veggkledning i stein
 -
 Naturlig kvartsitt Tilfeldig uregelmessig steinpanelfliser for veggkledning
 -
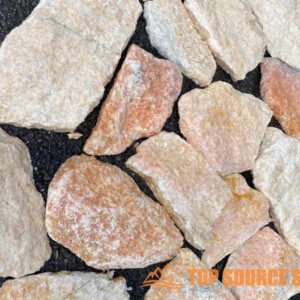
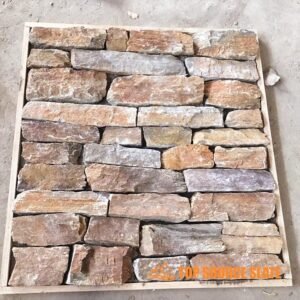
 Engros Rosa Sandstein Tilfeldig Løs Stone Kledning
 -
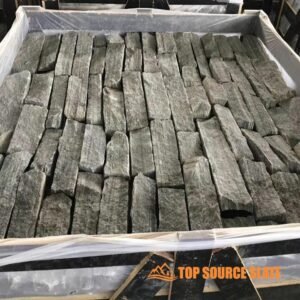
 Engros Blå Kvartsitt Tilfeldig Løs Stein Flis for veggkledning
 -
 Naturlig tilfeldig løsstein for innvendig og utvendig veggkledning
 -
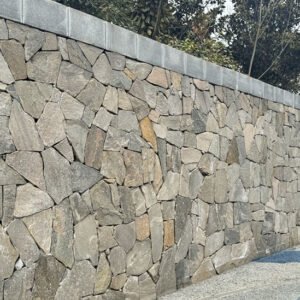
 Tilfeldig eksteriør Naturstein Løs Steinfiner Veggbekledning Dekor
 -
 Naturlig uregelmessig tilfeldig løs steinbekledningsfiner
 -
 Kina Factory Supply Utendørs Naturlig Tilfeldig Løs steinveggbekledningsfliser
 -
 Fabrikkpris Naturlig Eksteriør Tilfeldig Løs Steinveggbekledning
 -
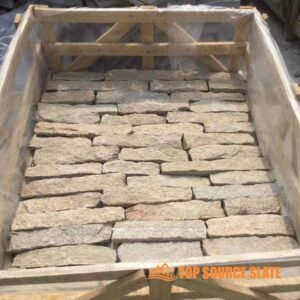
 Utvendig Gul Grov Tilfeldig Løs Steinveggbekledning
-
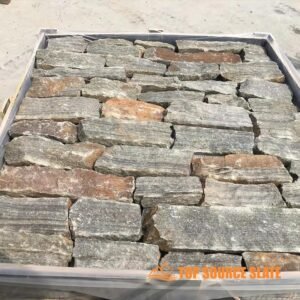
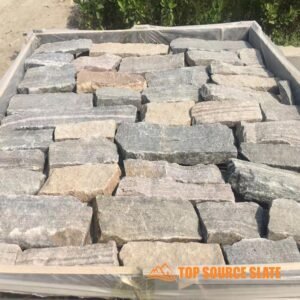
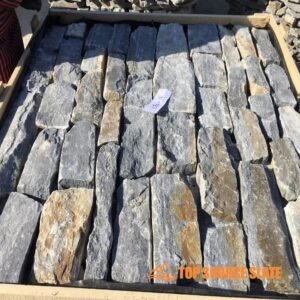
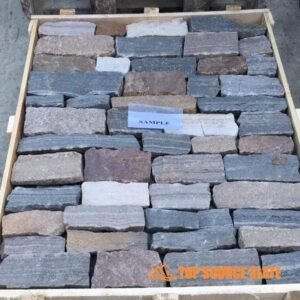
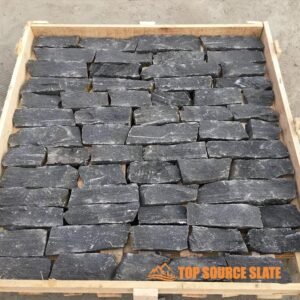 Engros sort kvartsitt tørr stabel tilfeldig kledning
 -
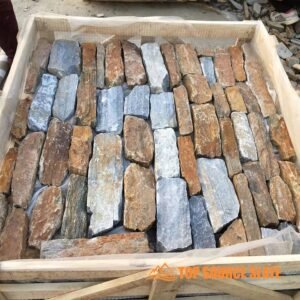
 Beste kvalitet tørr stabel stein veggkledning
 -
 Fabrikk direktesalg billig løs veggkledning av stein
 -
 Fabrikk direkte tilfeldig naturstein veggkledning
 -
 Utvendig dekorativ løs tørr stabel avsats steinkledning
 -
 Kina leverandør uregelmessig veggkledning steinfiner
 -
 Kina produsent utvendig naturlig løs steinveggbekledning
 -
 Kina produsent løs hylle stein naturstein finér
 -
 Kina leverandør utvendig tørr stabel stein peis
 -
 Kina eksportør løs tørr stabel stein støttemur
1. Hvorfor forsegling av naturstein er essensiell
Naturstein, selv om det er holdbart, er porøs og utsatt for vannabsorpsjon, farging og værrelatert skade. Tetning hjelper med å blokkere fuktighet, oljer og andre forurensninger fra å trenge gjennom steinets overflate, og bevarer utseendet og strukturell integritet. Uten forsegling kan stein som brukes i utendørs innstillinger som uteplasser eller innendørs kjøkken raskt forringe på grunn av eksponering for elementene eller sølene.
2. Velge riktig tetningsmasse for steinen din
Når du forsegler naturstein, er det avgjørende å velge riktig type tetningsmasse. Forskjellige steintyper har unike porøsiteter og egenskaper, noe som gjør noen forseglere mer effektive enn andre. Her er et mer detaljert sammenbrudd:
- Gjennomtrengende tetningsmenn (impregnerende tetningsmålere): Disse tetningene suger seg inn i steinen uten å endre overflateutseendet. De danner en barriere rett under overflaten, og avviser vann, oljer og flekker mens de fremdeles lar steinen puste. Denne typen er ideell for porøse steiner som Kalkstein, travertin og sandstein. Inntrengende tetningsmidler er også UV-stabile, noe som gjør dem egnet for utendørs bruk. De anbefales spesielt for finslipte eller matt finish der en blank overflate ikke er ønsket.
- Overflateforseglere (aktuelle tetninger): Disse skaper et beskyttende lag på steinens overflate, og gir både beskyttelse og estetisk forbedring. Overflateforseglere kan etterlate en blank eller matt finish, avhengig av produktet. De er ofte brukt til polerte steiner som granitt eller marmor, og forbedrer fargen og glansen mens de legger til beskyttelse. Imidlertid har overflatetetninger en tendens til å slite av raskere enn å trenge inn i forseglere, spesielt i områder med høyt trafikk, noe som krever hyppigere på nytt på nytt.
- Forbedre tetningsmidler: Dette er en undergruppe av gjennomtrengende tetningsmidler som ikke bare beskytter steinen, men også forbedrer fargen, noe som gjør at den virker rikere og dypere. De er populære for steiner som Skifer og flaggstein, som drar nytte av den forbedrede fargen som forseglingen gir.
- Vannbaserte vs. løsningsmiddelbaserte tetningsmenn: Vannbaserte tetningsmidler er miljøvennlige, mindre giftige og enklere å påføre, men kan ikke trenge så dypt inn som løsemiddelbaserte alternativer. Solventbaserte tetningsmidler, selv om de er kraftigere i penetrering og lang levetid, har en tendens til å ha en sterkere lukt og krever mer nøye håndtering under påføring.
Hvordan bygge en tørr stabel steinmur
Hvordan du installerer en flaggstein uteplass?
Hvordan legge sprø asfaltering: en trinn-for-trinn-veiledning
3. Forberedelse: Rengjøring av natursteinen
Riktig forberedelse er nøkkelen til å sikre tetningsbindingen effektivt med steinoverflaten. Her er en mer dyptgående guide for hvordan du renser steinen riktig før forsegling:
- Fjern løst rusk: Feie eller støvsuge steinen for å fjerne støv, skitt og løs materialer som kan forstyrre forseglingen. Bruk en bladblåser eller slange i utendørs områder for å fjerne større rusk.
- Dyp rengjøring:
- For utestoner, bør du vurdere å bruke en trykkvasker for å fjerne inngrodd skitt eller mose. Vær imidlertid forsiktig så du ikke skader mykere steiner som kalkstein eller sandstein.
- Innendørs, bruk en PH-nøytral steinkenser for å unngå å skade steinens overflate. Unngå sure rengjøringsmidler som eddik, da disse kan etse visse steiner som marmor og travertin.
- Spotbehandling for flekker: Flekker kan bli forseglet i steinen hvis den ikke blir adressert før forsegling. Bruk en fjærkre for å løfte oljebaserte eller organiske flekker (for eksempel fra blader eller kaffe) fra steinen. La fjærkåret tørke helt før du tørker den bort.
- Fjerning av efflorescens: I utendørs eller fuktige miljøer kan efflorescens (hvite mineralforekomster) dannes på steinen. Bruk en efflorescensrenser eller vann og en børste for å skrubbe den av før forsegling.
- Tørking: Når den er renset, må steinen få tørke fullstendig. Fuktighet fanget under tetningen kan føre til disete utførelser eller til og med muggvekst. Avhengig av steintype og miljø, kan dette ta 24-48 timer.
4. Hvordan du bruker tetningsmasse på naturstein
Forsegling naturstein er en flertrinnsprosess som krever nøye forberedelser og oppmerksomhet på detaljer for å sikre at forsegleren trenger inn i overflaten og gir langvarig beskyttelse. Her er en mer dyptgående guide for hvordan du bruker tetningsmasse på naturstein effektivt:
Trinn 1: Samle materialer
Før du begynner, må du sørge for at du har de riktige verktøyene og materialene på hånden:
- Steinforsegler: Forsikre deg om at du har valgt riktig type tetningsmasse for steinen din (gjennomtrengende eller overflate, vannbasert eller løsningsmiddelbasert).
- Applikasjonsverktøy: Avhengig av overflatearealet trenger du en PaintBrush, rull, Sprøyte, eller skumapplikatorpute. En sprøyte er ideell for større områder, mens en børste eller rull gir mer kontroll på mindre, intrikate overflater.
- Beskyttelsesutstyr: Bruk hansker, sikkerhetsbriller og en maske for å beskytte deg mot røyk, spesielt hvis du jobber med løsningsmiddelbaserte tetningsmidler. Ventilere innendørs områder godt.
Trinn 2: Forbered natursteinen
Før forsegling må steinoverflaten være helt ren og tørr:
- Rengjøring: Bruk en steinrenser som er spesielt designet for naturlige steiner for å fjerne støv, skitt og flekker. Unngå sure rengjøringsmidler som eddik, da de kan skade steinen. For sta flekker, bruk en fjærkre.
- Tørking: La steinen tørke for 24 til 48 timer. Enhver fuktighet som er igjen i steinen kan bli fanget under tetningen, noe som fører til dising, efflorescens eller misfarging. Dette trinnet er spesielt kritisk for porøse steiner som kalkstein og sandstein.
Trinn 3: Test forsegleren på et lite område
Før du bruker tetningen på hele overflaten, må du teste den på et lite, iøynefallende område for å sikre at det gir ønsket finish og endrer ikke steinens naturlige farge. Noen tetningsmenn kan mørkne steinen eller legge til en glans, så det er viktig å se resultatet på en liten lapp før du fortsetter.
Trinn 4: Bruk tetningen
Når steinen er ren, tørr og prepped, er du klar til å begynne å forsegle:
- Start med kantene: Bruk en pensel for å påføre forsegler på kantene og hjørnene på steinen. Dette sikrer at områder som er utsatt for fuktighetsinntrenging, som ledd og hjørner, er fullstendig beskyttet.
- Bruk den første pelsen:
- Børste eller rulleapplikasjon: Bruk en pensel eller rull for å påføre et sjenerøst tetningsstrøk på steinens overflate. Påfør den jevnt og grundig for å sikre at steinens porer er fylt. Gå i en jevn retning for å unngå streker.
- Sprøytningsapplikasjon: Hvis du bruker en sprøyte, hold den 6-12 tommer fra overflaten og beveger deg i overlappende slag for jevn dekning. Sprøyter er ideelle for store områder som steinvegger eller uteplasser.
- La forsegleren trenge gjennom: La forsegleren sitte for 10-15 minutter (eller i henhold til produsentens instruksjoner). I løpet av denne tiden vil steinen absorbere tetningen. Vær oppmerksom på absorpsjonshastigheten, ettersom svært porøse steiner kan kreve mer tetningsmasse.
- Tørk av overflødig tetningsmiddel: Etter ventetiden, bruk en ren, tørr klut for å tørke av overflødig tetning. Overflødig tetningsmiddel som er igjen på overflaten kan tørke til en klissete eller overskyet finish, så sørg for at steinen ikke er overmettet.
Trinn 5: Bruk ekstra strøk
Avhengig av porøsiteten til steinen og tetningen som brukes, kan det hende du må bruke flere strøk. Slik gjør du det:
- Sjekk for absorpsjon: Hvis steinen har absorbert tetningen godt, og overflaten ser tørr ut, fortsett med en ny strøk. Hvis steinen fremdeles føles fuktig eller klissete, vent lenger før du legger til et nytt lag.
- Andre og påfølgende strøk: Bruk den andre belegget ved å bruke den samme metoden, og sikre jevn dekning. La hver strøk trenge gjennom og tørke i henhold til produsentens retningslinjer. Noen steiner, som sandstein og kalkstein, kan kreve tre eller flere strøk, mens granitt og marmor trenger vanligvis bare en eller to.
Trinn 6: Buff Surface (valgfritt)
Hvis tetningen etterlater en blank eller klissete rest, eller hvis du ønsker å forbedre steinens glans, kan du bruke en myk klut eller buffer for å forsiktig buffe overflaten etter at den endelige pelsen har tørket. Dette trinnet sikrer en jevn finish og kan forbedre den naturlige glansen av polerte steiner som granitt og marmor.
Trinn 7: La forsegleren kurere
Når applikasjonen er fullført, la fugemassen kurere fullt ut:
- Innledende tørking: Overflaten vil vanligvis være tørr å ta på 1-4 timer, men unngå å gå eller plassere gjenstander på den i løpet av denne perioden.
- Full herding: De fleste forseglere tar 24-72 timer å kurere fullt ut. I løpet av denne tiden beskytter overflaten mot fuktighet, skitt og tung trafikk. For utendørs prosjekter, vær oppmerksom på regn eller ekstreme temperaturer, da disse kan påvirke herdeprosessen
Hvordan bygge en tørr stabel steinmur
Slik fjerner du utvendig steinkledning
Installasjonstips for tilfeldig løs steinkledning
5. Tørking og herding
Tørking og herding er kritisk for å sikre at tetningen danner en holdbar barriere. Følg disse tipsene:
- Innledende tørking: De fleste forseglere vil tørke til berøring innen 1-4 timer. Imidlertid bør området forbli fritt for fottrafikk eller fuktighet i løpet av denne perioden.
- Full herding: Fullstendig herding kan ta hvor som helst fra 24-72 timer, avhengig av tetningen som brukes. I løpet av denne tiden må steinen holdes tørr. For utesiner, sjekk værmeldingen og unngå å forsegle før det forventes regn.
- Beskytte under herding: Dekk steinen med plastark eller tarps om nødvendig, spesielt for utendørs prosjekter utsatt for elementene.
6. Opprettholde forseglet Naturlig Stein
Tetning er ikke permanent, og det kreves regelmessig vedlikehold for å holde steinbeskyttet:
- Forløper: Hvor ofte du trenger å forsegle avhenger av plasseringen og bruken. Utsteiner utsatt for vær- og fottrafikk bør festes på nytt hver 1-2 år, mens innendørs overflater som benkeplater kan gå 3-5 år Mellom forsegling.
- Rengjøring: For hverdagsrengjøring, bruk en PH-nøytral steinkenser for å opprettholde tetningens effektivitet. Unngå slipende rengjøringsmidler eller sure stoffer som eddik, som kan forringe tetningen over tid.
- Rutinemessig inspeksjon: Sjekk for tegn på at steinen trenger forsegling, for eksempel vann som ikke lenger perler på overflaten eller flekker blir mer vanlig.
7. Vanlige feil å unngå
Det er noen få vanlige fallgruver når du forsegler naturstein:
- Overforsegling: Å bruke for mye tetningsmasse eller bruke det for ofte kan føre til en disig eller klissete finish. Hvis du merker dette, kan du buffe overflaten med en ren klut for å fjerne overflødig tetning. Overforsegling kan også forhindre at steinen puster, noe som kan felle fuktighet inni og føre til skade.
- Bruker feil tetningsmasse: Hver steintype har forskjellige behov. For eksempel kan bruk av en overflatetetning på meget porøs stein føre til ujevn påføring, mens bruk av en gjennomtrengende tetningsmasse på polert stein ikke trenger inn i ordentlig.
- Forsegling før stein er tørr: Forsegling av fuktig stein kan felle fuktighet under overflaten, noe som fører til mugg, efflorescens eller overskyet finish.
- Hopper over rengjøring: Unnlatelse av å rengjøre steinen ordentlig før forsegling kan felle skitt, oljer eller flekker under tetningen, noe som gjør dem permanente.
Ved å følge disse detaljerte trinnene, kan du sikre at natursteinen din forblir beskyttet og opprettholder sin skjønnhet i årene som kommer. Riktig forsegling vil ivareta investeringen din, enten det er innendørs eller ute, og gi et langvarig, polert utseende til steinoverflatene dine.
8. Konklusjon: Langsiktige fordeler med forsegling
Forsegling naturstein er et nødvendig skritt for å beskytte investeringen din og opprettholde dens visuelle appell. Enten du forsegler en ny installasjon eller opprettholder en eksisterende overflate, vil du følge disse trinnene bidra til å sikre at steinen din holder seg beskyttet mot flekker, fuktighet og slitasje gjennom årene. Ved å velge riktig tetningsmasse og følge riktige applikasjonsteknikker, vil du forbedre både holdbarheten og utseendet til steinoverflatene dine.
Hvis du leter etterstablet stein produsenter og leverandører, anbefaler vi å sjekke produktene våre.
Vi har mer enn 15 års eksporterfaring og tilbyr prøver før bestilling. For å få et tilpasset tilbud,Kontakt oss nå!
