Poorly installed stacked stone doesn’t just look amateur—it can lead to expensive callbacks, damaged reputation, and wasted materials. Nearly 40% of stone veneer installations develop visible gaps or alignment issues within the first year, costing contractors thousands in repairs and lost referrals.
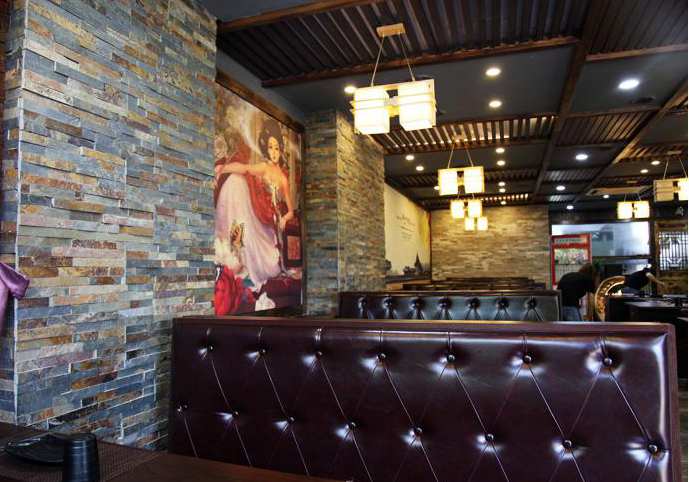
Achieving truly seamless stacked stone installation requires more than basic masonry skills. It demands precision techniques that many installers overlook. From proper substrate preparation to the exact application of adhesive, each step significantly impacts the final appearance. This comprehensive guide provides the professional-grade techniques that separate ride-or-die quality installations from mediocre attempts, helping you deliver results that showcase true craftsmanship and stand the test of time.
-
 Oyster quartz split face mosaic tiles 360x100mm
 -
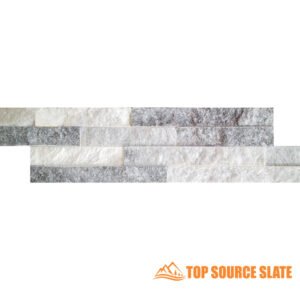
 Sparkle ice white split face mosaic tiles
 -
 Sparkle ice grey split face mosaic tiles
 -
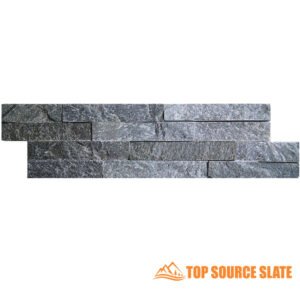
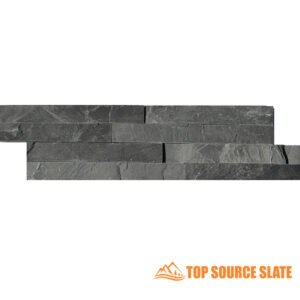 Split face tiles black slate cladding 360x100mm
 -
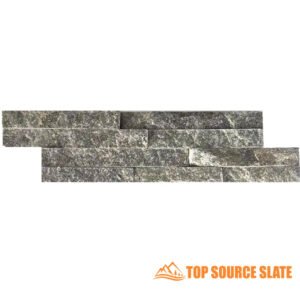
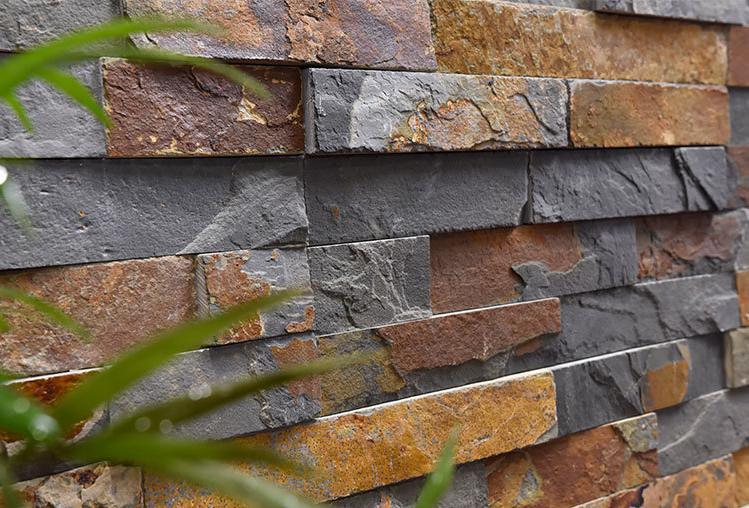
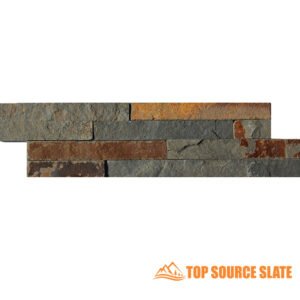 Split face multi color rusty slate natural stone cladding
 -
 Wholesale splitface bronze sparkle quartz feature wall tiles
 -
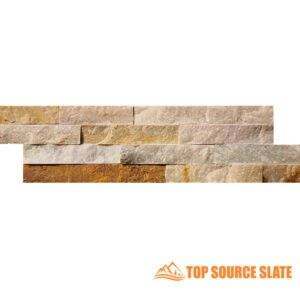
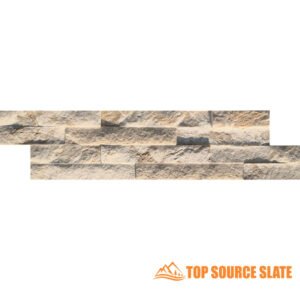
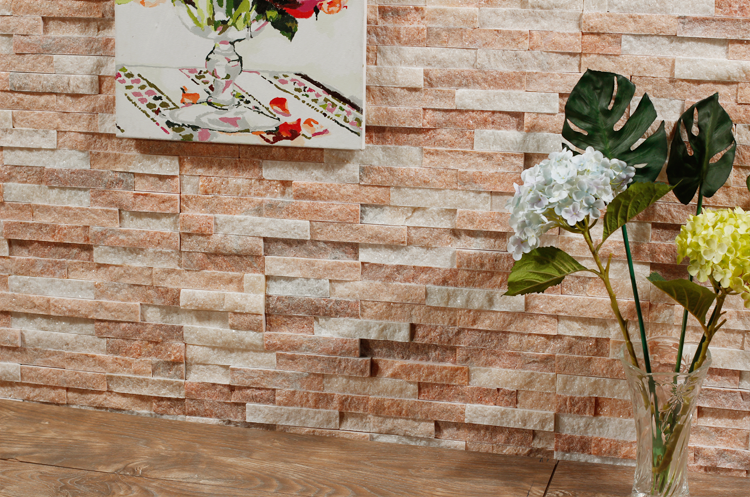
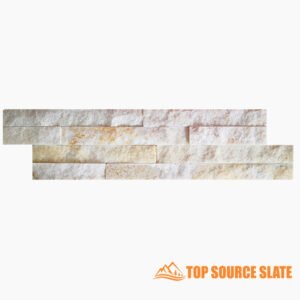 China manufacturer quartzite cream split face tile 10x36cm
 -
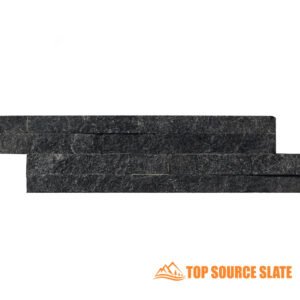 China manufacturer black quartzite mini splitface tile
 -
 China factory green quartzite split face mosaic wall tiles
 -
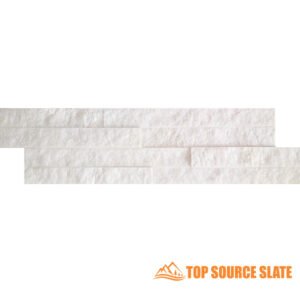
 China factory royal white split face ledger panel
 -
 Professional manufacture rotia grey brick split face mosaic tile 10*36cm
 -
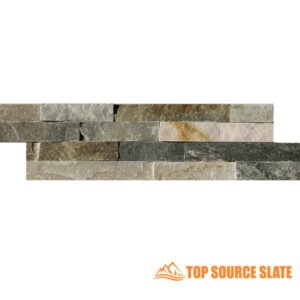 China manufacture oyster riven split face quartzite mosaic tiles
Pre-Installation Mastery: Planning for a Seamless Stacked Stone Project
Getting your stacked stone installation right begins long before the first panel goes up. Proper planning prevents those “rookie mistakes” that can plague even experienced contractors. With over 15 years in the industry, I’ve seen how thorough preparation makes the difference between an amateur-looking installation and a professional masterpiece.
Comprehensive pre-installation planning for stacked stone projects reduces installation time by up to 30% while significantly improving the final aesthetic quality and longevity of the stonework.
Assessing the Substrate: Ensuring Structural Integrity
The foundation of any successful stacked stone installation is a properly prepared substrate. Begin by thoroughly inspecting your wall surface for any signs of damage, moisture issues, or structural weaknesses. For exterior applications, ensure the substrate is waterproofed according to local building codes.
Remove any loose paint, wallpaper, or debris that could compromise adhesion. For drywall applications, verify the wall can support the substantial weight of stone (approximately 12-15 pounds per square foot). When installing over drywall, use appropriate anchoring methods to ensure the stone remains secure long-term.
For concrete or masonry substrates, repair any cracks exceeding 1/8 inch and allow patching compounds to fully cure before proceeding. A level substrate is crucial – variations greater than 1/4 inch per 10 feet require correction before installation begins.
Accurate Measurement Techniques: Calculating Material Needs
Precise measurement is essential for a successful stacked stone installation. Measure each wall height and width at multiple points, as walls are rarely perfectly square. Add 10% to your square footage calculation to account for cuts, breakage, and future repairs.
When measuring corners, calculate them separately as they require specialized corner pieces. Each linear foot of outside corner typically requires about 2 corner pieces. Planning your layout to minimize visible cuts will create a more natural, seamless appearance.
Stacked Stone Project Planning Comparison
| Planning Element | DIY Approach | Professional Method | Time Investment | Impact on Results |
|---|---|---|---|---|
| Substrate Assessment | Basic visual inspection | Moisture testing & structural analysis | 2-4 hours | High (prevents future failures) |
| Material Calculation | Wall area + 5% | Wall area + 10-15% with pattern analysis | 1-2 hours | Medium (prevents shortages) |
| Layout Planning | Basic sketching | Digital rendering with pattern variations | 3-6 hours | High (optimizes aesthetics) |
| Tool Preparation | Basic cutting tools | Wet saw, specialized masonry tools | 1-2 hours | Medium (improves efficiency) |
| Mock-up Testing | Rarely performed | Small section installation with various mortars | 4-8 hours | Very High (confirms techniques) |
Tool and Material Checklist: Gathering Essential Supplies
Successful stacked stone installation requires having the right tools ready before you begin. Essential tools include a quality wet saw with diamond blade, notched trowel (1/2-inch), margin trowel, level, tape measure, safety equipment, and mixing buckets.
For materials, select a polymer-modified thinset mortar specifically formulated for stone installations. If your project requires grouting, choose a sanded grout that closely matches your stone color. Have sealer on hand for post-installation protection, particularly for kitchen or bathroom applications.
Design Considerations: Staggering Techniques for Aesthetic Appeal
The visual impact of your stacked stone installation depends heavily on your layout planning. Stagger vertical joints between rows to create a natural, random pattern. Avoid creating obvious patterns or continuous vertical lines that draw unwanted attention.
Before permanent installation, perform a dry layout on the floor to experiment with different arrangements. Mix stones from different boxes to ensure color consistency throughout the project. This step in your stacked stone installation process can prevent visually jarring transitions between material batches.
When planning corners, determine whether to use manufactured corner pieces or miter-cut field stones. Though more labor-intensive, miter cuts often create a more refined appearance for high-visibility areas. Top Source Stone’s consultation services can help determine the best approach for your specific project requirements.

Achieving Perfect Alignment: Essential Techniques for Flawless Seams
Nothing ruins the look of a beautiful stone wall faster than misaligned seams. After installing thousands of square feet of stone veneer, I’ve found that achieving perfect alignment in stacked stone installation comes down to precision in your setup, application, and cutting techniques. When these elements work together, you create that seamless, professional finish that clients are willing to pay premium rates for.
Proper alignment techniques during stacked stone installation can reduce installation time by up to 40% while eliminating visible seams, resulting in significantly higher customer satisfaction and fewer callbacks.
Ledger Board Installation: Setting Up a Level Foundation
Begin your stacked stone installation by securing a temporary ledger board to provide a perfectly level starting point. Use a laser level to mark a straight line along your installation area, positioned at least one row height from the floor. Securely fasten a straight 1×2 or 2×4 board precisely along this line using appropriate anchors for your substrate.
The ledger board serves as your critical reference point, ensuring your first row sits perfectly level. This prevents the “domino effect” where slight misalignments in your first row amplify as you work upward. For large walls, consider installing additional ledger boards at measured intervals to maintain alignment as you progress.
Remove the ledger board only after your adhesive has fully cured, typically 24-48 hours depending on environmental conditions and manufacturer specifications. Any gaps left by the ledger can be filled with carefully cut stone pieces to maintain the pattern integrity.
Optimal Adhesive Application: Preventing Slippage
The right adhesive application technique is crucial for preventing panels from slipping while allowing for precise alignment adjustments. Apply modified thinset mortar using a 1/2-inch notched trowel, creating consistent ridges over an area slightly larger than each panel.
Adhesive Performance Comparison for Stacked Stone Applications
| Adhesive Type | Working Time (min) | Initial Grab Strength | Final Bond Strength (PSI) | Flexibility Rating | Moisture Resistance |
|---|---|---|---|---|---|
| Standard Thinset | 20-30 | Low | 150-250 | Minimal | Moderate |
| Polymer-Modified Thinset | 30-40 | Medium | 300-450 | Good | High |
| Premium Modified Thinset | 40-60 | High | 450-600 | Excellent | Superior |
| Epoxy-Based Adhesive | 60-90 | Very High | 1000+ | Limited | Excellent |
| Construction Adhesive | 10-15 | Very High | 350-500 | Moderate | Variable |
Additionally, apply a thin layer of adhesive to the back of each stone panel (back-buttering) to ensure 100% coverage and eliminate air pockets that could weaken the bond. This dual application method significantly improves adhesion while providing enough working time to make precise alignment adjustments.
Precision Cutting Methods: Creating Tight-Fitting Joints
Achieving invisible seams in your stacked stone veneer installation requires precise cutting techniques. Always use a quality wet saw with a continuous rim diamond blade specifically designed for natural stone. Make measured, straight cuts by marking your cut line on both the face and back of the stone before cutting.
For intricate cuts around outlets or corners, use the “score and snap” technique for cleaner breaks without chipping. Score the stone multiple times along your cut line, gradually increasing pressure until the stone separates cleanly. Always cut stone with the finished face up to minimize chipping on the visible surface.
Staggering and Spacing: Creating Natural Patterns
The secret to professional-looking stacked stone installation lies in proper staggering of joints. Avoid aligning vertical seams between rows, which creates an artificial, grid-like appearance. Instead, aim to offset each vertical joint by at least 2-3 inches from joints in adjacent rows, mimicking natural stone construction.
When installing multiple panels, periodically step back to assess your pattern from a distance. This broader perspective helps identify unintentional patterns or alignments that might not be obvious when working up close. Adjust your layout accordingly before adhesive sets to maintain a natural, random appearance.
Post-Installation Excellence: Finishing Touches for Long-Lasting Beauty
Many installers make the mistake of considering their stacked stone installation complete once the last panel is secured. After 15 years in the stone industry, I’ve learned that the post-installation process is what truly separates amateur work from professional craftsmanship. These finishing steps not only enhance the immediate visual appeal but also ensure your stonework maintains its beauty for decades.
Properly executed post-installation finishing techniques can extend the lifespan of stacked stone installations by up to 15 years while maintaining the original aesthetic quality and preventing costly repairs.
Addressing Gaps and Imperfections: The Art of Seamless Repair
Even with meticulous installation, small gaps or imperfections may appear between stones. Address these within 24-48 hours after installation while adhesive is still curing. For a cohesive look, use a mortar mixture that matches your stone’s predominant color tone. Mix small batches at a time to prevent premature drying.
Apply the mortar using a grout bag with a small tip opening for precise placement. Fill gaps completely but avoid smearing excess on stone faces. For natural-looking results, press the mortar slightly below the stone surface rather than flush with it, creating subtle shadows that enhance dimension.
For hairline cracks, a color-matched silicone caulk specifically formulated for stone provides flexibility while remaining visually discreet. This is particularly important for exterior applications where temperature fluctuations cause expansion and contraction.
Cleaning Excess Mortar: Preventing Permanent Staining
Prompt cleaning prevents mortar or adhesive from permanently bonding to visible stone surfaces. Begin cleaning 30-60 minutes after filling gaps, when mortar has reached a semi-dry state. Use a dry, stiff-bristled brush to remove loose particles first, working in circular motions from top to bottom.
Stone Surface Cleaning Methods Effectiveness Comparison
| Cleaning Method | Effectiveness Rating | Risk to Stone | Application Timing | Labor Intensity |
|---|---|---|---|---|
| Dry Brushing | 75% | Very Low | 30-60 min after application | Moderate |
| Damp Sponge Cleaning | 85% | Low | 1-2 hours after application | High |
| Mild Vinegar Solution | 90% | Moderate | 24+ hours after application | Moderate |
| Commercial Stone Cleaner | 95% | Low-Moderate | 48+ hours after application | Low |
| Pressure Washing | 98% | High | 7+ days after application | Low |
For stubborn residue, lightly dampen (not soak) a sponge and gently wipe affected areas. Avoid acidic cleaners on limestone or marble as they can etch the surface. For particularly difficult stains on granite or quartzite, a specifically formulated stone cleaner can be applied after full curing (typically 7-10 days).
Sealing for Protection: Preserving Natural Beauty
Sealing is essential for protecting your stacked stone against moisture penetration, staining, and environmental damage. Allow the installation to fully cure for 7-14 days before applying sealer. Test the surface by sprinkling water – if it darkens immediately, the stone is ready for sealing.
Choose a penetrating sealer (not a topical sealer) specifically formulated for your stone type. These sealers allow the stone to “breathe” while providing protection. Apply using a low-pressure pump sprayer for even coverage, followed by wiping with a lint-free cloth to remove excess before it dries.
Most interior applications require resealing every 3-5 years, while exterior installations may need reapplication every 1-2 years depending on exposure conditions. Top Source Stone recommends siloxane-based sealers for exterior applications due to their superior UV resistance and longevity.
Maintenance Tips: Ensuring Lasting Beauty
Regular maintenance prevents dirt buildup and extends the life of your stacked stone installation. For routine cleaning, use a soft brush attachment on a vacuum or a dry microfiber cloth. Avoid harsh chemicals that can strip sealers or damage stone surfaces.
Address spills immediately to prevent staining, particularly with acidic substances like wine or citrus juices. For periodic deep cleaning, use pH-neutral stone cleaners rather than all-purpose household products. Reseal at recommended intervals based on wear patterns and exposure.
Conclusion
From my years in the stone business, I’ve learned that a successful stacked stone installation isn’t just about sticking rocks to a wall. It’s about careful planning, precise execution, and those often-overlooked finishing touches that make all the difference.
At Top Source Stone, we see these installations every day, and I can tell you that taking the time to do it right—from substrate prep to sealing—pays off big time. Trust me, you’ll avoid headaches and get a result that looks professional and lasts for years.
So, whether you’re a seasoned pro or just starting out, remember that quality craftsmanship is “where it’s at.” With the right techniques, a seamless stacked stone installation is totally achievable. If you want to elevate your projects, focus on the details—it’s worth the effort.
