 Gå til innhold
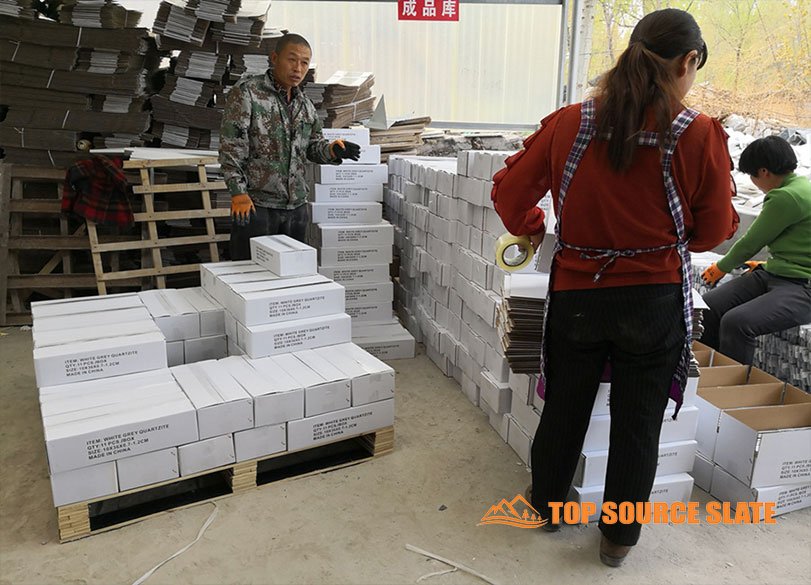
stacked stone installation is the first checkpoint buyers should lock before they approve a supplier, budget, or production slot. You are a global importer. You have a container of stacked stone sitting on a dock, your client is calling about a 1,000 ft² lobby wall, and the install crew just asked what substrate you specced. That question — the one about the substrate — is where most stacked stone installation projects either sail through or spiral into a rework disaster. Getting the answer right starts months before the stone touches a wall.
The guides from Norstone and MSI tell you how to stick stone to a wall. They skip the part that matters to you: how to make sure the stone you ordered from a factory 6,000 miles away will actually stay on that wall. 80% of installation callbacks trace back to the wrong substrate or the wrong thin-set. That is not a labor problem. That is a sourcing problem. A supplier who cannot provide written substrate specs or lot-level production records is handing you a liability, not a product.
This guide covers the pro standards for substrate, thin-set, and layout. But it also connects those standards to the factory decisions you make before the container leaves China. A pre-shipment inspection alone cuts color mismatch claims by 60%. A 2% breakage allowance in your contract saves thousands on a typical order. The installation technique matters. So does the paperwork that proves your factory validated it.
The 3 Most Costly Stacked Stone Installation Mistakes
80% of installation callbacks trace back to one of these three structural and procedural errors.
A single callback claim for field delamination or uneven rows on a large commercial installation will quickly wipe out your container margin. When analyzing site failures, the root causes are binary: they stem from chemical substitution or alignment shortcutting. If your field installation crew commits these three specific procedural errors, full facade tear-out parameters are virtually guaranteed:
- Mistake 1 — Utilizing Combustible Drywall Base: Attempting to mount natural stone veneer panels weighing 7–12.5 lbs/sq ft directly over painted gypsum board. The drywall paper layer inevitably shears under continuous dead load stresses.
- Mistake 2 — Substituting Polymer Thin-Set with Base Mortar: Using low-bond Type S brick mortar or organic tile mastics instead of polymer-modified thin-set compliant with ANSI A118.4/A118.11 standards. Unmodified mortars lack the flexural shear strength to resist cold freeze-thaw cycles.
- Mistake 3 — Omitting a Level Reference Grid: Skipping a physical level line markup and setting panels straight from uneven earth grade. A minute 1/16-inch slope deviation per row compounds into a glaring, distorted wave across an extensive wall run.
| Mistake | Cost Impact | Root Cause | Forebyggingsstrategi | Supplier Verification |
|---|---|---|---|---|
| Wrong Substrate (Drywall) | Full tear-out & replacement: 2x material + labor cost | Drywall paper face shears under heavy vertical cladding weight | Use 1/2-inch cement board, screwed at 6-inch centers on edges | Request certified substrate specification sheets from factory |
| Improper Thin-Set (Type S Mortar or Mastic) | Stones shearing off within 1 year; high legal exposure | Using non-polymer-modified or non-ANSI-compliant mortar beds | Specify polymer-modified thin-set meeting ANSI A118.4 or A118.11 | Confirm recommended thin-set specs in writing from supplier |
| Skipping Level Reference Line | Crooked rows, uneven gaps, aesthetic failure; full wall redo | No initial chalk line or floor row to establish zero benchmark | Snap chalk reference at the second course line; dry-lay first row | Ensure factory provides lot-matched color blending and pre-cut corner panels |
Real Substrate Rules: What Cement Board Actually Works
Drywall is not an option — it’s a structural lawsuit waiting to happen.
The only acceptable base for weight-bearing natural thin stone panels is a cementitious substrate. That means a minimum 1/2-inch polypropylene-fiber-reinforced cement board — HardieBacker, Durock, or equivalent — mechanically anchored with backer-board screws spaced every 6 inches on edges and 8 inches in the field over studs set at 16-inch centers. Plywood, OSB, and sheetrock cannot manage moisture expansion cycles behind natural stone veneer and will flex, breaking the cement micro-crystals。
For commercial exterior walls, a certified weather-resistant barrier (WRB) and a dedicated 1/4-inch drainage plane gap are completely mandatory behind the cement board layer. Importers should request the factory’s technical substrate specification sheet in writing before issue of a PO. Legitimate quarry-direct manufacturers provide lot-specific substrate recommendations with every production batch to verify performance boundaries under ASTM C1670 standards.
Thin-Set Showdown: Which Mortar Binds Best?
The wrong thin-set formula guarantees long-term adhesive shear failure.
Polymer-modified thin-set meeting ANSI A118.4 (interior) or ANSI A118.11 (exterior) is the only reliable adhesive specification for heavy ledger stone. Traditional Type S brick mortar lacks the vital polymer chain elasticity, while organic tile mastics stay plastic too long, trapping wet vapor that triggers intense mineral efflorescence stains. Investing $25–$35 per 50-lb bag in a premium modified thin-set represents the cheapest insurance policy your distribution channel can implement.
To maximize the structural bond line, your field crews must execute a **thorough back-butter coat** on the rear of each modular panel, pressing it firmly into a 1/2″ square-notched mortar bed on the cement board substrate. This dual-coating method ensures 95% total bond coverage, preventing internal air pockets from trapping moisture during freeze-thaw cycles. Always get your factory supplier to validate their stone density metrics in writing to accurately match thin-set tension capabilities.
Proven Layout Method: How to Set a Perfect Level Line
Dry-lay the first row on the floor before you cut a single piece of stone.
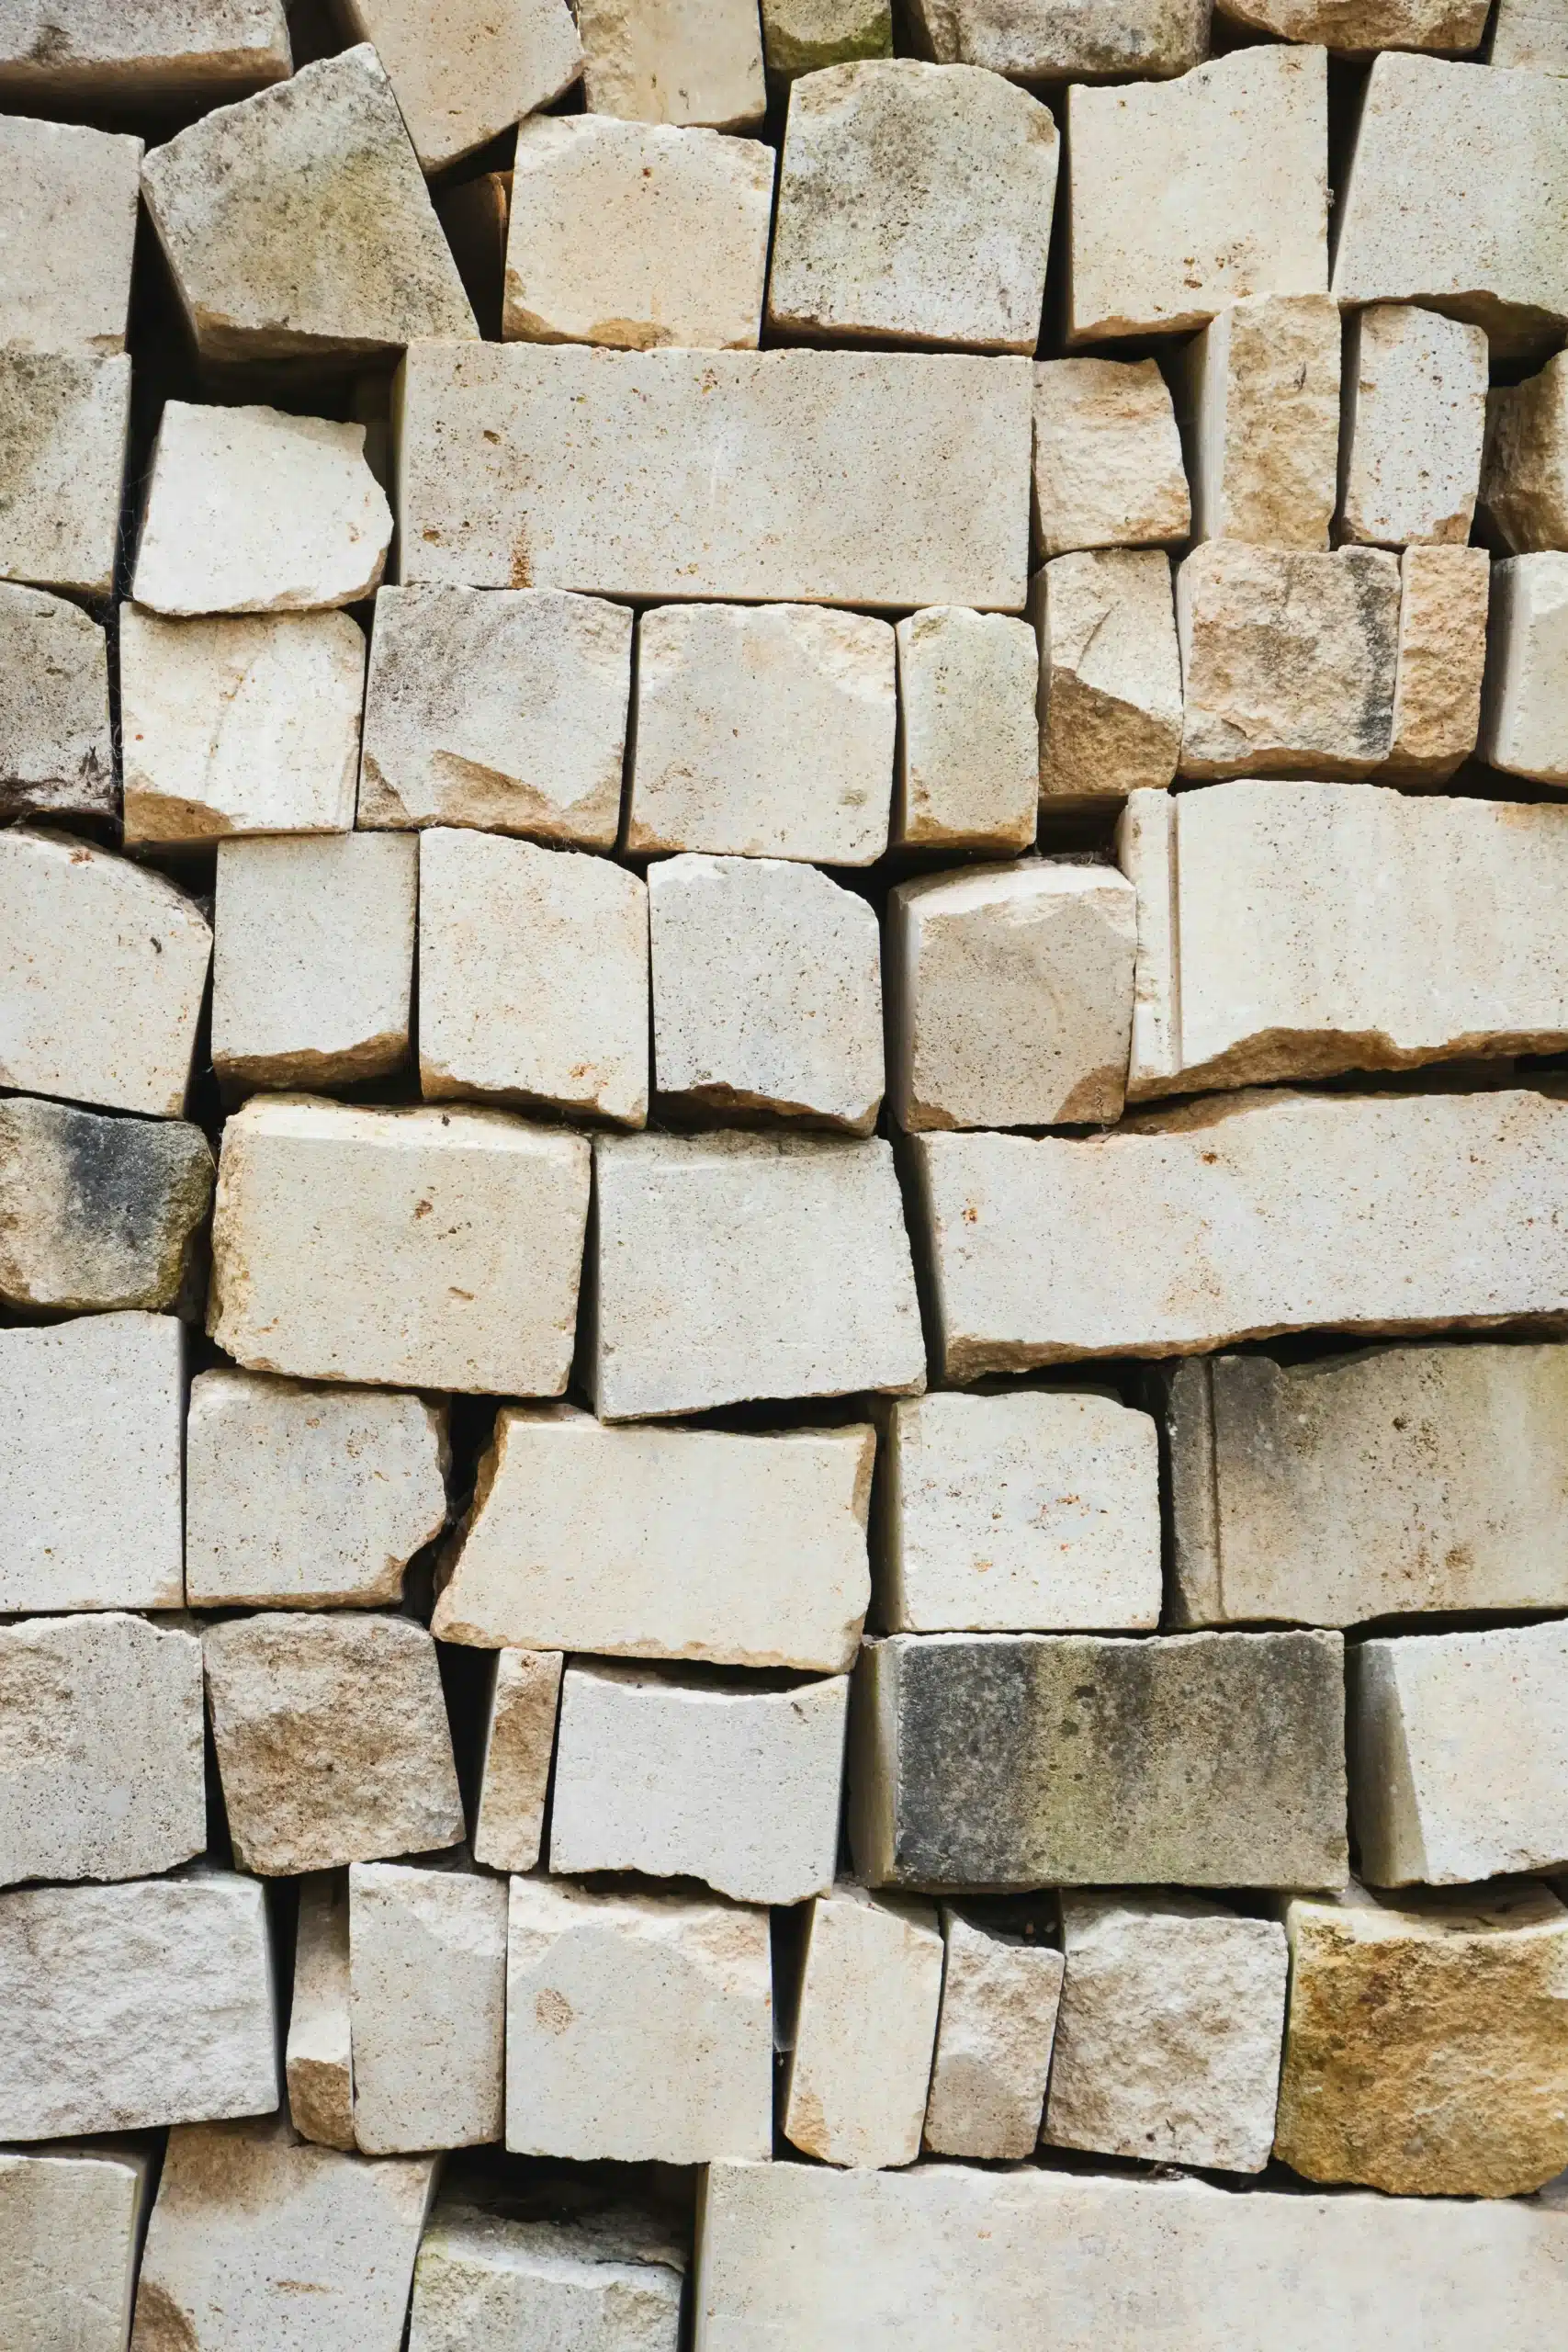
Open three to four boxes across different pallets and dry-lay your running ledger stock flat on the concrete floor. This is the only mechanism available to preview natural color variations across the shipment batch, allowing installers to randomize color blocks before materials are permanently fixed to the wall cavity. Blending panels ensures the finished commercial lobby surface reads as a cohesive geological feature rather than a blocky checkerboard.
Once the floor layout is approved, snap your level chalk line at the precise height of the **second course**—never start blindly off an uneven earth floor. This benchmark ensures upper rows remain parallel and laser-straight; the lowest row can be trimmed with a diamond wet saw to accommodate slab slopes. For corners, install pre-fabricated corner pieces first, working outward toward the center joint to conceal panel width cuts.
Sourcing from an integrated quarry-manufacturer cuts on-site layout times by roughly 40%. Their factory-controlled batching pre-sorts panels by shade before export packing, while CNC-milled corner profiles arrive ready to hang. This process engineering directly limits labor hour overruns and scrap waste margins on the job site.
Sourcing Smart: How to Verify Factory Installation Support
Pre-shipment inspection videos reduce color mismatch claims by 60%.
The difference between a factory that can actually support your installation and one that just ships stone is in the documents they provide. A legitimate manufacturer will hand you written installation guidelines that specify the exact substrate prep, thin-set brand and type (e.g., Laticrete 254 for exterior), and joint width before the first panel leaves the factory. If the response is ‘just use any thin-set,’ you are talking to a trader, not a factory.
A secure B2B stone procurement framework must require these four document logs:
- Written Assembly Guidelines: Must explicitly state substrate density requirements, thin-set ANSI classifications, and temperature cure timelines.
- Brand Product Recommendations: The factory should outline verified structural mortar brands (e.g., Mapei Ultralite or Custom Building Products Pro-Lite) rather than vague descriptors.
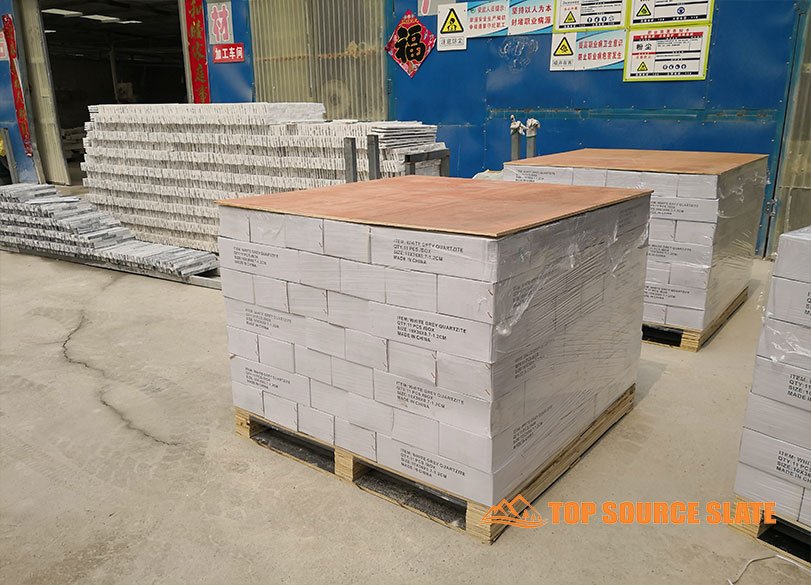
- Lot-Level Production Records: Barcoded lot profiles enable tracking of identical extraction blocks, eliminating the risk of receiving 15% batch-color drift across pallets.
- Pre-Shipment Inspection Video Tracking: Forcing a live video check of random crates on the active staging floor cuts color mismatch claims by 60%, isolating broken panels before port strapping seals.
Konklusjon
Proper substrate and thin-set choices eliminate 80% of stacked stone callbacks. A pre-shipment inspection cuts the color mismatch risk by another 60%. That is the difference between a project that holds its value and one that eats into your margin with rework.
Review the wholesale sourcing guide for factory specs, lot-level production records, and written installation support. Make sure the supplier you choose treats installation documentation as part of the product, not an afterthought.
Ofte stilte spørsmål
What substrate is needed for stacked stone?
You need a cementitious substrate like 1/2-inch cement board, brick, or CMU for both interior and exterior installations. Drywall is never acceptable and will cause failure, leading to a full tear-out. Always spec cement board, never drywall.
How to install rock mount stacked stone?
Install rock mount stacked stone by first screwing 1/2-inch cement board at 16-inch centers over wall studs, then applying a polymer-modified thin-set meeting ANSI A118.4. Always set a level reference line first to keep rows straight and prevent horizontal sagging across courses. Level your first row, then work up.
What adhesive do you use for stacked stone?
Use a polymer-modified thin-set mortar meeting ANSI A118.4 or A118.11 standards for stacked stone. Never use Type S mortar or mastic, as they lack the bonding strength and flexibility needed for stone veneer. Stick with polymer-modified thin-set only.
How to attach a stacked stone?
Attach stacked stone by back-buttering each piece and pressing it firmly into a 1/2-inch notched trowel bed of polymer-modified thin-set on cement board. For panels over 15 lbs per sq ft, add mechanical fasteners like corrosion-resistant structural anchor bolts. Back-butter every piece for full coverage.
How to hang things on stacked stone?
Drill through the stone and mortar joint using a masonry bit, then insert a sleeve anchor or toggle bolt rated for the weight. Avoid hanging heavy items solely on the stone face, as the tension can split individual stone segments. Always anchor into the structural substrate behind the stone.
