Loose stones, unsightly cracks, and deteriorating mortar—these common issues can quickly transform elegant stacked stone wall panels into an eyesore that diminishes your home’s value. Whether you’ve noticed small damages or significant structural concerns, addressing these problems promptly prevents more extensive and costly repairs down the road.
Unlike conventional walls, stacked stone wall panels require specific repair techniques and materials to maintain their distinctive texture and appearance. This comprehensive guide breaks down the repair process into manageable steps, helping you restore your stone wall’s beauty and integrity. From assessing damage and selecting the right adhesives to matching colors and replacing broken pieces, we’ll cover everything homeowners and contractors need for a rock-solid DIY repair that balances cost, stability, and visual appeal.
-
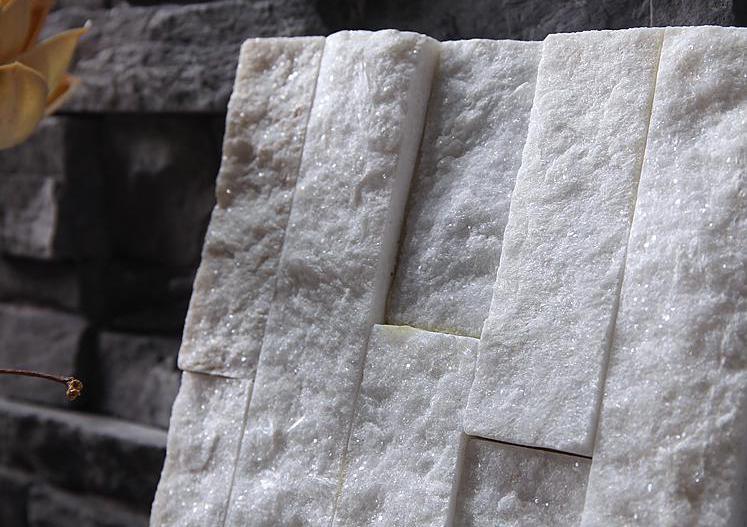
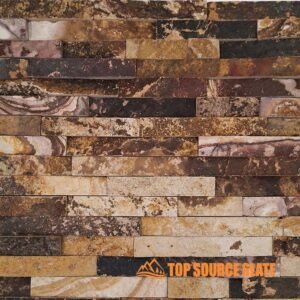
 China new colors quartzite stacked stone panels
 -
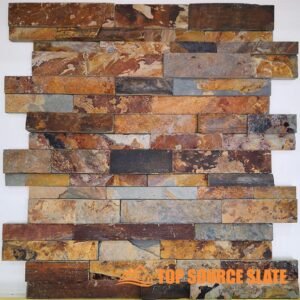 Rough rusty slate stacked stone ledger panel 6 in. x 24 in.
 -
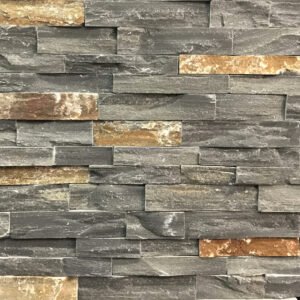
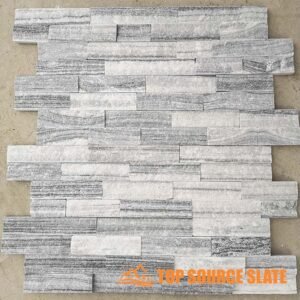 Rough alaska grey stacked stone ledger panel 6 in. x 24 in.
 -
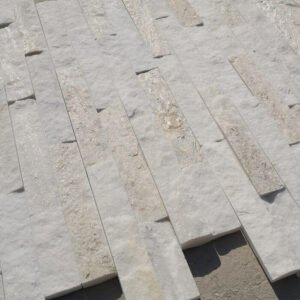
 Rough sandstone stacked stone ledger panel 6 in. x 24 in.
 -
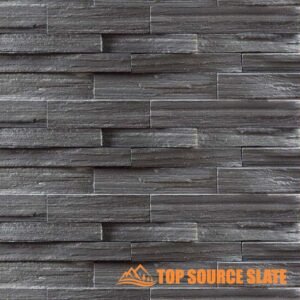 Natural black slate rough ledger panel 6 in. x 24 in.
 -
 Sierra Blue Ledger Panel 6 in. x 24 in. Natural Stone Quartzite
 -
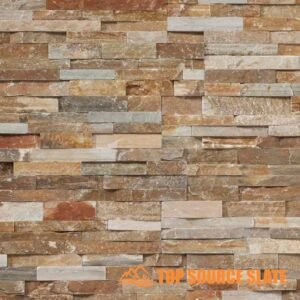
 California gold slate natural ledge stone panels- 6 x 24
 -
 Golden harvest slate panel ledger – 6 x 24
 -
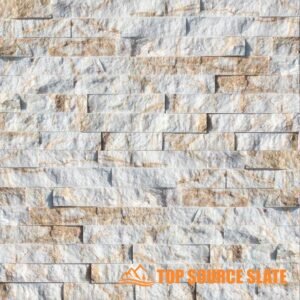
 High quality gray stacked stone exterior wall cladding
 -
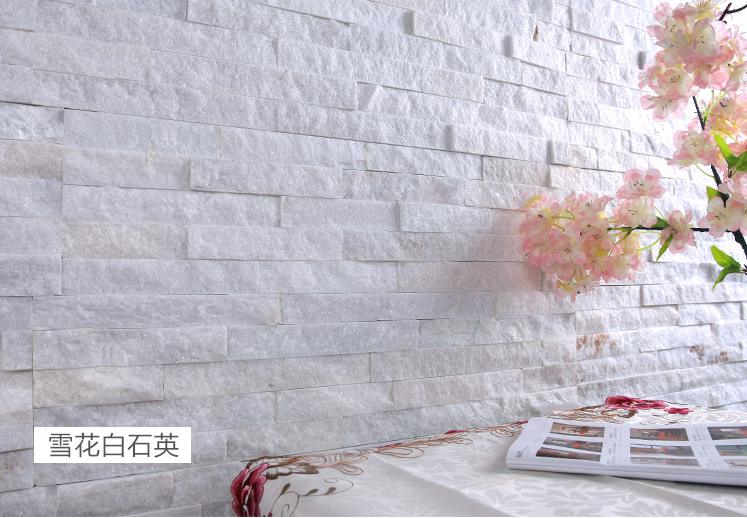
 Interior and exterior natural stone walling products
 -
 Chinese factory natural stone exterior wall cladding
 -
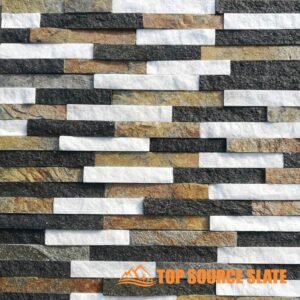 Hot selling mix quartz natural wall stone cladding
Assessing Damage and Preparing for Repair
When your beautiful stone wall starts showing signs of wear, early assessment is critical for effective restoration. Identifying damage to stacked stone wall panels quickly helps prevent minor issues from becoming major headaches. Let’s walk through the process of evaluating damage and properly preparing for repairs that will make your walls look “good as new”.
Proper assessment of stacked stone wall panels before repair saves time and money by identifying underlying issues that might cause repeated damage if left unaddressed.
Identifying Types of Damage
Different types of damage require specific repair approaches. Start by examining your stone wall in good lighting, preferably during daylight hours. Run your hand across the surface to feel for loose pieces that might not be immediately visible.
Cracks often indicate shifting or settling in the underlying structure. Small hairline cracks might be cosmetic, while wider fractures could suggest structural issues. Look for patterns in the cracking that might reveal the root cause.
Loose stones are usually caused by failing adhesive or mortar. Mark these areas with painter’s tape to ensure you don’t miss any spots during the repair phase. Pay special attention to edges and corners where damage often begins.
Discoloration may indicate water damage, mold growth, or sun fading. White powdery residue (efflorescence) suggests water is moving through the stone or backing material, which needs addressing before cosmetic repairs begin.
Essential Tools and Materials
| Tool/Material | Purpose | Estimated Cost | Durability Rating | Skill Level Required |
|---|---|---|---|---|
| Rubber Mallet | Gentle stone adjustment | $15-25 | 5-7 years | Beginner |
| Stone Adhesive | Securing loose stones | $20-35 | 10-15 years | Intermediate |
| Wire Brush | Cleaning debris | $8-12 | 2-3 years | Beginner |
| Safety Goggles | Eye protection | $10-20 | 3-5 years | Beginner |
| Chisel Set | Stone shaping | $25-40 | 10+ years | Advanced |
| pH-Neutral Cleaner | Surface preparation | $12-18 | 1 year (shelf life) | Beginner |
For adhesives, Top Source Slate recommends professional-grade polymer modified thin-set mortar for natural stone veneer repair projects. This provides superior bonding strength compared to regular construction adhesives.
Cleaning the Damaged Area
Through cleaning is essential before any stone wall repair. Remove all debris, dust, and remnants of old adhesive using a wire brush for rough cleaning followed by a soft brush for finer particles.
For stubborn residue, spray a pH-neutral stone cleaner and let it sit for 10-15 minutes before scrubbing. Avoid acidic cleaners that can etch natural stone surfaces and cause long-term damage to stacked stone wall panels.
After scrubbing, rinse thoroughly with clean water and allow the area to dry completely. Depending on conditions, this may take 24-48 hours. Working with a dry surface ensures proper adhesion of repair materials.
Safety Precautions
Always wear safety goggles when removing or cleaning stone. Small fragments can cause serious eye injury. Heavy-duty gloves protect against sharp edges and prevent skin irritation from cleaning solutions.
When working with adhesives or sealants, ensure proper ventilation to avoid inhaling fumes. If repairing outdoor walls, check weather forecasts to avoid working in rain or extreme temperatures that might affect adhesive curing.
For extensive repairs, especially on load-bearing walls, consult a structural engineer before proceeding. What appears as simple cosmetic damage might indicate deeper structural issues requiring professional attention.
Step-by-Step Repair Techniques and Maintenance
Restoring damaged stacked stone wall panels doesn’t have to be intimidating. With the right approach and proper tools, you can revitalize your stone surfaces and maintain their beauty for years to come. Whether you’re dealing with loose stones or complete replacements, this guide will walk you through proven repair techniques that “hit the mark” every time.
Regular maintenance and prompt repairs of stacked stone wall panels can extend their lifespan by 15-20 years, preserving both aesthetic appeal and structural integrity while avoiding costly replacements.
Securing Loose Stones
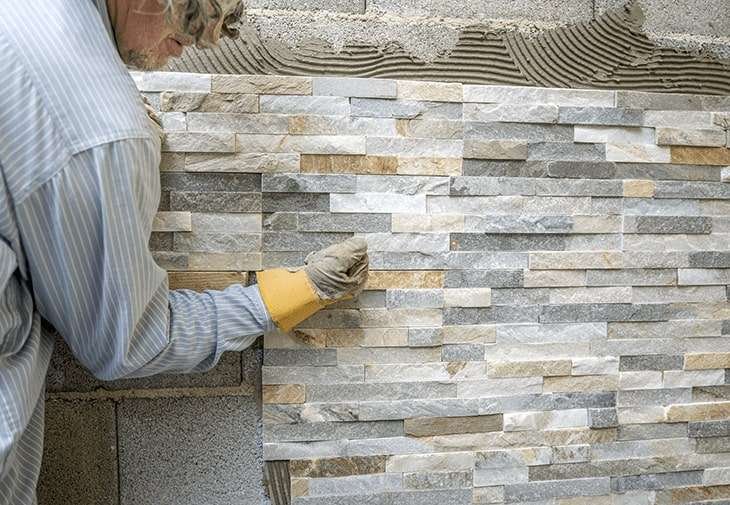
Begin by thoroughly cleaning the area where stones have become loose. Remove any remaining adhesive with a wire brush or putty knife, creating a clean bonding surface. For optimal results, lightly dampen both the wall and the back of the stone before applying adhesive.
Apply a quality polymer-modified thinset mortar in a thick layer to the back of the stone. Create ridges with a notched trowel to increase surface contact. Press the stone firmly into place, wiggling slightly to ensure complete adhesion and proper alignment with surrounding stones.
Use painter’s tape or temporary supports to hold the stone in position while the adhesive cures. Most professional-grade adhesives require 24-48 hours to fully set, though this varies by product and environmental conditions.
Replacing Damaged Stones
| Replacement Method | Best For | Tools Required | Difficulty Level | Time Investment |
|---|---|---|---|---|
| Exact Match Replacement | Visible areas | Wet saw, chisel, adhesive | Advanced | 3-4 hours |
| Similar Stone Substitution | Large walls with varied patterns | Hand saw, adhesive | Intermediate | 2-3 hours |
| Composite Repair | Small chips or cracks | Stone epoxy, pigments | Beginner | 1-2 hours |
| Section Replacement | Multiple damaged stones | Circular saw, adhesive, grout | Expert | 5-8 hours |
| Color-Blended Repair | Weathered or faded areas | Stone stain, sealer, brushes | Intermediate | 2-3 hours plus drying |
When replacing damaged stones in stacked stone wall panels, carefully remove the broken pieces using a chisel and hammer. Work from the center outward to avoid damaging adjacent stones. Clean the exposed area thoroughly to ensure proper adhesion of the replacement stone.
For precise fitting, measure the space and cut a replacement stone slightly larger than needed. Gradually trim the edges until it fits perfectly. Most DIY stone wall repair projects benefit from using a wet saw for clean, accurate cuts that minimize dust.
Color Matching Techniques
Achieving a seamless finish often requires color matching, especially when using replacement stones. Natural stone stains or mineral-based pigments can be applied to lighter stones to darken them. For best results, test your color mixture on a spare piece before applying to your wall.
Another effective approach is strategic placement. Position replacement stones in less noticeable areas or create intentional pattern variations that make differences appear deliberate. Top Source Slate offers matching stones specifically designed to blend with existing installations.
For stone cladding systems repair where perfect matches aren’t available, consider using stones with complementary characteristics rather than identical ones. The natural variation in stone actually helps new pieces blend more naturally over time.
Regular Cleaning and Maintenance
Prevention is the most cost-effective repair strategy. Clean your stacked stone wall panels twice yearly using a soft brush and mild, pH-neutral stone cleaner. Avoid pressure washers on interior walls or delicate stone types that might erode under high pressure.
Inspect walls regularly for early signs of damage. Look for efflorescence (white powder), which indicates water infiltration, and address moisture sources immediately. Apply a quality penetrating sealer every 2-3 years to protect against water damage and staining.
For exterior walls, ensure proper drainage around the base to prevent water accumulation. Trim vegetation to maintain at least 12 inches of clearance, reducing moisture retention and preventing plant roots from compromising the wall structure.
Conclusion
From my years at Top Source Slate, I’ve learned that restoring stacked stone isn’t just about fixing a wall—it’s about preserving the character and value of your home. Addressing those cracks and loose stones might seem daunting, but with the right approach, it’s totally manageable.
I’ve always believed in doing things right the first time, and that’s especially true with stone. Taking the time to assess the damage, prep carefully, and choose quality materials will pay off in the long run. After all, we want a repair that lasts, not just a temporary fix.
Ultimately, restoring your stone walls is about maintaining the beauty and integrity of your space. With a bit of elbow grease and the right techniques, you’ll have your walls looking top-notch in no time.
