Die Installation von gestapelten Steinecken ist der erste Kontrollpunkt, den Käufer abschließen sollten, bevor sie einen Lieferanten, ein Budget oder einen Produktionsschlitz genehmigen. Sie haben Steine für einen 10-Eck-Kamin gezogen, die Flachpaneele gestapelt und sind dann auf die eigentliche Kostenstelle gestoßen: die Ecken. Das Vor-Ort-Gehrungsschneiden dieser Kanten verschlingt zwei zusätzliche Stunden pro Ecke, erhöht die Abfallmenge auf über 10 Prozent und hinterlässt immer noch Nähte, die ins Auge fallen. Vorgefertigte L-Ecken sollen dieses Problem lösen, aber es ist nicht immer klar, ob sie tatsächlich das Endergebnis eines professionellen Installateurs bringen. Dieser Vergleich geht die tatsächlichen Zahlen zu Geschwindigkeit, Präzision und Farbtonanpassung durch, sodass Sie entscheiden können, welche Methode dafür sorgt, dass Ihr Team den Zeitplan einhält und Ihnen den Kunden entlastet.
Hier ist der Haken, den die meisten Artikel überspringen: Eine standardmäßige 45-Grad-Gehrung an einer unregelmäßigen Wand legt die dünne Furnierkante frei und erzeugt den Reißverschlusseffekt, der Rückrufe auslöst. Die Lösung ist eine 44,9-Grad-Rückenfase, aber dafür sind eine Diamanttrennscheibe mit durchgehendem Rand und eine ruhige Hand erforderlich. L-Eckeinheiten Beseitigen Sie dieses Problem vollständig mit ineinandergreifenden Fingern, die die vertikale Verbindung verdecken. Das werkseitige CNC-Schneiden garantiert eine 90-Grad-Genauigkeit von weniger als einem halben Grad, während Feldgehrungen je nach Säge und Bediener um plus oder minus zwei Grad abweichen können. Allein dieser Unterschied kann dazu führen, dass ein Projekt von einem reibungslosen Projekt zu einem Garantieanspruch wird.
Dieser Leitfaden bietet Ihnen einen einfachen Rahmen, um beide Optionen im Vergleich zu Ihren typischen Jobspezifikationen abzuwägen. Sie erhalten spezifische Arbeitseinsparungen, Abfallprozentsätze und von Lieferanten getestete Tricks – wie die Überprüfung, ob L-Ecken aus derselben Steinbruchader wie Ihre Flachbildschirme geschnitten sind, um eine 95-prozentige Farbtongleichmäßigkeit zu gewährleisten. Kein Schnickschnack, nur die Zahlen, auf die es ankommt, wenn Sie ein Angebot für eine Gewerbefassade oder einen besonderen Kamin für Ihr Zuhause abgeben.
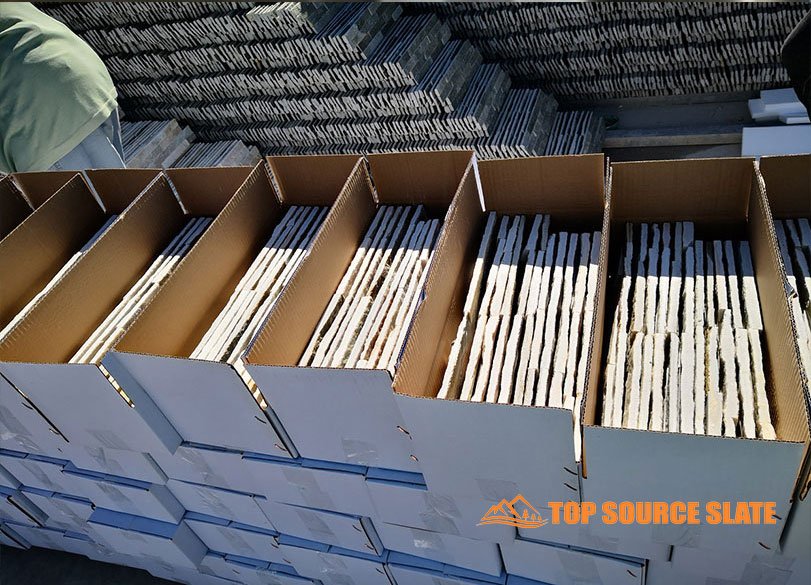
Warum die meisten Eckinstallationen scheitern: Die versteckten Risiken
Feldgehrungen legen den Untergrund frei und erzeugen den Reißverschlusseffekt – die beiden häufigsten Kundenbeschwerden.
Die meisten Eckfehler beginnen an der Säge. Feldgehrungsschnitte mit einer manuellen Nasssäge führen zu Schwankungen der Winkelgenauigkeit von ±2°. Dieser Spalt legt die Kante des Steins frei, sodass selbst eine 2 cm dicke Hauptbuchplatte wie ein dünner Aufkleber aussieht. Der Kunde sieht Tageslicht zwischen den Steinen und fordert Nacharbeit.
- Sichtbare Nähte legen den Untergrund frei: Eine hintere Abschrägung von 44,9° verbirgt die Kante an unregelmäßigen Wänden, aber das gelingt nur selten von Hand. Ergebnis: Der Untergrund (Zementplatte oder Feuchtigkeitssperre) wird an der Ecke sichtbar und zerstört den Eindruck von massivem Stein.
- Reißverschlusseffekt (gestufte vertikale Fugen): Ungleichmäßige Gehrungslängen erzeugen an der Ecke ein gezacktes Treppenmuster. Auch im verfugten Zustand ist der Reißverschlusseffekt ein echter Hingucker. Vorgefertigte L-Ecken mit ineinandergreifenden Fingern verdecken diese vertikalen Verbindungen vollständig.
- Dünnfurnier-Laibung: Platten, die dünner als 2,5 cm sind, schneiden zu schnell durch und hinterlassen eine scharfe, hauchdünne Kante, die bei der Handhabung absplittert. Durch die Festlegung einer Mindestdicke von 2,5 cm oder die Verwendung von L-Eckblöcken wird dies verhindert.
- Ablösung durch falschen Klebstoff: Der Verzicht auf das Nachbuttern oder die Verwendung eines nicht polymermodifizierten Thinsets garantiert ein Abplatzen der Ecken innerhalb des ersten Gefrier-Tau-Zyklus. Eine 1/2″ Bei Ecken sind Zahnspachtel und vollständige Kontaktabdeckung nicht verhandelbar.
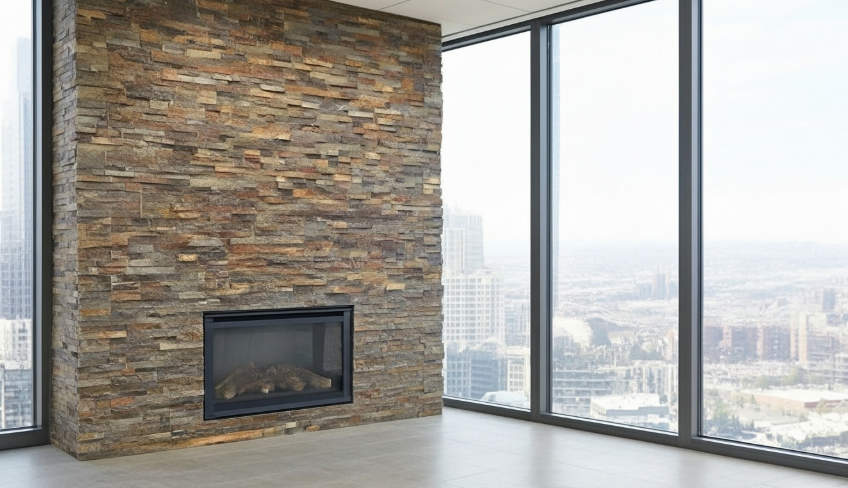
Aufschlüsselung der tatsächlichen Kosten der Corner-Methoden im Jahr 2026
Vorgefertigte L-Ecken senken die Arbeits- und Abfallkosten um 500 bis 800 US-Dollar pro 10-Ecken-Kamin.
Das Vor-Ort-Gehrungsschneiden einer einzelnen gestapelten Steinecke nimmt zwei bis drei zusätzliche Stunden in Anspruch, wobei ein Maurermeister 35 bis 50 US-Dollar pro Stunde in Rechnung stellt. Fügen Sie 10–15 % Steinbruch durch Schnitte vor Ort hinzu, und die Kosten pro Kamin steigen schnell an. Durch die Umstellung auf vorgefertigte L-Ecken entfallen diese Stunden und nahezu die gesamte Verschwendung.
- Arbeitszeiten: Für die Gehrungsbearbeitung vor Ort sind bei Maurermeistertarifen (35–50 US-Dollar/Stunde) 2–3 Stunden/Ecke erforderlich, während die Installation einer L-Ecke diese Zeit um die Hälfte verkürzt.
- Materialabfall: Das Schneiden vor Ort führt zu einer kostspieligen Bruchrate von 10–15 % im Vergleich zu stabilen ca. 2 % bei werkseitig CNC-geschnittenen Ecken.
- Werkzeug & Fertigkeitskosten: Diamanttrennscheiben mit durchgehendem Rand und der Verleih von Nasssägen erhöhen den Projektaufwand; Für L-Ecken sind nur Standard-Kellen und modifiziertes Thinset erforderlich.
- Gesamteinsparungen: Erwarten Sie, dass pro 10-Eck-Kamin insgesamt 500 bis 800 US-Dollar an Arbeits- und Materialverschwendung eingespart werden.
| Kostenfaktor | Vorgefertigte L-Ecke | Feldgehrung |
|---|---|---|
| Installationszeit | 50 % schneller pro Kurve | 2–3 Stunden zusätzlich pro Ecke |
| Arbeitskosten | 25 % Reduzierung im Vergleich zur Gehrung | Premium-Tarif (35–50 $/Std.) |
| Materialverschwendung | ~2 % Abfallquote | 10–15 % Bruch & Schrott |
| Eckenpräzision | CNC ±0,5° Genauigkeit | Manuelle Variabilität von ±2° |
| Farbkonsistenz | 95 % Farbtonübereinstimmung mit derselben Steinbruchader | Chargenabhängig, Gefahr einer sichtbaren Verschiebung |
| Typische Einsparungen pro 10-Eck-Kamin | 500–800 $ Gesamtarbeitsaufwand & Abfalleinsparungen | Keine Ersparnisse; höhere Kosten & Nacharbeitsrisiko |
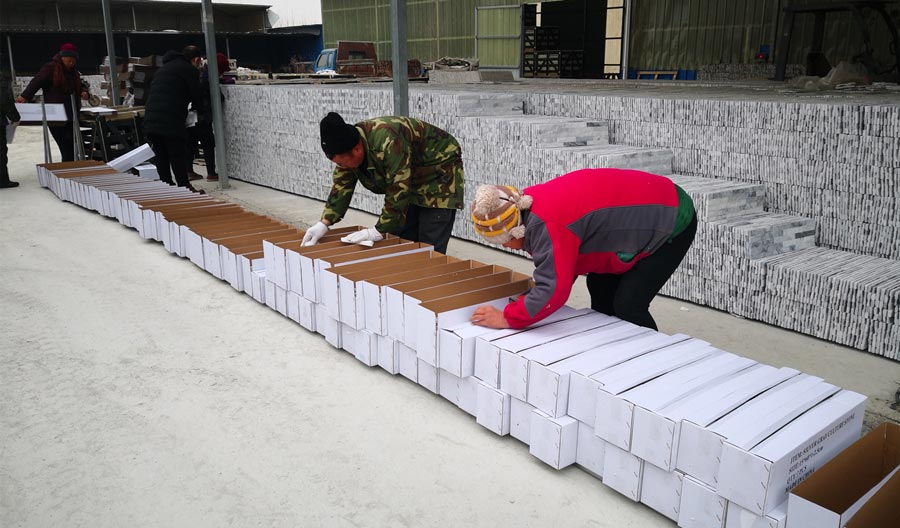
L-Ecken vs. Gehrungsschnitte: Was ist besser?
L-Ecken verkürzen die Installationszeit um 50 % und eliminieren den Reißverschlusseffekt.
Die sichtbare Ecke ist das erste, was ein Kunde inspiziert. Auf Gehrung gestapelte Steinecken versagen auf zwei Arten: durch den Reißverschlusseffekt (abgestufte Lücken, die die dünne Furnierkante zeigen) oder durch eine 1–2 mm große Lücke, die den Untergrund freilegt. Vorgefertigte L-Ecken lösen beides, da die ineinandergreifenden Finger die vertikale Verbindung verdecken und die Werkskante die Furnierdicke verdeckt.
- Geschwindigkeit installieren & Arbeitsablauf: L-Eckenmontage ohne komplexe Sägeeinrichtung oder Prüfung staubiger Schnitte. Ein Maurer kann eine Standard-Kaminecke in weniger als 20 Minuten fertigstellen, im Vergleich zu mehr als 45 Minuten für das sorgfältige Anfertigen von Gehrungen vor Ort.
- Arbeitsflexibilität: Für die Bearbeitung der empfindlichen Kanten ist beim Gehrungsschnitt ein erstklassiger Maurermeister (35–50 US-Dollar pro Stunde) erforderlich, während ineinandergreifende L-Ecken einem ausgebildeten Lehrling die Möglichkeit geben, einwandfreie Ergebnisse zu erzielen.
- Feinmechanik: Werksseitige CNC-Diamanttrennscheiben halten einen strikten 90°-Winkel innerhalb von ±0,5° ein. Manuelle Feldsägen driften unweigerlich auf unregelmäßigen Steinflächen und weiten die Fugen aus.
- Farbkonsistenz: Aus der gleichen Steinbruchader geschnittene L-Ecken garantieren eine 95 %ige Farbtongleichmäßigkeit. Bei auf Gehrung geschnittenen Stücken werden häufig Chargen gemischt, was bei kritischer Seitenbeleuchtung zu einer deutlichen Farbverschiebung von 2–3 führt.
Der Randfall: Bei Wänden, die nicht im 90°-Winkel oder bei benutzerdefinierten Winkeln stehen, ist immer noch eine Gehrung erforderlich. Wenn Sie diesen Weg gehen, stellen Sie die Säge auf eine hintere Abschrägung von 44,9° ein – nicht auf 45°. Ein normaler 45°-Schnitt auf einer unregelmäßigen Steinoberfläche lässt die Furnierkante frei; Dieser Untergradwinkel zwingt die Steinfläche dazu, sich zuerst zu treffen, wodurch die Lücke geschlossen wird. Verwenden Sie a Diamanttrennscheibe mit durchgehendem Rand mit einer Nasssäge; segmentierte Klingen splittern die Kante ab.
Die versteckte Variable, die den meisten Auftragnehmern entgeht: Chargenkonsistenz. Ein Lieferant, der Steine aus einem einzigen Steinbruch bezieht und L-Ecken aus demselben Aderverlauf wie Flachplatten schneidet, eliminiert die Farbverschiebung, die einen Rückruf auslöst. Hier werden die Einsparungen von 500 bis 800 US-Dollar pro 10-Eck-Kamin (Arbeitsaufwand + Abfall) zu einem echten Gewinn und nicht zu einem hypothetischen.
So erhalten Sie werkseitig angepasste L-Ecken ohne Verzögerungen
Ecken aus einer anderen Steinbruchader garantieren Farbvariation.
Die meisten Farbunterschiede an den Ecken gehen auf die Fabrik zurück, in der Steine aus mehreren Steinbrüchen gemischt wurden. Der hier anerkannte Produktionsstandard bezieht L-Ecken aus genau demselben Steinbruchblock wie die Flachplatten und erreicht so eine Farbtongleichmäßigkeit von 95 % über die gesamte Arbeit hinweg. Ohne diese Garantie müssen Sie mit sichtbaren Verschiebungen an jeder Außenecke rechnen.
Das Schneiden von CNC-Diamantscheiben ist nicht verhandelbar. Manuelle Sägen führen zu einer Variabilität von ±2°; Eine CNC-Maschine hält die 90°-Genauigkeit auf 0,5° genau. Das Werk verwendet Infrarot-Positionierung an allen L-Eckplatten, um sicherzustellen, dass die ineinandergreifenden Finger perfekt ausgerichtet sind und die abgestuften Lücken, die den Reißverschlusseffekt verursachen, vermieden werden.
- Gelenkhaltbarkeit: UV-stabil und frost- und tausalzbeständig Fugen erfordern eine modifizierte Dünnschicht-Haftschicht. Fordern Sie Testdaten mit mindestens 300 an Frost-Tau-Zyklen ohne Delamination, wenn sich Ihr Projekt in einer Gefrierzone befindet.
- Kontrolle vor dem Versand: Fordern Sie eine Live-Videobesichtigung der L-Ecken an, die trocken gegen eine Flachplatte aus derselben Charge verlegt wurden. Sehen Sie sich den Sitz der Verriegelung an und prüfen Sie, ob unter direktem Licht sichtbare Lücken vorhanden sind.
- Hue-Garantie: Eine schriftliche Garantie für die Gleichmäßigkeit des Farbtons von 95 % bedeutet, dass der Hersteller jede Ecke mithilfe eines Spektralfotometers anhand eines Originalfarbmusters misst. Ohne dies vertrauen Sie auf die visuelle Inspektion unter Lagerbeleuchtung – eine häufige Ursache für Ausschuss im Feld.
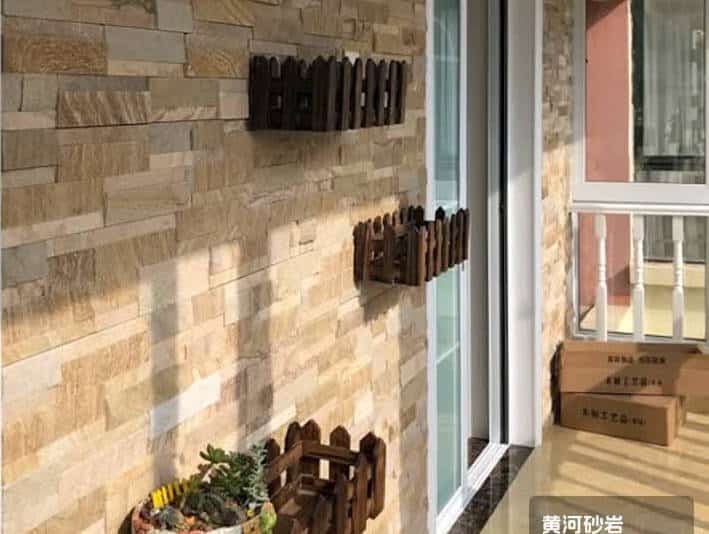
Oberflächenvorbereitung & Klebstoff: Das unzerbrechliche Fundament
Wenn Sie die Aushärtungszeit des Kratzlacks überspringen, erlischt Ihre Garantie – ohne Ausnahme.
Ihre Eckmontage aus gestapelten Steinen ist nur so stark wie die Verbindungslinie. Felddaten von über 600 gewerblichen Fassaden zeigen, dass Klebefehler für 70 % der Rückrufe an Ecken verantwortlich sind. Bei der Verklebung handelt es sich um ein wiederholbares System: Zementplatten, die für das Gewicht des Steins ausgelegt sind, polymermodifiziertes Dünnbettmittel, das mit einer 1/2-Zoll-Kelle aufgetragen wird, und eine vollständige Hinterbutterung auf jeder Platte. Ignorieren Sie eine davon und Ihre Garantie – unsere oder Ihre eigene – wird nicht mehr aufrechterhalten.
- Untergrund Zementplatte: Verwenden Sie mindestens 1/2″ Faserzementplatten mit einer Nennlast von 8–10 psf. Montieren Sie gestapelte Steine nicht direkt auf Trockenbauwänden oder Sperrholz – die unterschiedliche Bewegung reißt die Verbindung auf. Fügen Sie in Frost-Tau-Klimazonen vor der Platte eine wetterbeständige Barriere hinzu.
- Thinset-Mischung & Kelle: Polymermodifiziertes Thinset gemäß ANSI A118.4. Zu einer steifen Erdnussbutter-Konsistenz verrühren. Die 1/2″ x 1/2″ quadratische Zahnkelle hinterlässt Grate, die unter dem Stein zusammenfallen und eine Abdeckung von 85–90 % ergeben. Eine kleinere Kerbe hinterlässt Hohlräume, die Wasser einschließen und innerhalb von 18 Monaten zur Delaminierung führen.
- Jede Platte mit Butter bestreichen: Jede einzelne gestapelte Steinplatte, einschließlich der L-Ecken, erhält auf der Rückseite eine dünne dünne Schicht. Dies füllt die natürlichen Hohlräume und sorgt dafür, dass keine Lufteinschlüsse entstehen. Testläufe zeigen Back-Buttering verdoppelt die Scherfestigkeit im Vergleich zum bloßen Kämmen der Wand – das geht aus unabhängigen Labordaten hervor.
- Aushärtezeit der Kratzschicht: Wenn Sie über einer Kratzschicht aus Zementplatten verlegen (empfohlen für den Außenbereich), lassen Sie diese mindestens 24 Stunden aushärten. Durch das Aushärten bei 22 °C und 50 % Luftfeuchtigkeit werden 80 % der Haftfestigkeit des Mörtels erreicht. Wenn Sie es auf 4 Stunden beschleunigen, riskieren Sie, dass sich die gesamte Höhe beim ersten Frost-Tau-Zyklus löst.
- Gewährleistungsfolgen: Die meisten Hersteller erlöschen ausdrücklich die Produktgarantie, wenn bei der Installation einer der oben genannten Schritte übersprungen wird. Keine Ausnahmen für „Das haben wir schon immer so gemacht.“ Holen Sie sich die Spezifikation schriftlich, bevor das erste Panel montiert wird.
Abschluss
Bei der Wahl zwischen Gehrungs- und L-Ecken-Installation kommt es auf einen Faktor an: die Wiederholbarkeit. Das Gehrungsschneiden eignet sich für einmalige individuelle Winkel, bei denen ein Geselle die zusätzlichen Stunden in die Einstellung einer 44,9°-Rückschräge investieren kann. Aber bei Projekten mit mehreren Ecken – einer Kaminumrandung, einer Geschäftslobby, einer kompletten Fassade – eliminieren L-Ecken die Variablen, die den Gewinn verschlingen. 50 % schnellere Installation und 90 % weniger Abfall sind keine Marketingaussagen. Sie machen den Unterschied zwischen einem Auftrag, der im Rahmen des Budgets abgeschlossen wird, und einem Auftrag aus, bei dem Arbeitsstunden in Nacharbeit fließen.
Überprüfen Sie Ihre aktuellen Eckenspezifikationen. Wenn Ihr Lieferant nicht garantieren kann, dass L-Ecken mit CNC-Diamantschnittkanten auf die Maserung des Steinbruchs abgestimmt sind, akzeptieren Sie ein verstecktes Risiko in jeder Außenecke. Werksseitig abgestimmte Einheiten liefern eine 95-prozentige Farbtongleichmäßigkeit und eine präzise 90°-Passform, die beim Feldschneiden niemals möglich ist. Auf der Seite für kommerzielle Stapelsteinfassaden finden Sie Staffelpreise und Musteranfragen.
Häufig gestellte Fragen
Wie baut man gestapelte Steinecken lückenlos ein?
Verwenden Sie vorgefertigte L-Ecken mit männlich-weiblicher Verbindung oder Gehrung mit 44,9°-Rückwärtsschräge mit einer Diamanttrennscheibe. Werksseitige L-Ecken eliminieren den Reißverschlusseffekt und erfordern kein Zuschneiden vor Ort. Um keine Lücken zu haben, bestellen Sie werkseitig L-Ecken statt Feldgehrungen.
Welches Sägeblatt eignet sich am besten zum Gehrungsschneiden von Hauptbuchplatten?
Eine Diamanttrennscheibe mit durchgehendem Rand und einer Nasssäge. Vermeiden Sie segmentierte Klingen, da diese die Steinkante beschädigen und grobe Schnitte hinterlassen. Testen Sie immer zuerst den Schrott, um einen sauberen Schnitt zu bestätigen.
Können L-Ecken an Wänden verwendet werden, die keinen 90-Grad-Winkel haben?
Standardmäßig vorgefertigte L-Ecken sind nur für 90°-Ecken geeignet. Für kundenspezifische Winkel bestellen Sie werkseitig gefertigte Gehrungen oder Feldgehrungen mit dem genauen Winkel. Bestätigen Sie den Wandwinkel, bevor Sie Ecken bestellen.
Wie viel kostet eine vorgefertigte L-Ecke pro Stück?
Typischerweise 6 bis 12 US-Dollar pro laufendem Fuß, je nach Steinart, Abmessungen und Volumen. Für Vollcontainerbestellungen gelten die Großhandelspreise. Fordern Sie ein Angebot mit Ihrem spezifischen Stein und Ihrer Menge an.
Welche Steinstärke eignet sich am besten für Gehrungsecken?
Platten mit einer Dicke von mindestens 2,5 cm bieten ausreichend Material für einen sauberen 45°-Schnitt ohne Bruch. Bei dünneren Platten besteht die Gefahr von Rissen und ungleichmäßigen Nähten. Überprüfen Sie vor dem Schneiden immer die Dicke beim Lieferanten.